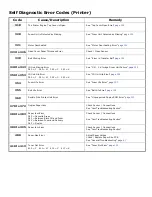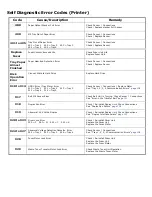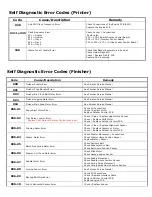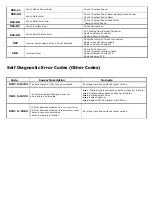
Self Diagnostic Error Codes (Printer)
Code
Cause/Description
Remedy
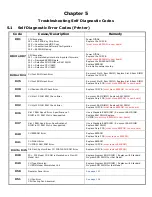
111 to 117
An Optional Unit for Another Model is Detected
111 = Duplex 112 = 2
nd
Tray 113 = 3
rd
Tray
114 = 4
th
Tray 115 = 5
th
Tray 116 = Finisher
117 = Inverter
Install Option / Check Connections
Replace Engine Control Board
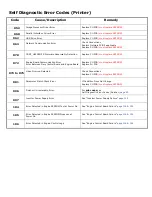
121
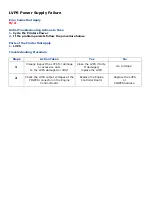
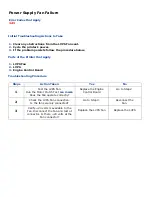
Low Voltage Power Fan Error
See “Power Supply Fan Failure”
page 103
123
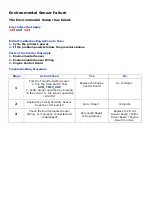
Environmental Sensor Error
See “Environmental Sensor Failure”
page 100
124
Environmental Sensor Error
See “Environmental Sensor Failure”
page 100
125
MT Home Position Detection Error
See “MT Home Position Detection Error”
page 127
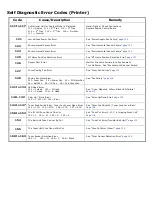
126
Sensor Dew Error
Wait for Printer to Acclimate to Environment
Turn On Power. See “Environmental Sensor Failure”
127
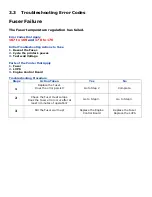
Fuser Cooling Fan Error
See “Fuser Fan Failure”
page 111
128
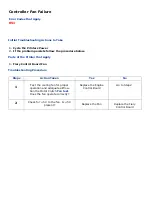
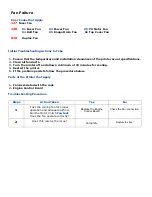
Engine Fan Motor Error
01 = Fuser Fan 02 = Power Fan 03 = PU Motor Fan
04 = Belt Fan 05 = ID Fan 06 = Top Cover Fan
See “Fan Failure”
page 106
131 to 134
LED Head Error
131 = Y Head 132 = M Head
133 = C Head 134 = K Head
See
“Cyan, Magenta, Yellow, Black LED Failure”
Page 110
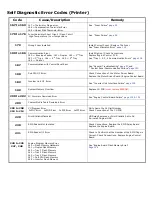
140 - 142
Color Up / Down Error
140 = Y, 141 = M, 142 = Error
See “Color Up/Down Error”
page 129
144 to 147
Toner Feed Switch Error. Toner Lock Lever Open Error
144 = Y ID 145 = M ID 146 = C ID 147 = K ID
See “Toner Feed Switch / Toner Lock Lever Error”
Page 128
150 to 153
The ID Unit Fuse Can not Be Cut
150 = Y 151 = M 152 = C 153 = K
See
“Fuse Cut Error C, M, Y, K Imaging Drum Unit”
Page 116
154
The Belt Unit Fuse Can not By Cut
See
“Fuse Cut Error (Transfer Belt Unit)”
page 115
155
The Fuser Unit Fuse Can not Be Cut
See “Fuse Cut Error (Fuser)”
page 114
160 to 163
Toner Sensor Detection Error
160 = Y 161 = M 162 = C 164 = Black
See “Toner Sensor Detection Error”
page 126
Summary of Contents for C9800 Series
Page 30: ...Step 3 Setting up the ES 1000 Spectrophotometer...
Page 31: ...Once installation is complete re launch Command Workstation...
Page 32: ......
Page 33: ......
Page 34: ......
Page 35: ......
Page 36: ......
Page 37: ......
Page 38: ......
Page 39: ......
Page 40: ......
Page 41: ......
Page 42: ......
Page 43: ......
Page 44: ......
Page 45: ......
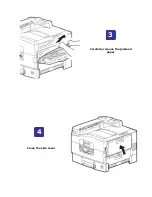
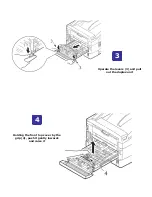
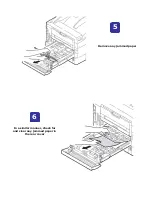
Page 77: ...Close the side cover Carefully remove the jammed paper 4 3...
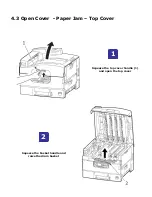
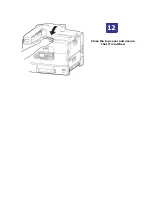
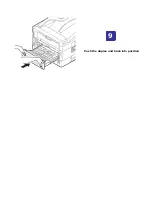
Page 83: ...Close the top cover and ensure that it is latched 12...
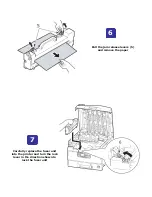
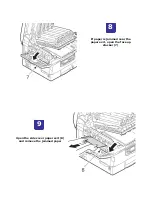
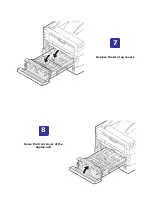
Page 87: ...Raise the front cover of the duplex unit Replace the two top covers 8 7...

