ES 2024/2024e Software Utilities • 466
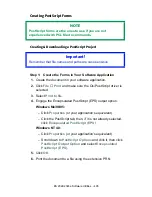
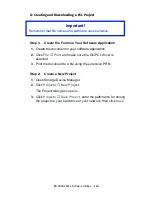
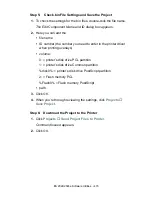
Step 2: Create a New Project
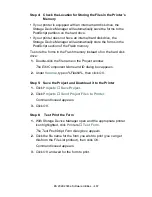
1.
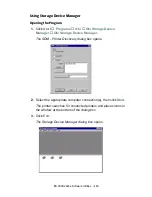
Open Storage Device Manager.
2.
Click
Projects
→
New Project
.
The Project dialog box opens.
3.
Click
Projects
→
Save Project
, enter the path/name for
storing the project on your hard drive or your network, then
click
Save
.
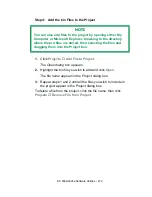
Step 3: Add Files to the Project
1.
Click
Projects
→
Add File to Project
.
The Open dialog box appears.
2.
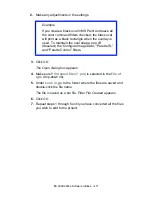
Make sure
PRN files (*.prn)
is selected in the
Files of type
drop-down list.
3.
Browse to the folder where the files are saved and select the
files you wish to add to the project, then click
Open
.
The Information dialog box appears.
4.
Click
OK
.
The files are saved as HST.
5.
Repeat steps 1 through 4 until you have added all the files you
wish to add to the Project.
NOTE
To delete a file from the project, click the file name, then
click Projects
→
Remove File from Project.
Summary of Contents for ES2024
Page 1: ......
Page 27: ...ES 2024 2024e Setting up 27 LOADING PAPER 1 Remove the paper tray from the printer...
Page 200: ...ES 2024 2024e Windows 2000 Operation 200 7 Click Print...
Page 207: ...ES 2024 2024e Windows 2000 Operation 207 C73_2k_PS_Booklet bmp 5 Click Print...
Page 253: ...ES 2024 2024e Windows Me 98 95 Operation 253 3 Click the Color tab C73MePCLColor1k tif...
Page 262: ...ES 2024 2024e Windows Me 98 95 Operation 262 This option prints all documents as monochrome...
Page 267: ...ES 2024 2024e Windows Me 98 95 Operation 267 5 Click OK then print the document...
Page 270: ...ES 2024 2024e Windows Me 98 95 Operation 270 9 Print the document...
Page 345: ...ES 2024 2024e Windows NT 4 0 Operation 345 6 Click OK and print the document...

