ES9160 MFP / ES9170 MFP
© 2012 OKI DATA CORPORATION All rights reserved
DISASSEMBLY AND REPLACEMENT
4 - 92
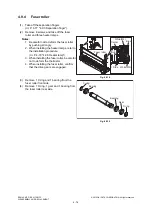
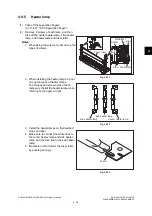
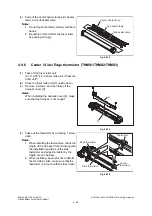
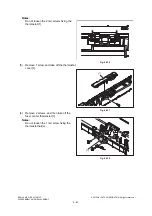
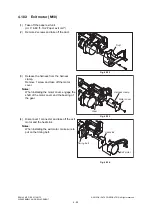
4.10.6
Reverse motor (M14)
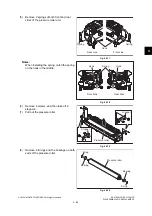
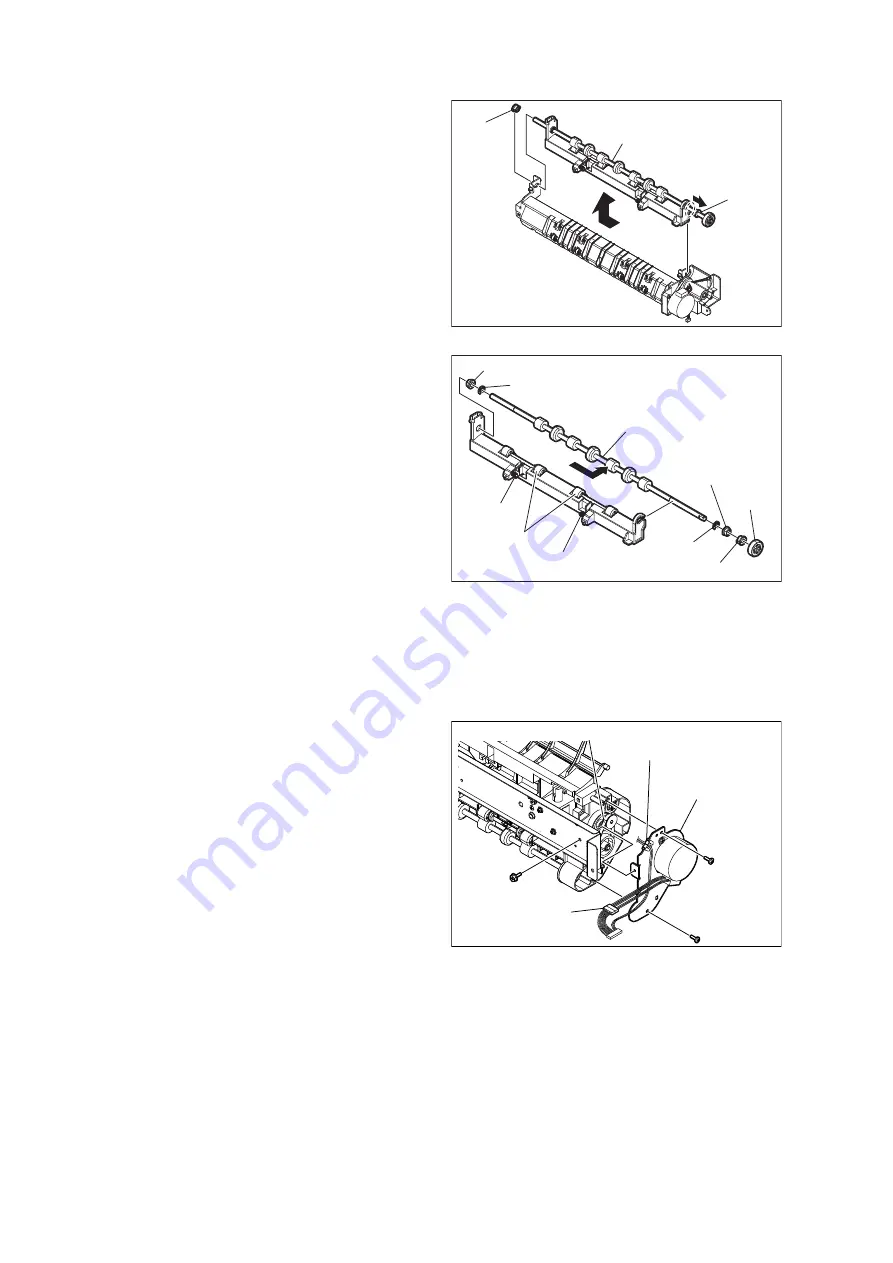
(4)
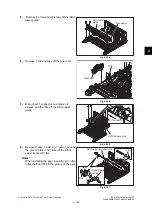
Remove 2 bushings and take off the roller
unit by sliding it.
Fig. 4-258
(5)
Remove 2 E-rings, 3 bushings and 1 gear,
and take off the exit roller by sliding it to the
direction of the arrow.
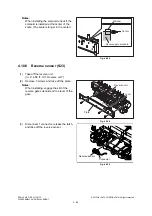
Notes:
Be careful in taking off the roller because 2
rollers and 2 springs on the lower part of the
exit roller come off.
Fig. 4-259
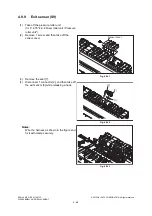
(1)
Take off the reverse unit.
(
P. 4-88 "4.10.1 Reverse unit")
(2)
Release the harness from the harness
clamp.
(3)
Disconnect 1 connector and remove 3
screws, and take off the motor unit.
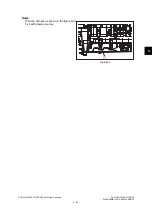
Notes:
When installing the reverse motor, make
sure to put on the timing belt.
Fig. 4-260
Roller unit
Bushing
Bushing
Bushing
E-ring
Exit roller
Bushing
Gear
Bushing
E-ring
Spring
Spring
Rollers
Timing belt
Harness clamp
Motor unit
Connector
Summary of Contents for ES9160
Page 12: ......
Page 24: ...ES9160 MFP ES9170 MFP 2012 OKI DATA CORPORATION All rights reserved FEATURES 1 2...
Page 308: ...ES9160 MFP ES9170 MFP 2012 OKI DATA CORPORATION All rights reserved SELF DIAGNOSIS MODES 5 56...
Page 832: ...ES9160 MFP ES9170 MFP 2012 OKI DATA CORPORATION All rights reserved REMOTE SERVICE 10 38...
Page 920: ...ES9160 MFP ES9170 MFP 2012 OKI DATA CORPORATION All rights reserved BACKUP FUNCTION 12 12...
Page 1086: ......
Page 1087: ......

