4
© 2012 OKI DATA CORPORATION All rights reserved
ES9160 MFP / ES9170 MFP
DISASSEMBLY AND REPLACEMENT
4 - 129
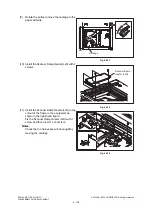
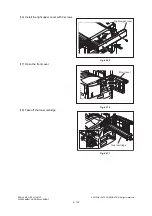
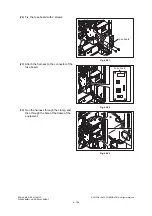
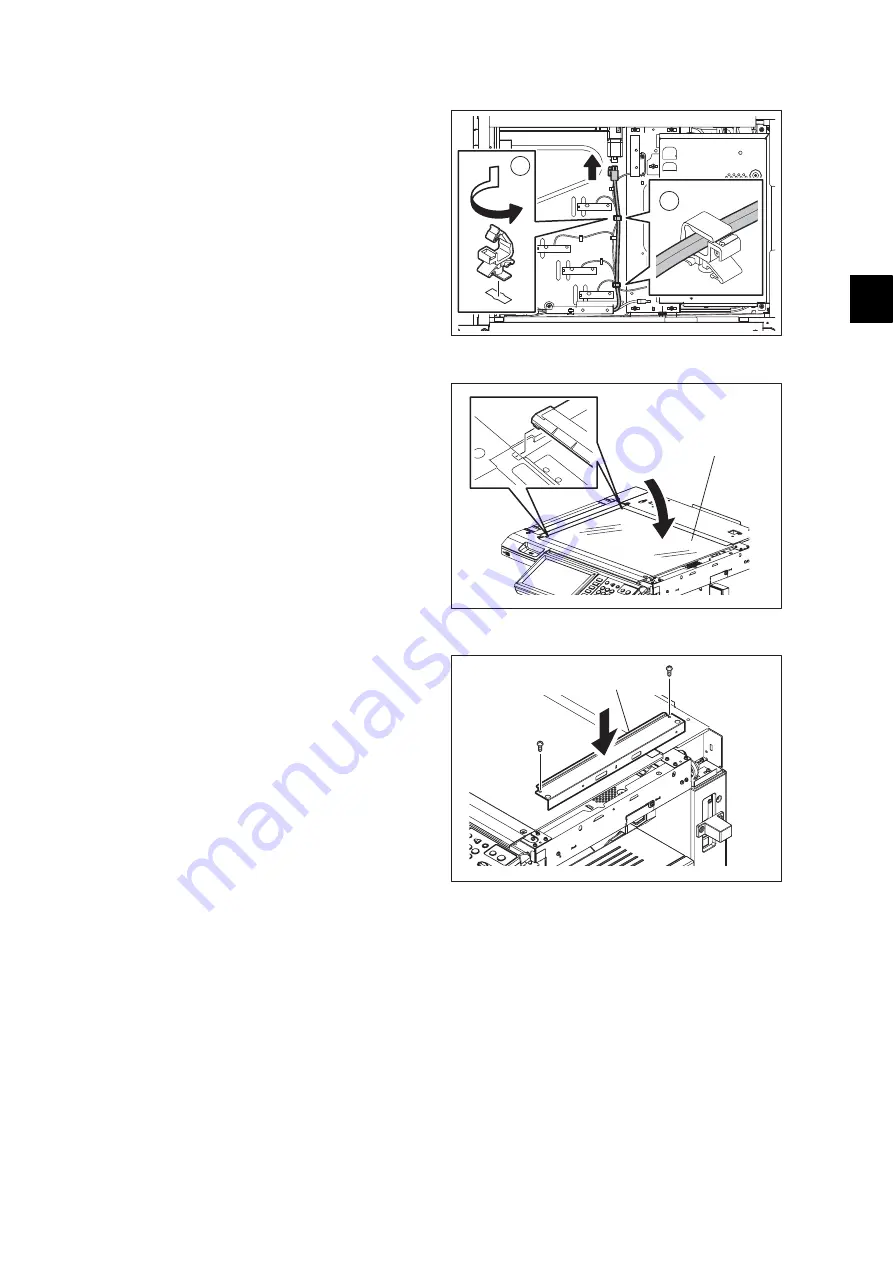
(12) Attach the harness to 1 connector and then
install the clamp in the equipment.
(13) Fix the harness with 2 clamps.
Fig. 4-366
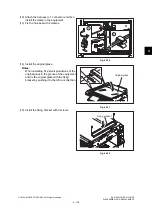
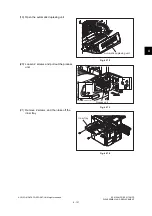
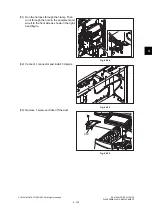
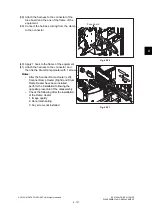
(14) Install the original glass.
Notes:
When installing, fit 2 small protrusions of the
original glass in the groove of the equipment
and fix the original glass with the fixing
bracket by pushing it to the left rear direction.
Fig. 4-367
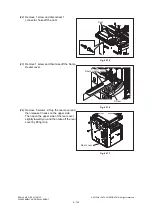
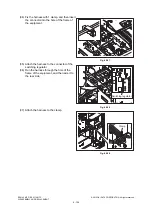
(15) Install the fixing bracket with 2 screws.
Fig. 4-368
2
1
Original glass
Fixing bracket
Summary of Contents for ES9160
Page 12: ......
Page 24: ...ES9160 MFP ES9170 MFP 2012 OKI DATA CORPORATION All rights reserved FEATURES 1 2...
Page 308: ...ES9160 MFP ES9170 MFP 2012 OKI DATA CORPORATION All rights reserved SELF DIAGNOSIS MODES 5 56...
Page 832: ...ES9160 MFP ES9170 MFP 2012 OKI DATA CORPORATION All rights reserved REMOTE SERVICE 10 38...
Page 920: ...ES9160 MFP ES9170 MFP 2012 OKI DATA CORPORATION All rights reserved BACKUP FUNCTION 12 12...
Page 1086: ......
Page 1087: ......


