ES9160 MFP / ES9170 MFP
© 2012 OKI DATA CORPORATION All rights reserved
SETTING / ADJUSTMENT
6 - 60
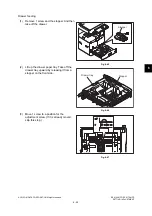
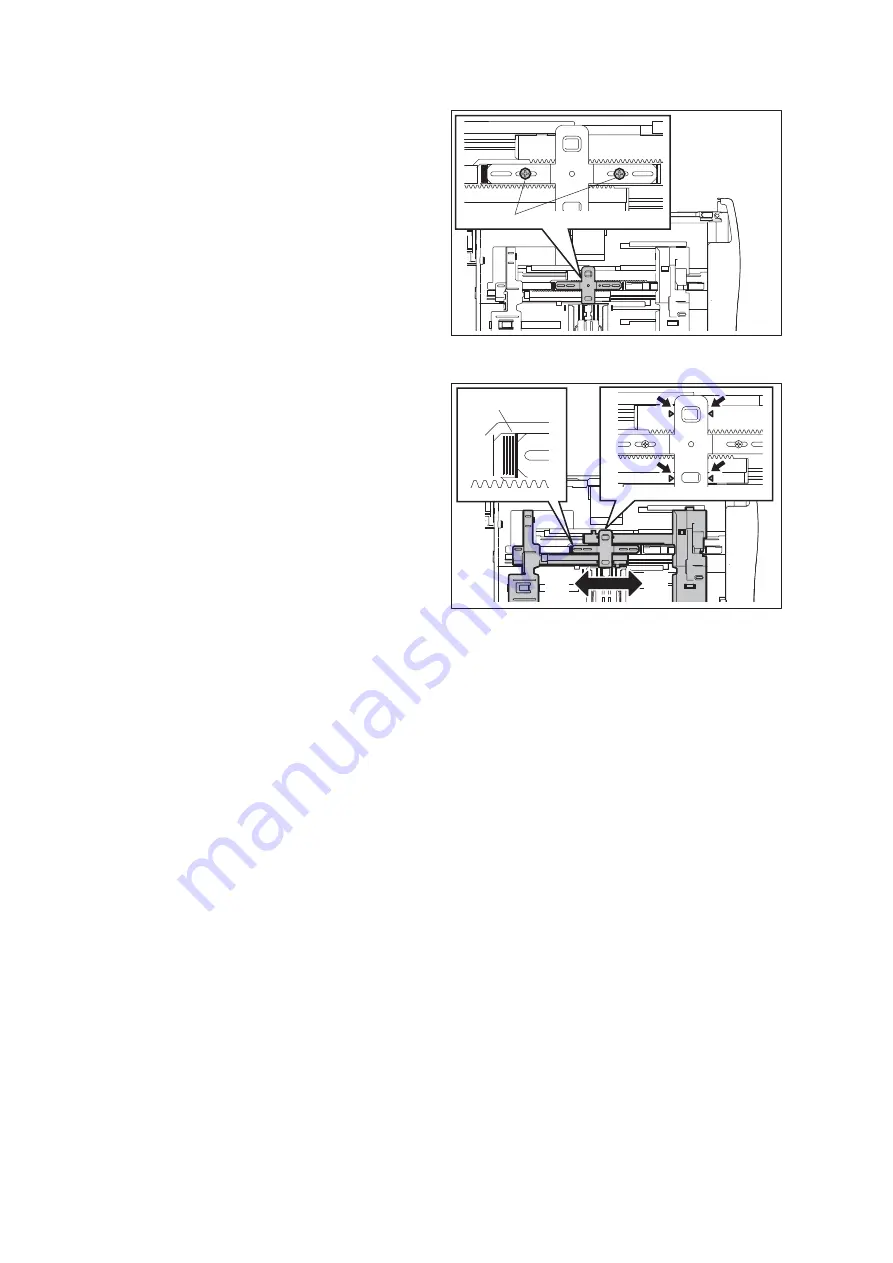
(4)
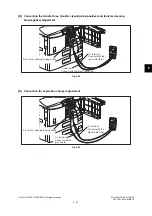
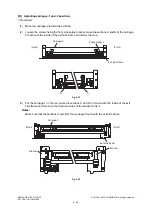
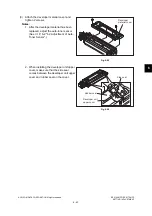
Loosen 2 screws.
Fig.6-48
(5)
Move the entire guide to the front or rear
side. Be sure to move the entire guide until
you can see 4 triangles.
(6)
Tighten the 2 screws of the adjustment plate.
(7)
Install the drawer tray, drawer and stopper.
*
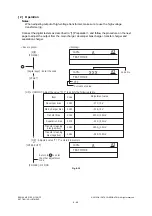
Adjustable range: 3 mm to the front side,
4 mm to the rear side (Unit: 1 mm)
Fig.6-49
Screw
(A)
(B)
Scale
Summary of Contents for ES9160
Page 12: ......
Page 24: ...ES9160 MFP ES9170 MFP 2012 OKI DATA CORPORATION All rights reserved FEATURES 1 2...
Page 308: ...ES9160 MFP ES9170 MFP 2012 OKI DATA CORPORATION All rights reserved SELF DIAGNOSIS MODES 5 56...
Page 832: ...ES9160 MFP ES9170 MFP 2012 OKI DATA CORPORATION All rights reserved REMOTE SERVICE 10 38...
Page 920: ...ES9160 MFP ES9170 MFP 2012 OKI DATA CORPORATION All rights reserved BACKUP FUNCTION 12 12...
Page 1086: ......
Page 1087: ......


