4
© 2012 OKI DATA CORPORATION All rights reserved
ES9160 MFP / ES9170 MFP
DISASSEMBLY AND REPLACEMENT
4 - 51
4.6.3
Main motor drive unit
4.6.4
Process unit fan (M2)
(1)
Take off the toner motor
P. 4-50 "4.6.2 Toner motor (M4)"
(2)
Take off the registration roller clutch.
P. 4-43 "4.5.24 Registration roller clutch
(3)
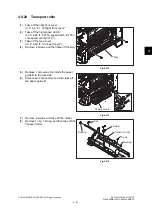
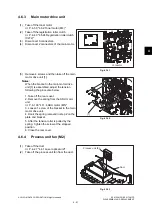
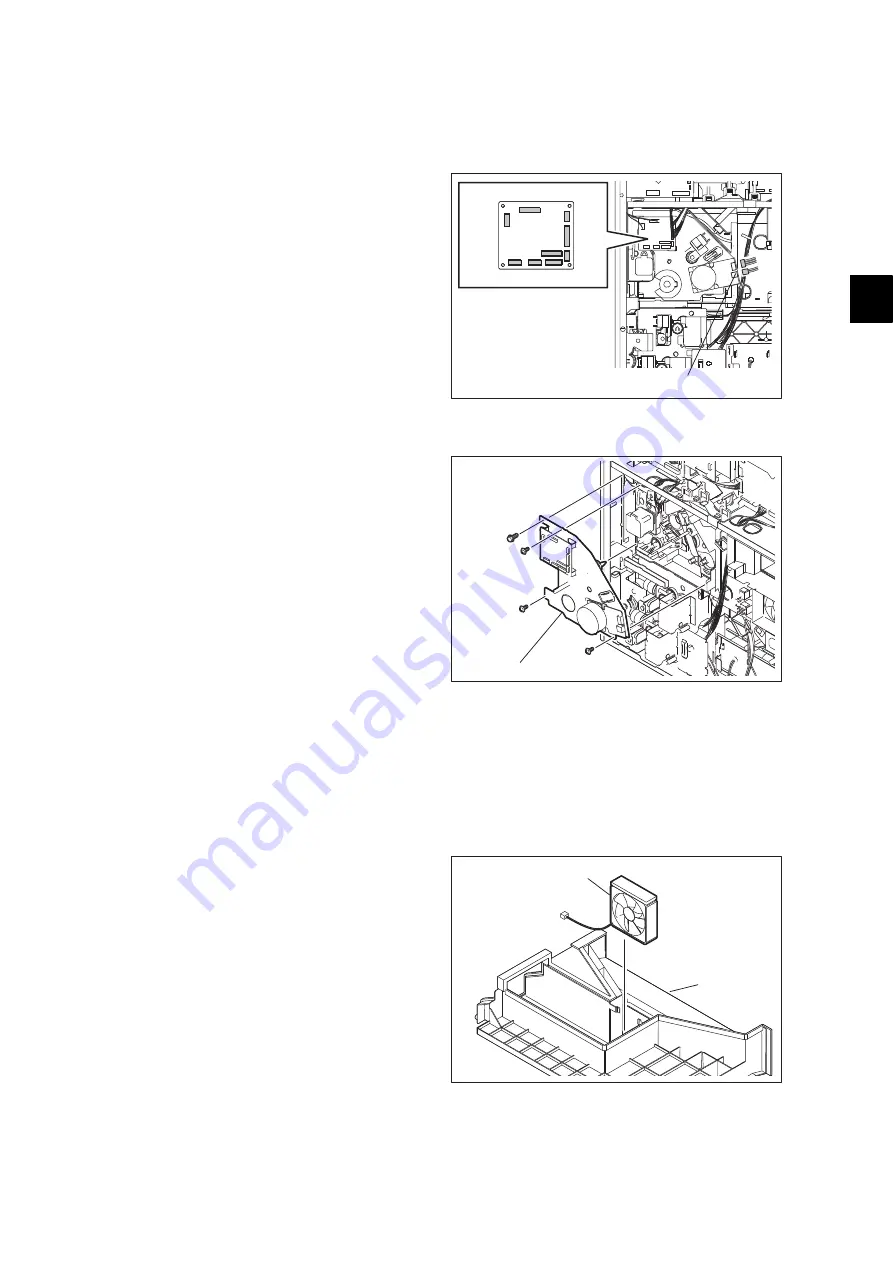
Disconnect 9 connectors.
(4)
Disconnect 2 connectors of the main motor.
Fig. 4-141
(5)
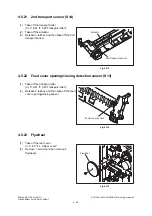
Remove 4 screws and then take off the main
motor drive unit [1].
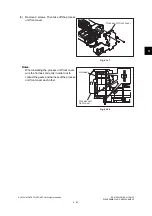
Notes:
When the bracket in the main motor drive
unit [1] is assembled, adjust the tension
following the procedure below.
1. Take off the rear cover.
2. Remove the spring from the ADU motor
unit.
P. 4-100 "4.11.4 ADU motor (M5)"
3. Loosen 1 screw of the bracket in the main
motor drive unit.
4. Hook the spring removed in step 2 on the
plate and bracket.
5. After the tension roller is pulled by the
spring, tighten the screw at the stopped
position.
6. Close the rear cover.
Fig. 4-142
(1)
Take off the duct.
P. 4-27 "4.4.1 Laser optical unit"
(2)
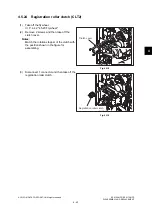
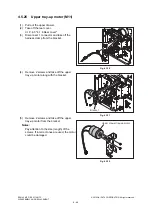
Take off the process unit fan from the duct.
Fig. 4-143
Connector
[1]
Process unit fan
Duct
Summary of Contents for ES9160
Page 12: ......
Page 24: ...ES9160 MFP ES9170 MFP 2012 OKI DATA CORPORATION All rights reserved FEATURES 1 2...
Page 308: ...ES9160 MFP ES9170 MFP 2012 OKI DATA CORPORATION All rights reserved SELF DIAGNOSIS MODES 5 56...
Page 832: ...ES9160 MFP ES9170 MFP 2012 OKI DATA CORPORATION All rights reserved REMOTE SERVICE 10 38...
Page 920: ...ES9160 MFP ES9170 MFP 2012 OKI DATA CORPORATION All rights reserved BACKUP FUNCTION 12 12...
Page 1086: ......
Page 1087: ......

