4
© 2012 OKI DATA CORPORATION All rights reserved
ES9160 MFP / ES9170 MFP
DISASSEMBLY AND REPLACEMENT
4 - 55
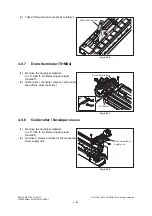
4.7.4
Main charger
4.7.5
Main charger grid
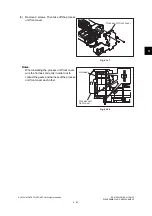
(3)
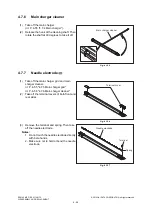
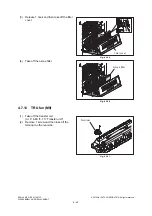
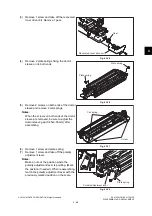
Release the harness from the harness clamp
and pull out the discharge LED.
Fig. 4-152
(1)
Take off the discharge LED unit
(
P. 4-54 "4.7.3 Discharge LED").
(2)
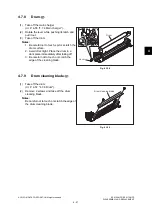
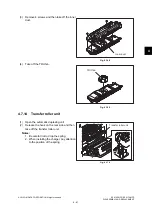
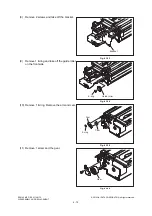
Pull out the main charger and take it off by
sliding it to the rear side.
Notes:
Be careful not to touch or scratch the drum
surface at this time.
Fig. 4-153
(1)
Take off the main charger
(
P. 4-55 "4.7.4 Main charger").
(2)
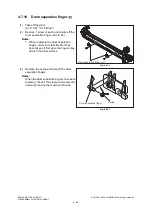
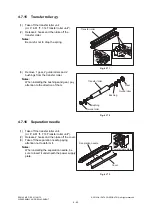
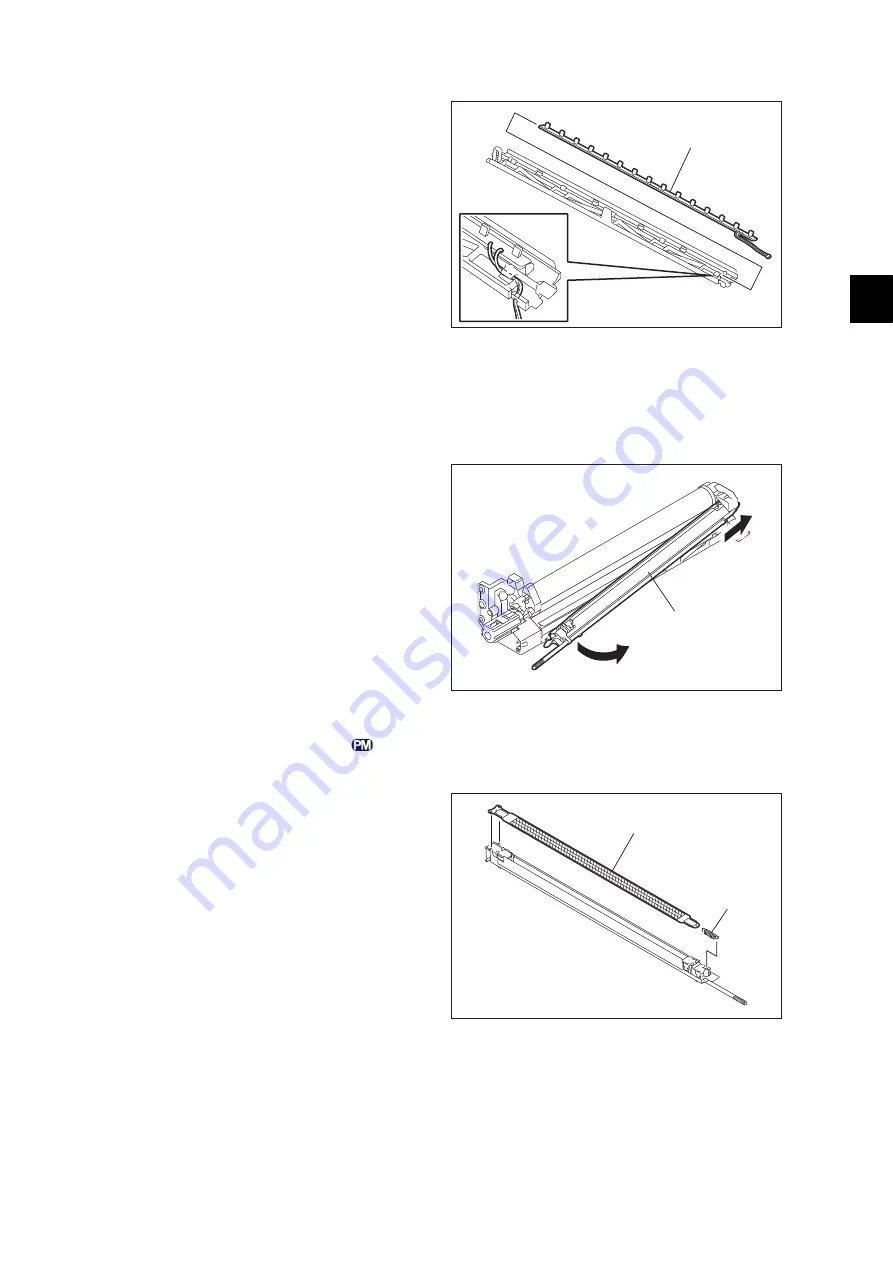
Remove the spring and take off the main
charger grid.
Notes:
Do not touch the mesh area of the grid.
Fig. 4-154
Discharge LED
Main charger
Main charger grid
Spring
Summary of Contents for ES9160
Page 12: ......
Page 24: ...ES9160 MFP ES9170 MFP 2012 OKI DATA CORPORATION All rights reserved FEATURES 1 2...
Page 308: ...ES9160 MFP ES9170 MFP 2012 OKI DATA CORPORATION All rights reserved SELF DIAGNOSIS MODES 5 56...
Page 832: ...ES9160 MFP ES9170 MFP 2012 OKI DATA CORPORATION All rights reserved REMOTE SERVICE 10 38...
Page 920: ...ES9160 MFP ES9170 MFP 2012 OKI DATA CORPORATION All rights reserved BACKUP FUNCTION 12 12...
Page 1086: ......
Page 1087: ......

