6
© 2012 OKI DATA CORPORATION All rights reserved
ES9160 MFP / ES9170 MFP
SETTING / ADJUSTMENT
6 - 77
6.13.5
Adjustment of horizontal position
Notes:
Check if the image adjustment for the equipment is performed properly before this adjustment of
the RADF. Also, the RADF position and height shall be adjusted properly.
[A] Checking
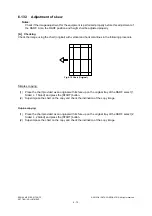
Check the image using the chart (original) with a center line in the following procedure.
(1)
Place the chart provided as an original with its face up on the original tray of the RADF.
(2)
Press the [START] button.
(3)
Fold the copy in half and check if the center line is misaligned.
[B] Adjustment
(1)
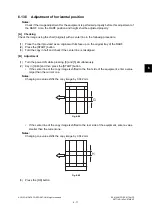
Turn the power ON while pressing [0] and [5] simultaneously.
(2)
Key in [3043] and then press the [START] button.
•
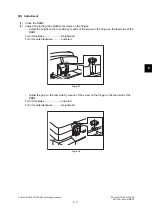
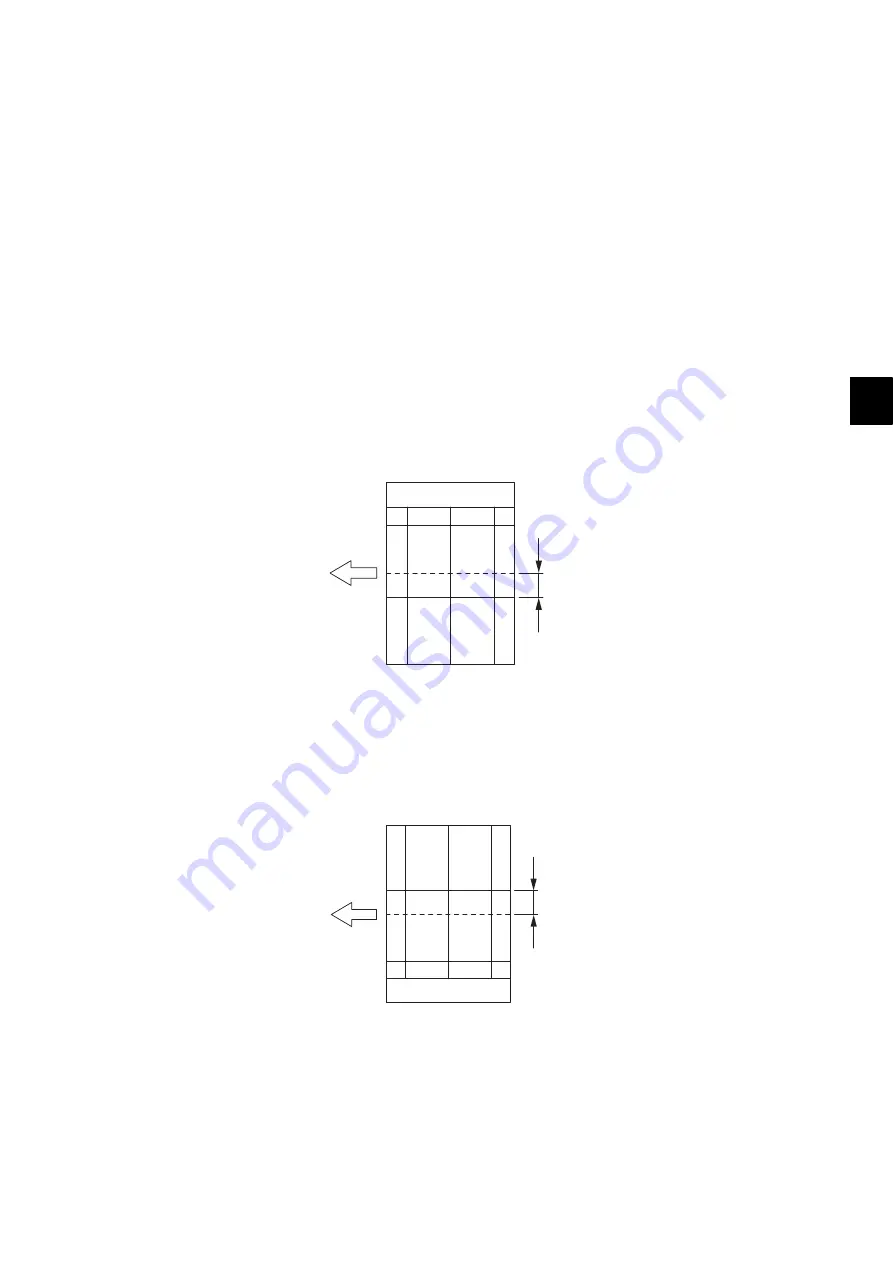
If the center line of the copy image is shifted to the front side of the equipment, enter a value
larger than the current one.
Notes:
Changing one value shifts the copy image by 0.042 mm.
Fig.6-88
•
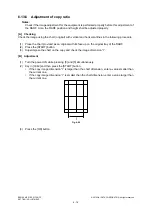
If the center line of the copy image is shifted to the rear side of the equipment, enter a value
smaller than the current one.
Notes:
Changing one value shifts the copy image by 0.042 mm.
Fig.6-89
(3)
Press the [OK] button.
G
H
Summary of Contents for ES9160
Page 12: ......
Page 24: ...ES9160 MFP ES9170 MFP 2012 OKI DATA CORPORATION All rights reserved FEATURES 1 2...
Page 308: ...ES9160 MFP ES9170 MFP 2012 OKI DATA CORPORATION All rights reserved SELF DIAGNOSIS MODES 5 56...
Page 832: ...ES9160 MFP ES9170 MFP 2012 OKI DATA CORPORATION All rights reserved REMOTE SERVICE 10 38...
Page 920: ...ES9160 MFP ES9170 MFP 2012 OKI DATA CORPORATION All rights reserved BACKUP FUNCTION 12 12...
Page 1086: ......
Page 1087: ......

