- 54 -
2. Copy
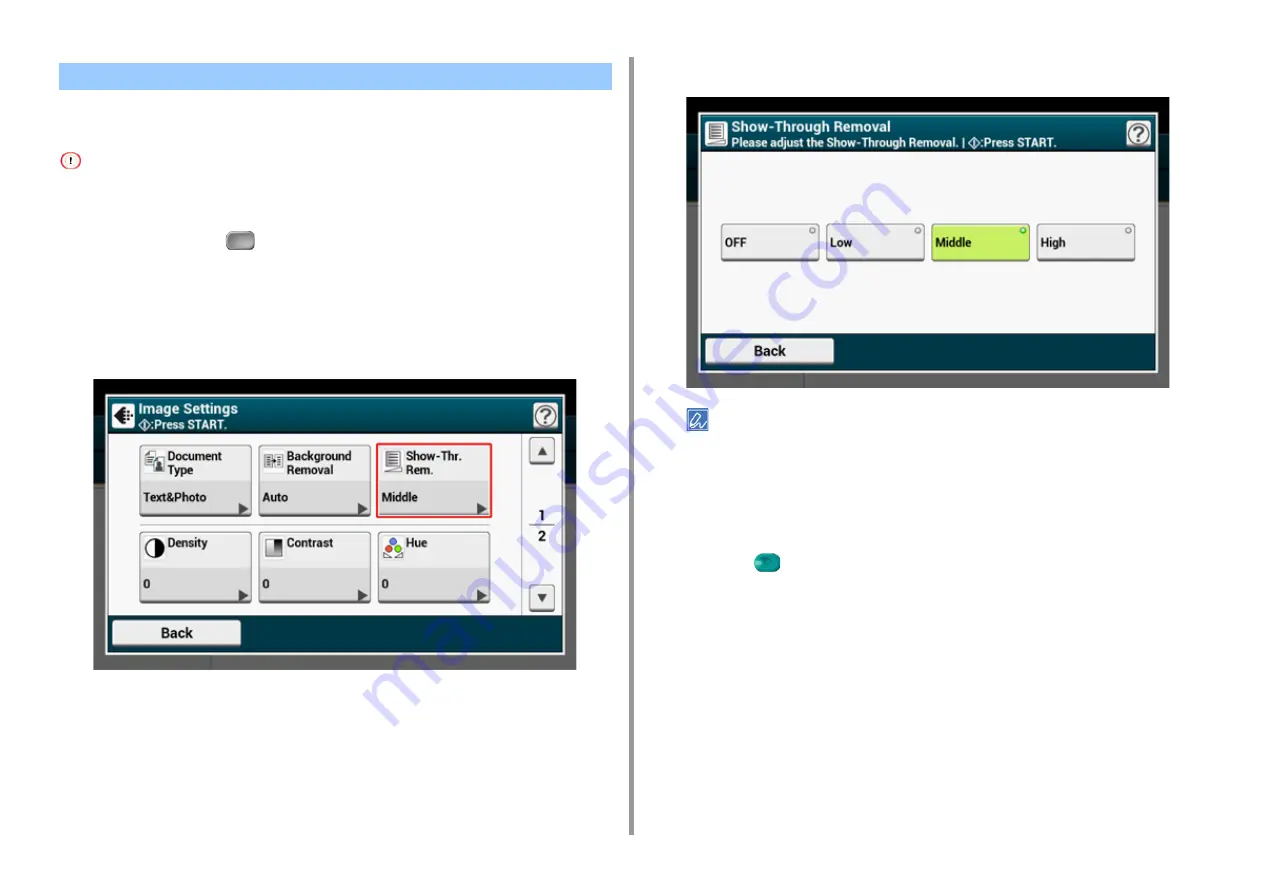
Show-Through Removal removes show-through of text from the reverse side. You can select
the removal level from OFF, Low, Middle, or High.
• This function is enabled only when [Background Removal] is set to [Auto].
• This function is enabled only when [Document Type] is set to [Text] or [Text&Photo].
1
Press [Copy] or the
(COPY) button.
2
Set a document in the ADF or on the document glass.
3
Press [Image settings] on the [Image Settings] tab.
4
Press [Show-Thr. Rem.].
5
Select a value.
• [Middle] is set by default.
• If light color becomes too faint with Middle (default value), set to [Low] (show-through may not be removed
completely).
• If show-through is not completely removed with Middle (default value), set to [High] (light color may not be
represented).
• For documents printed only one side or when reproducing light color, set to [OFF]. (For documents printed on
two side, show-through remains.)
6
Press the
(START) button.
Removing Show-Through (Show-Through Removal)
Summary of Contents for MC573
Page 1: ...MC573 ES5473 MFP Advanced Manual...
Page 18: ...18 1 Basic Operations 7 Select a volume level...
Page 31: ...2 Copy Useful Functions For a Better Finish Color Settings Advanced Copy Settings...
Page 141: ...141 4 Print 5 Press Color Menu 6 Press Adjust Registration 7 Press Yes...
Page 489: ...489 11 Utility Software Storage Manager plug in Create or edit a file to download to a device...
Page 507: ...46532802EE Rev2...


