- 230 -
5. Fax
7
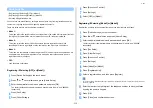
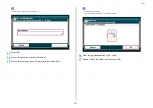
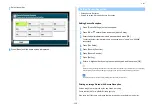
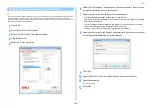
Select a number.
8
Press [Back] until the home screen is displayed.
• Setting Secure Reception
• Printing an Image Stored with Secure Reception
Setting Secure Reception
1
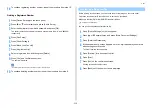
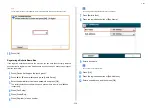
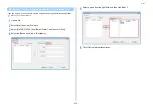
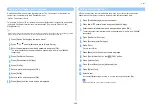
Press [Device Settings] on the touch panel.
2
Press
or
several times and press [Admin Setup].
3
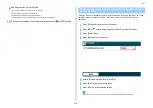
Enter the administrator name and password and press [OK].
The factory default administrator name and password are "admin" and "999999"
respectively.
4
Press [Fax Setup].
5
Press [Security Function].
6
Press [Secure Receive].
7
Press [Setting].
8
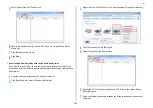
Enter a 4-digit number by using the numeric keypad, and then press [OK].
When previewing or printing received faxes, you need to enter the password you set in this step. If you press [OK]
without entering a password, previewing and printing can be performed without entering a password.
To disable the secure reception, press [Setting], and then press [OFF] in step 7.
Printing an Image Stored with Secure Reception
Print an image that is received by fax and stored in memory.
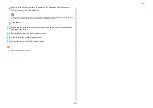
Check that the [DATA IN MEMORY] lamp lights up.
If the lamp is off, there are no images that are received by fax and stored in memory.
Setting Secure Reception
Summary of Contents for MC573
Page 1: ...MC573 ES5473 MFP Advanced Manual...
Page 18: ...18 1 Basic Operations 7 Select a volume level...
Page 31: ...2 Copy Useful Functions For a Better Finish Color Settings Advanced Copy Settings...
Page 141: ...141 4 Print 5 Press Color Menu 6 Press Adjust Registration 7 Press Yes...
Page 489: ...489 11 Utility Software Storage Manager plug in Create or edit a file to download to a device...
Page 507: ...46532802EE Rev2...


