7
Step 3:
Run a Self Test
Before proceeding, run a self test to check that the
printer is operating correctly. This prints out a list of
available fonts.
1. Turn off the printer.
2. Press and hold MODE and LF while
turning on the printer. Release them
when
RELEASE SW
appears on the
second line of the display.
3. When the printer finishes initializing,
the display will prompt you to insert paper.
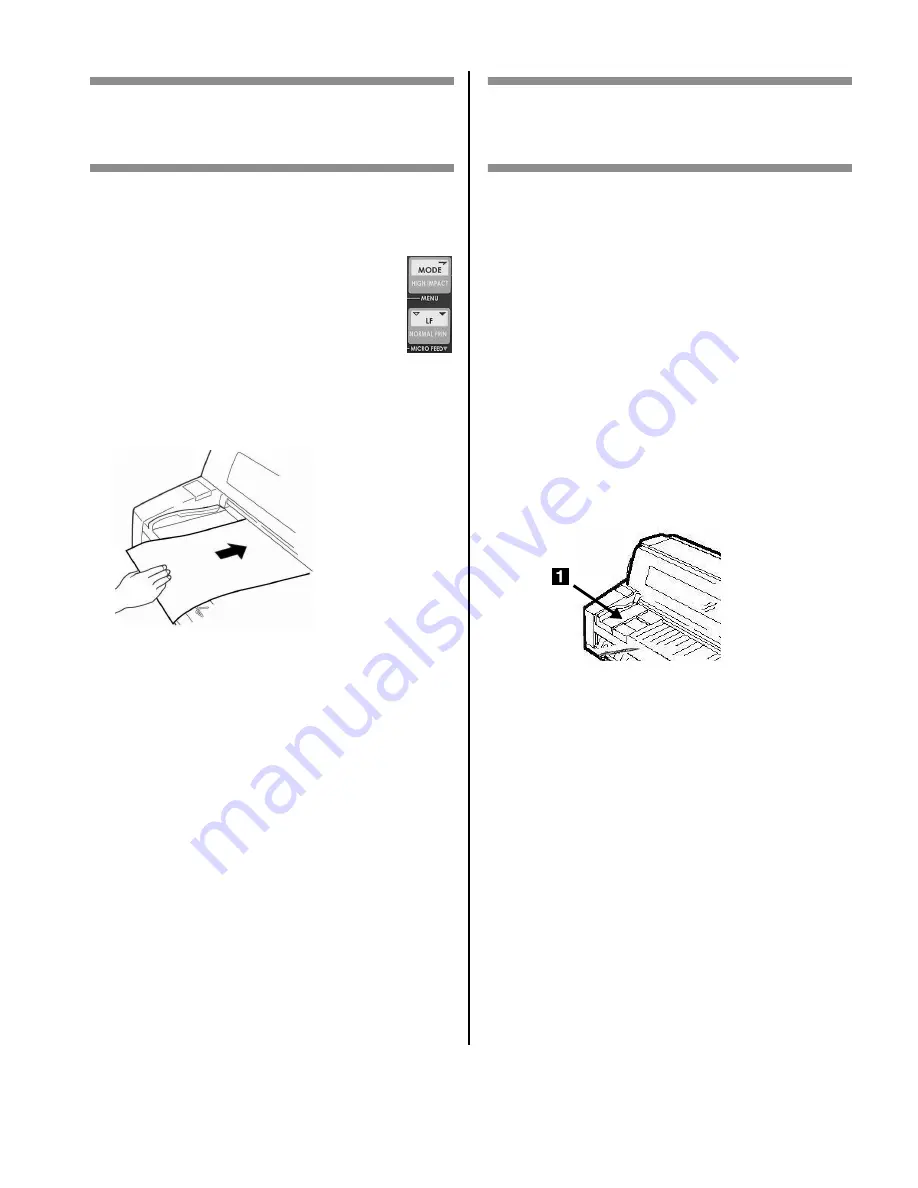
4. Place a letter size or larger sheet of paper on the
platform anywhere within the “Paper range when
Auto Align is ON” area.
The sheet feeds in. The first page of the test
prints and the page is ejected back out onto
the platform. The printer display then prompts
you to insert paper.
5. Remove the printed sheet and insert a new sheet.
The sheet feeds in and the remainder of the test
prints. The page is ejected.
The self test is complete.
Step 4:
Load Paper
Individual Sheets/Forms
(“MANUAL”)
The printer is set at the factory for
• single sheets/forms (Manual Feed)
• Auto Align mode
• Normal print mode
• automatic printhead gap (Auto Gap)
Paper Specifications,
for Use with Auto Align Mode
Note
Printing envelopes requires use of the sheet
guide (
1
) instead of the Auto Align mode. See
your on-line User’s Guide for instructions on
turning off Auto Gap.
Minimum Print Margins
1/4-inch (6.4 mm) on all sides
Individual Sheets
• Size
– Minimum Width: 3.9” (100 mm)
– Maximum Width: 14.3” (364 mm)
– Minimum Length: 2.75” (70 mm)
– Maximum Length: 16.5” (420 mm)
• Weight
– Minimum:13.8 lb. US Bond (52 g/m
2
)
– Maximum: 55.8 lb. US Bond (210 g/m
2
)
MO
DE
+ LF
.j
pg
F5-11a.jpg


