Page: 62
Service Guide ML390/391
Chapter 3 Maintenance & Disassembly
3.2.19 Platen Assembly
· Perform these procedures:
3.2.01
,3.2.02
, 3.2.04
.
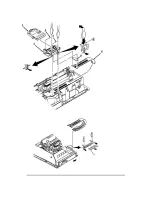
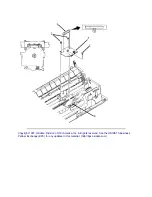
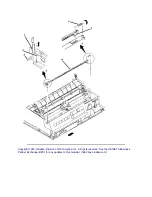
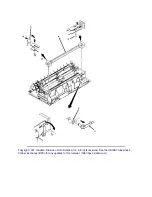
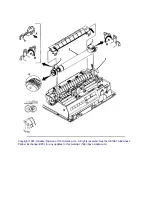
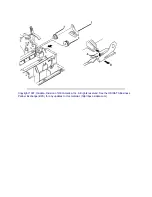
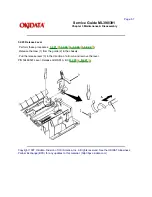
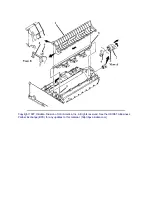
· Push the release lever (1) to the rear of the printer.
· Pull the platen lock levers (2) in the direction of arrow A.
· Rotate the lock levers in the direction of arrow B. This releases the platen assembly (3) from the chassis.
· Lift and remove the platen assembly.
NOTES:
Installation
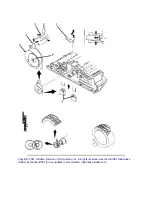
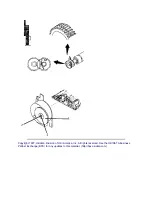
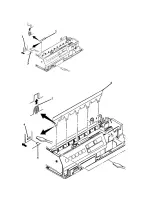
Before installation, turn the bias gear (4) towards the front of the printer as far as it will go.
Set the platen assembly into place.
Verify that the bias gear securely engages the line feed motor gear.
Secure the two lock levers.
Set the release lever to OPEN (front) and check that the groove of the paper chute firmly engages with the
groove of the main chassis.
Cleaning
When cleaning, refer to Section 3.4 of this Service Handbook
.
Lubrication
When lubricating, refer to Section 3.5 of this Service Handbook
.
Do NOT lubricate the line feed motor gear. Lubricant will cause the gear to disintegrate.
P/N 50061305 Platen: (Assembly) Both 90 RSPL A B C
B.2.04
, B.2.06
P/N 50061306 Platen: (Assembly) Both 91 RSPL A B C
B.2.04
, B.2.06
Summary of Contents for MICROLINE Turbo ML390
Page 49: ...Partner Exchange BPX for any updates to this material http bpx okidata com ...
Page 53: ...Page 29 Service Guide ML390 391 Chapter 2 Principles of Operation ...
Page 81: ......
Page 95: ...Partner Exchange BPX for any updates to this material http bpx okidata com ...
Page 106: ...Partner Exchange BPX for any updates to this material http bpx okidata com ...
Page 110: ......
Page 115: ......
Page 132: ......
Page 222: ......

