30
User’s Guide
5.
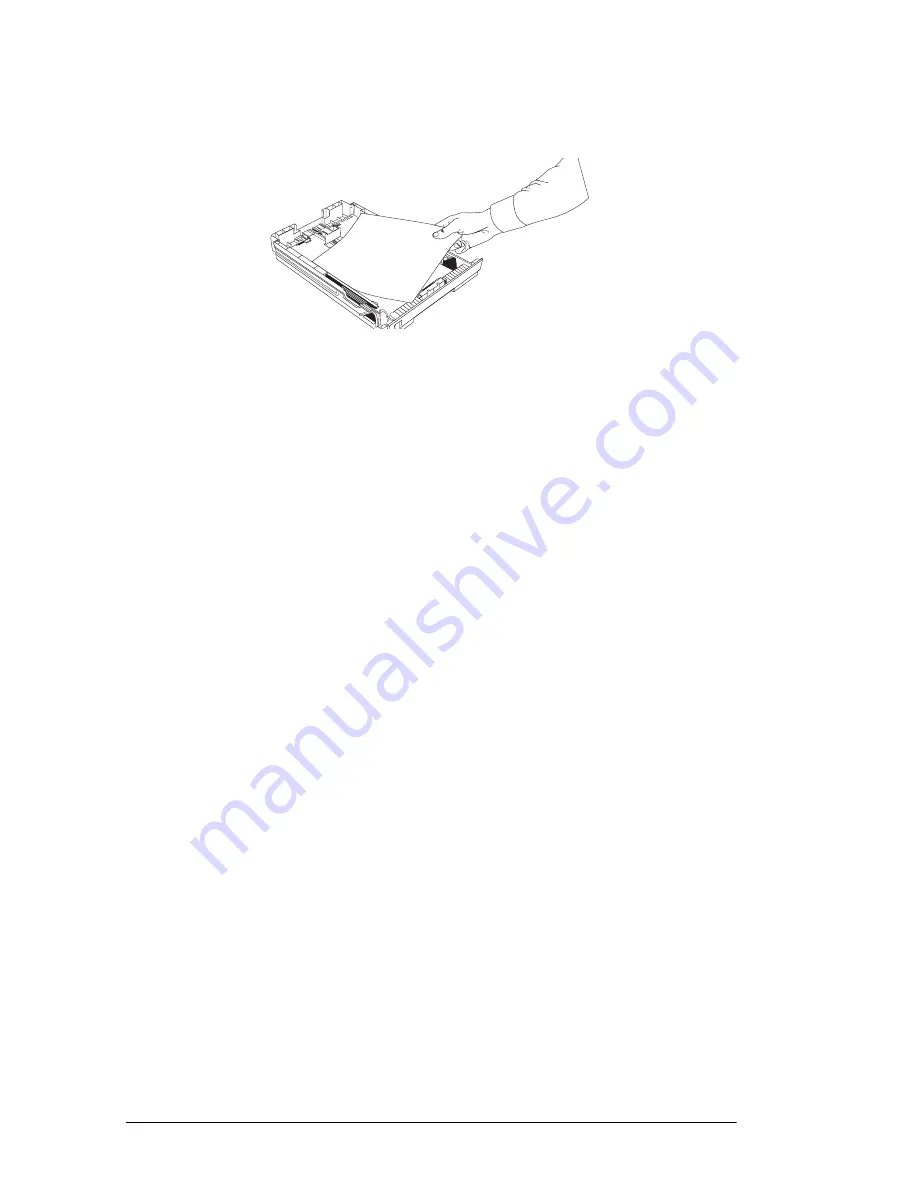
Remove the paper from its wrapper (up to 250 sheets). Note the
“print side” notice printed on the label. Fan the paper.
6.
Load the paper into the cassette, print side down.
Note:
Be sure the paper is under the tabs at the left and right edges of
the cassette. Do not fill past the Paper Full marker. If necessary,
readjust the guides for a snug (but not tight) fit.
7.
Return the tray to the slot. Push it forward until it locks.
Setting time & date
Follow these instructions to set the time and date on your fax machine.
1.
Press the Select Function key.
2.
Press the 9/User Prog. One Touch key.
3.
On the numeric keypad, press 3. The display will show 3:CLOCK
ADJUSTMENT.
4.
Press the YES key. The display will show the currently set date and
time.
5.
Using the numeric keypad, enter the new date and time.
6.
Press the YES key to confirm your entry.
7.
Press the Select Function key to finish.
Setting answering mode
Your fax machine has a number of answering modes which determine how
it handles incoming calls (both fax and voice). The current answering
mode appears on the LCD panel of your fax machine.
Summary of Contents for OKIFAX 5400
Page 1: ...English User s Guide ...
Page 10: ...4 User s Guide ...
Page 14: ...8 User s Guide ...
Page 19: ...Component Identification 13 English ...
Page 26: ...20 User s Guide ...
Page 44: ...38 User s Guide ...
Page 62: ...56 User s Guide ...
Page 90: ...84 User s Guide ...
Page 104: ...98 User s Guide ...
Page 106: ...100 User s Guide ...
Page 110: ...104 User s Guide ...


