30
OKIPAGE 8c Plus
4.
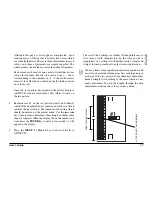
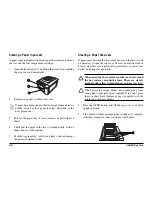
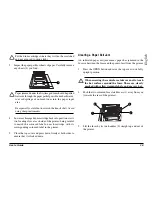
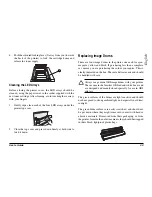
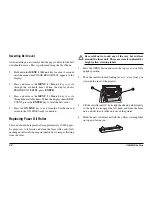
Pull out the sheet of paper from between the fuser rollers.
5.
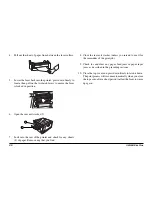
Lower the fuser back into the printer, press down firmly to
locate, then pull on the two latch levers to ensure the fuser
is locked in position.
6.
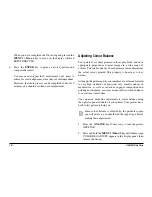
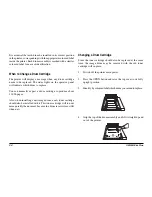
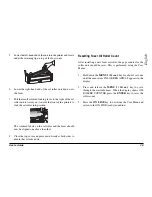
Open the rear exit stacker (3).
8. Close the rear exit stacker (unless you intend to use it for
the remainder of the print job).
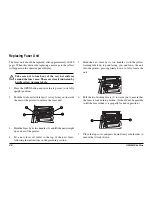
9. Check for and clear any paper feed jams or paper input
jams, as described in the preceding sections.
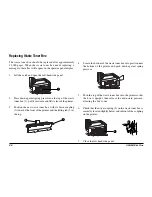
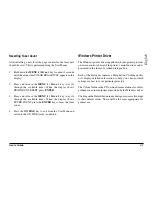
10. Close the top cover and press down firmly to latch it down.
The print process will resume automatically when you close
the top cover, after a short period to allow the fuser to warm
up again.
7.
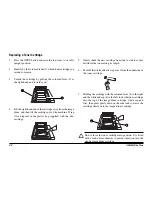
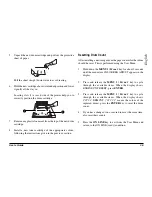
Look into the rear of the printer and check for any sheets
(4) of paper. Remove any that you find.
4
3
Summary of Contents for OKIPAGE 8c Plus
Page 1: ...User s Guide...


