27
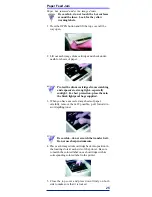
5. Lower the fuser back into the printer, press down
firmly to seat it, then pull on the two blue levers to
make sure that the fuser is locked in position.
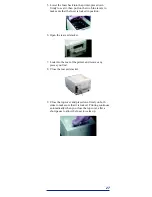
6. Open the rear exit stacker.
7. Look into the rear of the printer and remove any
pieces you find.
8. Close the rear exit stacker.
9. Close the top cover and press down firmly on both
sides to make sure that it is locked. Printing continues
automatically when you close the top cover, after a
short pause to allow the fuser to warm up.

