10
Connecting the machine for operation
BEFORE SWITCHING ON AT THE MAINS, BECOME AQUAINTED WITH THE CONTROLS.
Plug the mains lead into the socket at the rear of the machine, then insert the plug in an earthed
wall socket. Locate the two switches at the front of the machine. The top rocker type switch marked
“Motor” should be in the center “ OFF” position. Switching it to the upper position will make the
platter move in a forward / clockwise direction. Repeat this with the switch in the lower position
and the platter will now revolve in a reverse / anti-clockwise direction. Some noise from the mo-
tor will be heard, this is normal. The second, lower switch governs the vacuum motor. Place in the
downwards “ON” position and you will hear the noise of an old fashioned vacuum cleaner. Your
cleaning machine is now ready for operation!
Drain Down hose
Check that the drain down hose at the rear of the cleaner is in the closed position with the black
end cap in place.
Warning! Never operate the machine without the end cap in place. On no
account, should you try “continuous drain down” by hanging the tube into a receptacle
whilst using the machine. This will instantly void the warranty.
Cleaning test
We recommend a practice run on an old unwanted LP in order to ensure that the machine is set up
and working correctly and to acquaint yourself with the correct cleaning procedure.
Cleaning operation
Place the record on the turntable and secure in position to with the locking clamp. Do not over
tighten.
Note: never force the clamp on, ensure that the clamp engages the threaded spin-
dle correctly. Do not “cross thread !”
Before applying fluid, it is advisable to remove any obvious foreign substances from the LP surface
with a standard record brush but NOT the brush you use for spreading the fluid and scrubbing.
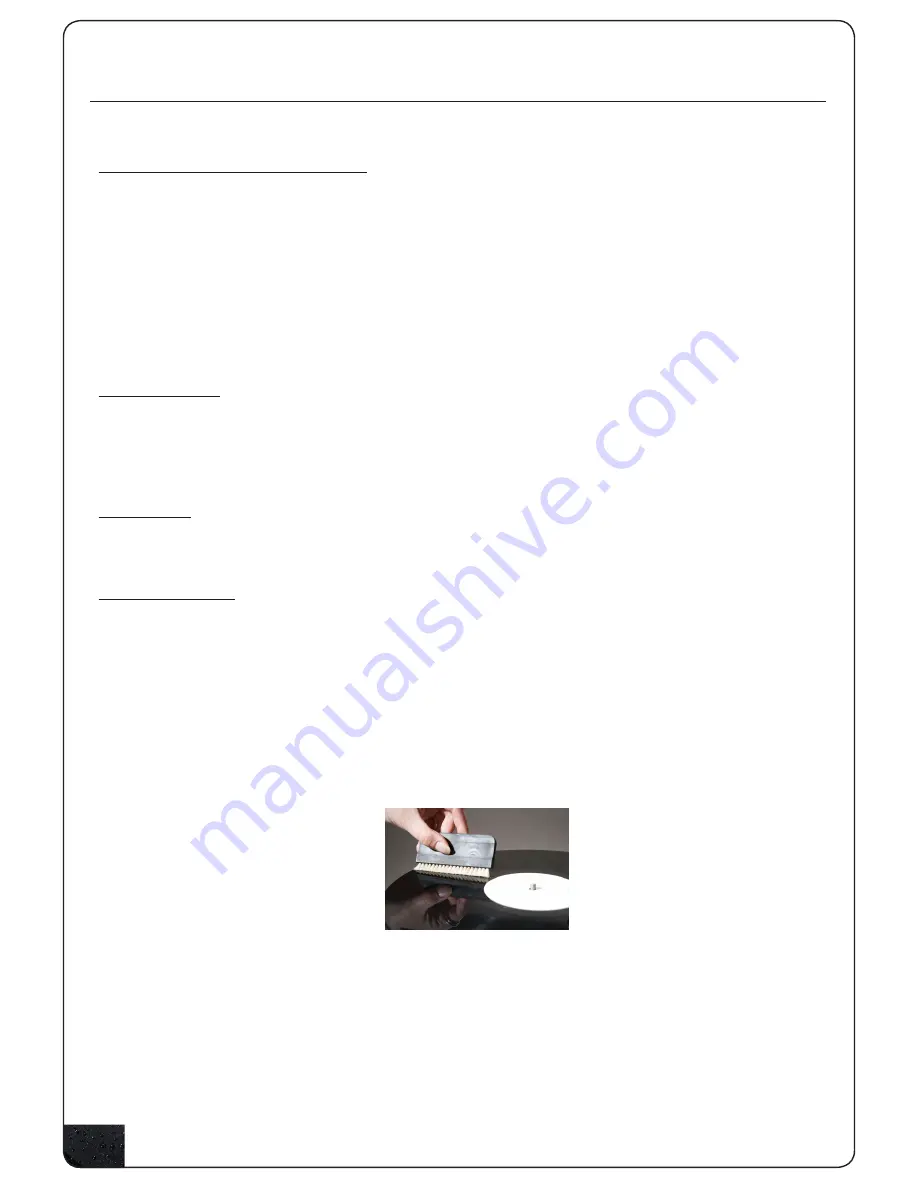
Turn on the turntable in a forward motion and carefully apply a few drops of cleaning fluid and
spread with the brush. Applying the correct amount of cleaning fluid is an art in itself and needs at-
tention. A good rule is “cover the record – not the cleaning machine.” Not too little – not too much.
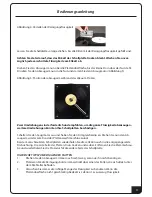
Photo 4: distributing the cleaning fluid
Make sure that the fluid is evenly distributed over the entire surface, add more fluid if necessary.
Once you are happy with the result then you can push down gently and flex the bristles of the
brush. You are trying to lift some of the dirt out of the grooves. Try 3 or 4 revolutions in the forward
direction and the same in the reverse mode. No need to add more fluid.
Try to prevent the re-
cord label from getting wet, wipe off any spilled fluid immediately.
Owner’s Manual


