background image

EM1401 / EM1401 UT EMA Thickness Gauge.   Operation Manual. 


+7(812) 385-54-28 

info@oktanta-ndt.ru 


16


In the opened window, press the 

, and 

 buttons to specify 

the known thickness value; then press the 

 button

.


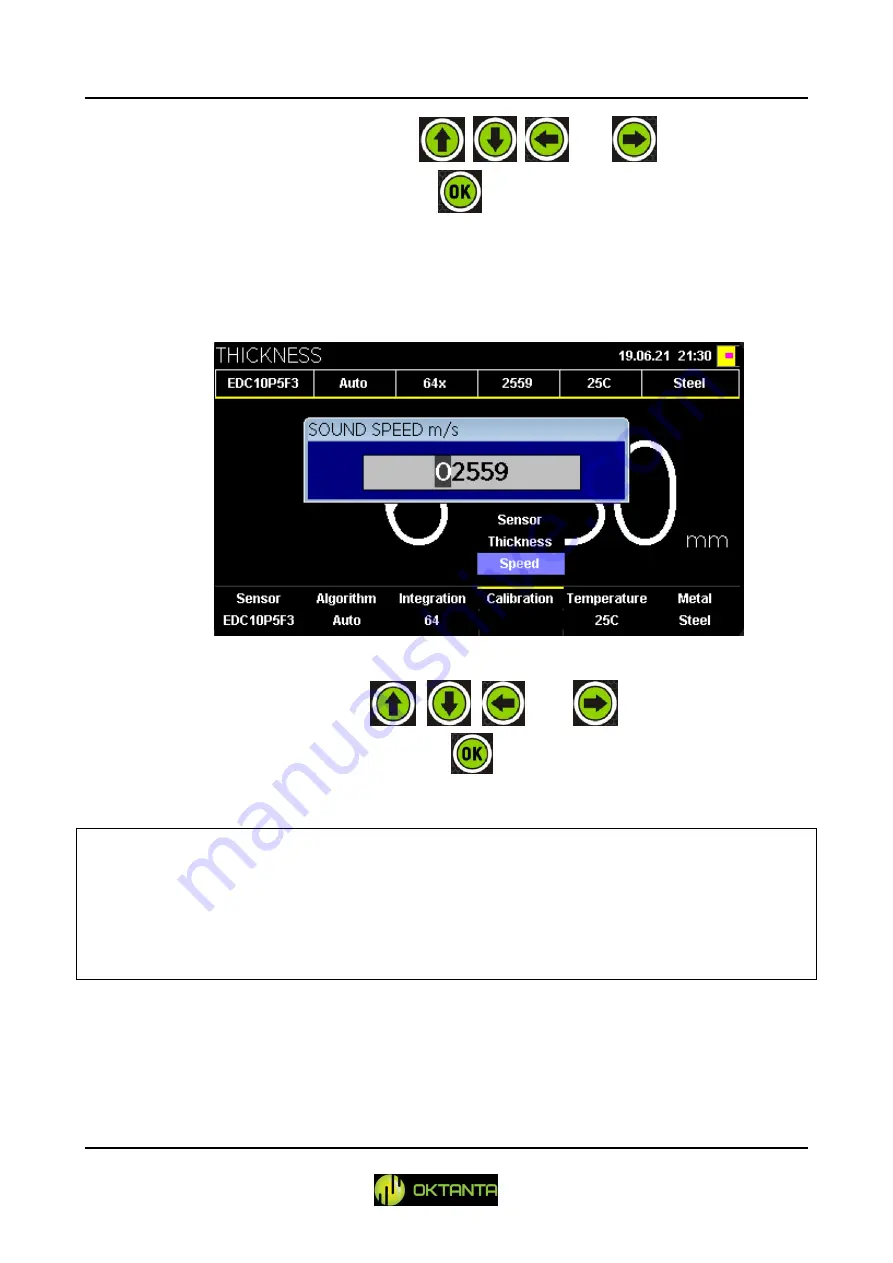
Speed. This item enables to specify the acoustic speed. 

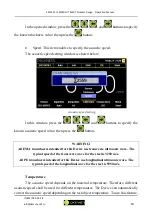
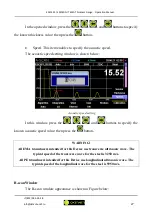
The acoustic speed setting window is shown below: 


Acoustic speed setting 

In this window, press the 

, and 

 buttons to specify the 

known acoustic speed value; then press the 

 button


WARNING! 

All EMA transducers intended for this Device use transverse ultrasonic wave. The 

typical speed of the transverse wave for the steel is 3250 m/s. 

All PE transducers intended for this Device use longitudinal ultrasonic wave. The 

typical speed of the longitudinal wave for the steel is 5950 m/s. 


Temperature 

The acoustic speed depends on the  material temperature. Therefore, different 

acoustic speed shall be used for different temperatures. The Device can automatically 
correct the acoustic speed depending on the test object temperature. To use this feature, 

Summary of Contents for EM1401

Page 1: ...1401UT_M_921807721 7 812 385 54 28 info oktanta ndt ru EM1401 EM1401 UT Thickness Gauge Operation Manual Saint Petersburg...

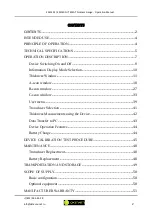
Page 2: ...e Selection 10 Thickness Window 11 A scan window 18 B scan window 27 C scan window 33 User menu 39 Transducer Selection 41 Thickness Measurements using the Device 42 Data Transfer to PC 43 Device Oper...

Page 3: ...EM1401 EM1401 UT EMA Thickness Gauge Operation Manual 7 812 385 54 28 info oktanta ndt ru 3 WARRANTY CERTIFICATE 51 INFORMATION ABOUT REPAIR 52 INFORMATION ABOUT CALIBRATION TEST 53...

Page 4: ...OF OPERATION The Device measures time during which the acoustic wave transits through the test object The measured time is converted into thickness using the specified value of speed of ultrasonic wav...

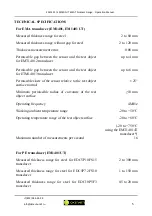
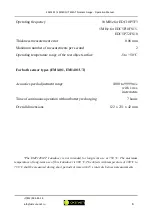
Page 5: ...transducer up to 6 mm Permissible skew of the sensor relative to the test object surface normal 25 Minimum permissible radius of curvature of the test object surface 10 mm Operating frequency 4 MHz Wo...

Page 6: ...surface 5 to 50 C For both sensor types EM1401 EM1401 UT Acoustic speed adjustment range 1000 to 9999 m s with 1 m s increments Time of continuous operation without battery recharging 7 hours Overall...

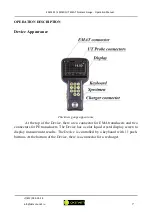
Page 7: ...kness gauge appearance At the top of the Device there are a connector for EMA transducers and two connectors for PE transducers The Device has a color liquid crystal display screen to display measurem...

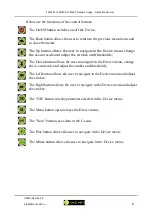
Page 8: ...d thresholds The Down button allows the user to navigate in the Device menu change the A scan scale and adjust the strobes and thresholds The Left button allows the user to navigate in the Device menu...

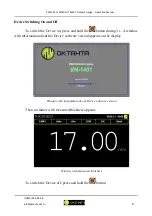
Page 9: ...switch the Device on press and hold the button during 3 s A window with information about the Device software version appears on the display Window with information about Device software version Then...

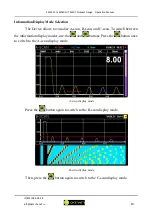
Page 10: ...allows to visualize A scan B scan and C scan To switch between the information display modes use the and buttons Press the button once to switch to the A scan display mode A scan display mode Press t...

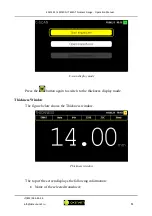
Page 11: ...nfo oktanta ndt ru 11 C scan display mode Press the button again to switch to the thickness display mode Thickness Window The figure below shows the Thickness window Thickness window The top of the sc...

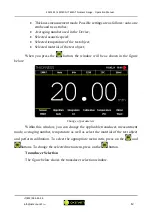
Page 12: ...material of the test object When you press the button the window will be as shown in the figure below Change of parameters Within this window you can change the applicable transducer measurement mode...

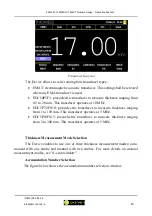
Page 13: ...operates at 10 MHz EDC5P7 2FS10 piezoelectric transducer to measure thickness ranging from 1 to 150 mm This transducer operates at 5 MHz EDC5P10FS15 piezoelectric transducer to measure thickness rang...

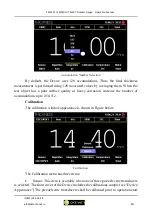
Page 14: ...st object has a poor surface quality or heavy corrosion increase the number of accumulations up to 256 512 Calibration The calibration window appearance is shown in Figure below Calibration The Calibr...

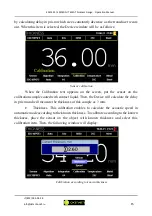
Page 15: ...screen put the sensor on the calibration sample coated with contact liquid Then the Device will calculate the delay in prism and will measure the thickness of this sample as 3 mm Thickness This calibr...

Page 16: ...peed value then press the button WARNING All EMA transducers intended for this Device use transverse ultrasonic wave The typical speed of the transverse wave for the steel is 3250 m s All PE transduce...

Page 17: ...re then press the button WARNING To measure the thickness of the heated objects use the special EMT14014T EMA transducer Use of the other transducers for the objects which temperature exceed 80 C can...

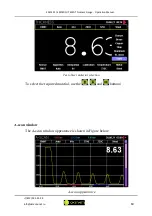
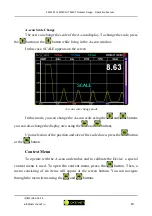
Page 18: ...Gauge Operation Manual 7 812 385 54 28 info oktanta ndt ru 18 Test object material selection To select the required material use the and buttons A scan window The A scan window appearance is shown in...

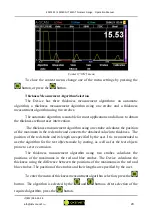
Page 19: ...ge mode In this mode you can change the A scan scale using the and buttons you can also change the display area using the and buttons Upon selection of the position and size of the scaled area press t...

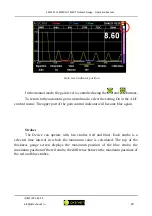
Page 20: ...lculates the position of the maximum in the red strobe and converts the obtained value into thickness The position of the red strobe and its length are specified by the user It is recommended to use t...

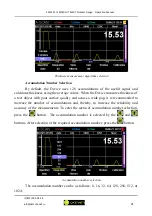
Page 21: ...es thickness of a test object with poor surface quality and across a wide gap it is recommended to increase the number of accumulations and thereby to increase the reliability and accuracy of the meas...

Page 22: ...selection press the button The A scan view is selected by the and buttons After selection of the required view press the button A scan view change Gain Control The Device has manual and automatic gain...

Page 23: ...he setting On in the AGC context menu The upper part of the gain control indicator will become blue again Strobes The Device can operate with two strobes red and blue Each strobe is a selected time in...

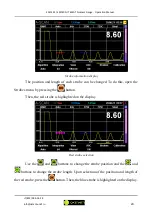
Page 24: ...be changed To do this open the Strobes menu by pressing the button Then the red strobe is highlighted on the display Red strobe selection Use the and buttons to change the strobe position and the and...

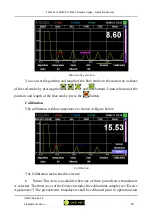
Page 25: ...pon selection of the position and length of the blue strobe press the button Calibration The calibration window appearance is shown in Figure below Calibration The Calibration menu has three items Sen...

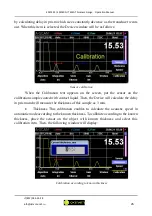
Page 26: ...screen put the sensor on the calibration sample coated with contact liquid Then the Device will calculate the delay in prism and will measure the thickness of this sample as 3 mm Thickness This calibr...

Page 27: ...elow Acoustic speed setting In this window press the and buttons to specify the known acoustic speed value then press the button WARNING All EMA transducers intended for this Device use transverse ult...

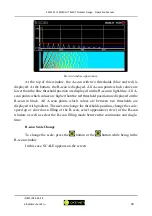
Page 28: ...an points which values are higher than the red threshold position are displayed on the B scan in black All A scan points which values are between two thresholds are displayed with gradient The user ca...

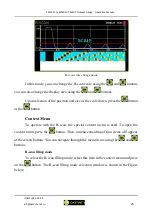
Page 29: ...of the scaled area press the button or the button Context Menu To operate with the B scan the special context menu is used To open the context menu press the button Then a menu consisting of four ite...

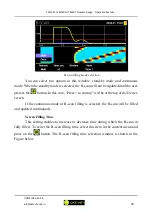
Page 30: ...user presses the button In this case Press to start up will be at the top of the Device screen If the continuous mode of B scan filling is selected the B scan will be filled and updated continuously S...

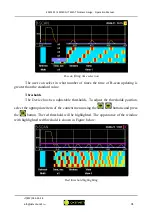
Page 31: ...of B scan updating is greater than the standard value Thresholds The Device has two adjustable thresholds To adjust the thresholds position select the appropriate item of the context menu using the bu...

Page 32: ...thresholds position influences the B scan appearance Data which are higher than the red threshold are displayed on the B scan in black Data which are lower than the blue threshold are displayed on the...

Page 33: ...s Gauge Operation Manual 7 812 385 54 28 info oktanta ndt ru 33 B scan appearance option 2 B scan appearance option 3 C scan Window The Device can save data as the C scan The C scan window appearance...

Page 34: ...rt inspection Open inspections Continue inspection To navigate through these three items use the and buttons To return from any selected item press on the button Start inspection The appearance of thi...

Page 35: ...test object then the appearance of this window will be as shown below Start Inspection window appearance Matrix test object You can navigate through this window using the and buttons You can change t...

Page 36: ...th from top to bottom vertical lines and from left to right horizontal lines The user can select the order of filling the C scan in the Order item using the and buttons The user shall enter the base t...

Page 37: ...t object C scan filling mode for Pipe test object This window shows the A scan C scan current value of the measured thickness current coordinate as well as the minimum thickness which was found during...

Page 38: ...saved inspection results If necessary the user can repeat measurements for any point in the previously saved archive The previously saved archive selection window is shown in the Figure below Open in...

Page 39: ...delete all archives saved in the Device memory Continue inspection This item becomes active when the user has started the inspection earlier and has terminated it by switching to the other windows of...

Page 40: ...ss data are updated To change the value press the and buttons Font color This item enables to select the thickness color in the Thickness window To change the value press the and buttons Background co...

Page 41: ...erature base thickness surface quality etc The characteristics of all applicable sensors are given in the Comparative table provide below Comparative table for transducer selection Transducer Test obj...

Page 42: ...0 from 2 to 300 The transducer operates at 5 MHz and is designed for thickness measurements of the thick objects and of the objects with poor surface quality Note that when using the EMT14014T transdu...

Page 43: ...Transfer to PC All saved archives with inspections S scans are stored in the Device memory in csv format This format can be opened in Microsoft Excel To transfer the files from the Device to the PC us...

Page 44: ...tional acceleration caused by the magnetic field It is recommended to place the transducer on the test object smoothly without throwing and holding it by hand to increase the service life of the trans...

Page 45: ...e of the Device DEVICE CALIBRATION TEST PROCEDURE The Device calibration test is carried out by the bodies of the Service of Legal Metrology or other authorized organizations accredited for carrying o...

Page 46: ...sing the following test samples 1 A 180 set of standard samples of the equivalent ultrasonic thickness or a 176 1 97 set of ultrasonic thickness control gauges 2 A set of plane parallel samples made o...

Page 47: ...with Operation Description and using a test sample from the scope of supply or another test sample that has the required certificate The functional test procedure is as follows 1 Calibrate the Device...

Page 48: ...f the obtained values of the Device measurement error for all test samples do not exceed 0 04 mm MAINTENANCE Transducer Replacement When the plastic coating of the transducer is worn out replace the t...

Page 49: ...emperature 5 to 30 Humidity 80 at 25 C Store and transport the Device only in a case from the scope of supply Avoid any mechanical damages of the case and Device During long term storage the Device ba...

Page 50: ...c configuration EM1401 thickness gauge 1 pc Storage case 1 pc Recharger 1 pc EMT1402 transducer Connecting cable 1 pc 1 pc Operation Manual 1 pc Protective cover 1 pc Optional equipment 14013 transduc...

Page 51: ...draw its warranty obligations when 1 The Device is used for purposes other than those specified in this operation manual 2 The Device operation storage and transportation conditions and requirements s...

Page 52: ...EM1401 EM1401 UT EMA Thickness Gauge Operation Manual 7 812 385 54 28 info oktanta ndt ru 52 INFORMATION ABOUT REPAIR Date of Application Fault Type Repair Completed Not Completed Date Signature Stamp...

Page 53: ...EM1401 EM1401 UT EMA Thickness Gauge Operation Manual 7 812 385 54 28 info oktanta ndt ru 53 INFORMATION ABOUT CALIBRATION TEST Date of calibration test Valid till Calibrator...

Reviews: