QUICK START GUIDE (English)
Congratulations!
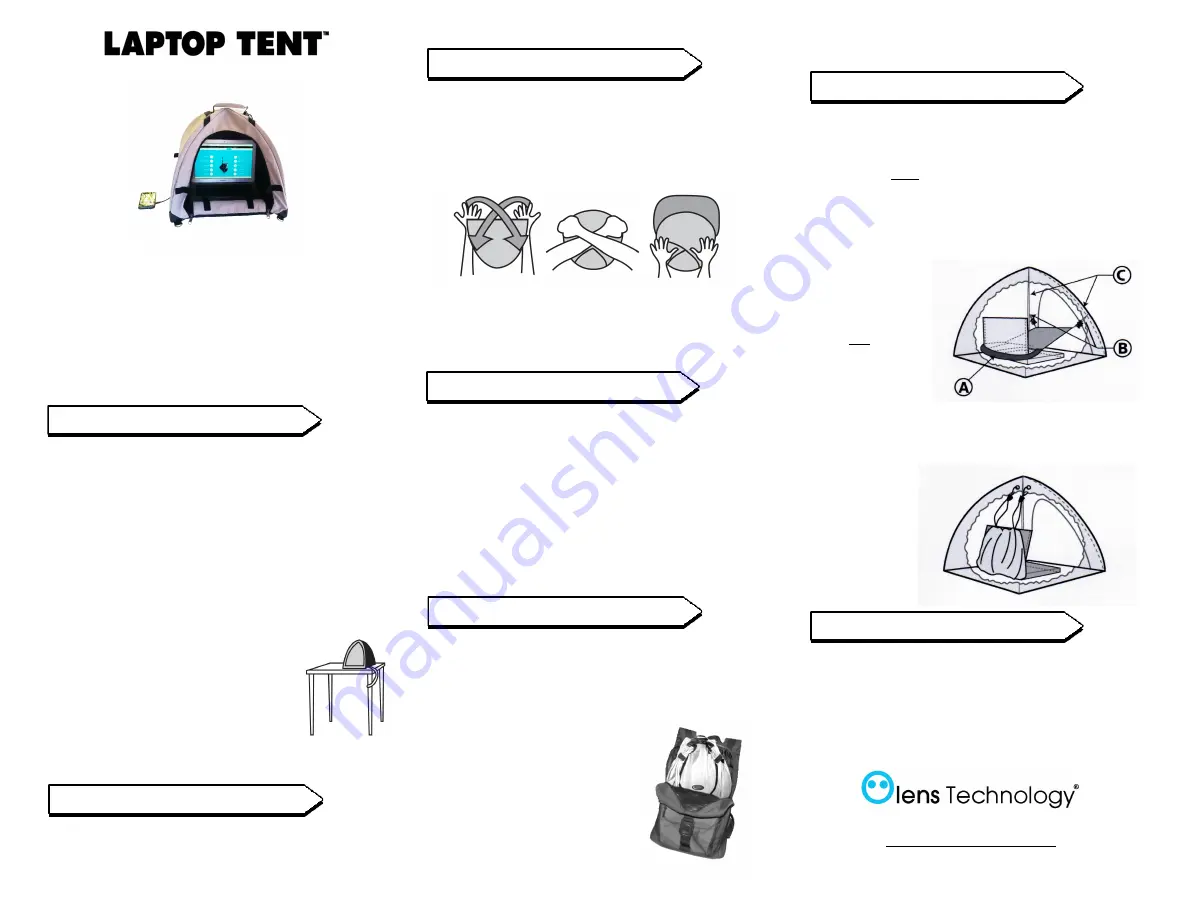
You are now the proud owner of a Laptop Tent™
Collapsible Outdoor Office. The sturdy stitching, quality
zippers and fasteners, and water-resistant UV material
should help give you years of use and enjoyment. If you
have any questions or concerns please contact Olens
Technology® at 805-489-3636. We’re here to help!
1. Important Safety Tips
Moisture
The bottom of Laptop Tent™ is made of heavy-duty coated
material. Feel free to place it on the sand at the beach, or
on the grass in the park. However, please be aware
Laptop Tent™ is water-resistant, not waterproof.
Wind
If possible always fasten Laptop Tent™ to a stationary
object (yourself if necessary) with the shoulder strap or a
security cable (not-included). There are small metal rings
at the bottom of each corner to help you
tie down with the shoulder strap. Make
sure the door opening is turned away from
the direction of the wind, and zip Laptop
Tent™ closed when not in use.
NOTE
: Olens Technology® and its affiliates
will not be held liable for damage to any
devices or products caused by negligence
or misuse Laptop Tent™.
2. Using the Stow Bag
To remove Laptop Tent™, unzip the stow bag, reach under
the angled restraint flaps inside the top, and pull gently
down on Laptop Tent™.
3. Stowing Laptop Tent™
Hold your flattened Laptop Tent™ with one hand on each
corner, then cross your hands to form Laptop Tent™ into a
small circle. Switch hands, place Laptop Tent™ into the
stow bag, tuck the corners under the angled flaps, then zip
the case.
Note: When using Laptop Tent™ in Carry Mode, the Stow
Bag can hold all your other items. Fill it up, zip it shut, and
put it inside the collapsed Laptop Tent™ with your laptop.
4. Features
Power Access
At the bottom of the back of Laptop Tent™ is a small slot
for power cables (cables not included). Pull the tabs to
open.
Security
Discourage tampering or theft with a security cable (not
included) by attaching it through the cable slot and the
luggage style door zips, locking them shut with a small
luggage lock (not included).
5. “Fat Bat” Mode
FAT BAT mode gives you the ability to leave your laptop
inside the collapsed Laptop Tent™ so you can slide the
whole thing into your backpack for single bag convenience.
To use, lay Laptop Tent™ (while folded flat in Carry Mode)
on its back. Zip it open and rotate
the laptop 90-degrees so that it is
now taller than it is wide. Zip the
Laptop Tent™ shut. Pull both
back bottom corners together in
front of the zipper door and clip
them together with the carabiner
that is attached to one of the
shoulder strap rings on the
handle. Lift Laptop Tent™ by the
carabiner and it should now resemble a “fat bat”. Lower it
into your larger backpack or suitcase.
6. Glare Shield
The Glare Shield found inside Laptop Tent™ prevents
natural light from being reflected inside the dome and
prevents glare on your laptop screen. It is supposed to
hang from the front metal struts. To use the Glare Shield,
place the wide elastic band (A) over your laptop’s screen
and pull it down to the bottom. Tighten the small barrel
clamps (B) on the elastic cords at its corners until the Glare
Shield stretches tight. Slide the snaps on the elastics (C)
up or down the
inside struts to
adjust the angle of
the Glare Shield so
you can see the
screen and the
keyboard.
NOTE
: When the
Glare Shield is not
needed, slide the large elastic up off the computer screen,
push the snaps up the struts to the top inside of the dome,
and let the Glare Shield hang down behind the laptop
screen so it is out
of the way until
needed again.
7. An Unexpected Bonus
Prolong Battery Life!
Due to the dark interior of Laptop Tent™ it is often
possible to manually decrease screen brightness, thereby
increasing battery life and possible viewing time.
Thank you for your purchase!
Dallas, TX
www.olenstechnology.com
805-489-3636


