Page 11
DH1 BASE UNIT / DH2 WIRELESS GATEWAY
USER GUIDE
6.
CONFIGURATION/INSTALLATION SEQUENCE
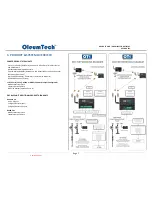
Configuration
1.
Download and install latest BreeZ® Software v5.0 or higher to a PC
Download Center: http://support.oleumtech.com
(requires login credentials)
2.
Check for latest Wireless Gateway Firmware on Download Center
3.
Create a BreeZ® Project File (
see sec. 12
)
4.
If upgrading Firmware, follow these instructions:
a.
Physically Connect Gateway to PC and supply power
b.
Open Connect screen and click “Flash”
c.
Locate new Firmware file and click “Open”
d.
DO NOT DISCONNECT OR TURN POWER OFF while upgrading
Firmware (It may take a few minutes for upgrading process to
finish)
e.
Wait until LED turns off
5.
Power up Gateway (9-30Vdc) and wait until boot-up sequence is complete
*(DH2: 9-24 VDC Prior to SN: SM11266715)
(LED will turn off once boot-up is complete)
6.
Connect PC to Gateway (
see sec. 17
)
a.
USB to Serial Adapter (SX1000-CC9)
b.
Gateway Configuration Cable (SX1000-CC1)
7.
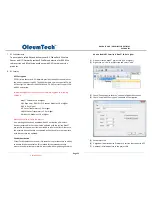
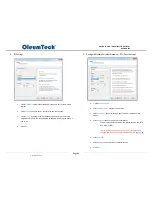
Identify COM Port for use in BreeZ® (Device Manager)
8.
Select a Gateway in BreeZ® Project Tree (
see sec. 17
)
9.
Update Gateway with BreeZ® Project File (
see sec. 18
)
10.
Confirm Gateway “Configuration Download OK” in Build Tab Window in
BreeZ® (
see sec. 18
)
Installation (see sec. 8-11)
1.
Install Gateway inside a NEMA enclosure
2.
Follow best grounding practices
3.
Setup and connect an Antenna with Lightening Arrestor to Gateway
4.
Connect Gateway to third-party Serial device(s)
5.
Power up Gateway
6.
Power up/reboot any impacted sensors/devices if necessary
7.
Verify RF and data communications
a.
Use Modbus Register Polling and Write features in BreeZ®
b.
Verify communication from third-party device(s) or SCADA system
Controlled Copy


