KIT B0872
ENGLISH
EN - 11
3.3 - USE OF THE REMOTE CONTROLLER
The remote controller supplied with the appliance has been designed so as to grant it maximum robustness
and exceptional functionality, but it still needs to be handled with care.
Avoid:
•
leaving it exposed to rain, pouring liquids on its keyboard or dropping it in water;
•
making it undergo excessive shocks or dropping it on hard surfaces,
•
leaving it exposed to sun rays,
•
interposing obstacles between the remote controller and the appliance while the remote controller is being used.
Additionally:
•
if other appliances equipped with remote controller (TV, radio, stereo units, etc.) are used in the
same room, some interferences may occur;
•
electronic and fluorescent lamps may interfere with the communications between the remote
controller and the appliance,
•
extract the batteries in case of prolonged inactivity of the remote controller.
3.3.a - Inserting the batteries
To correctly insert the batteries:
a
. Remove the cover of the battery compartment (Fig.27).
b
. Insert the batteries in the specific compartment (Fig.27).
Scrupulously respect the polarities indicated on the bottom of the battery compartment.
c
. Correctly close the cover (Fig.27).
3.3.b - Replacing the batteries
Always use new batteries.
The use of old batteries or of batteries of a different type may generate a malfunction of
the remote controller.
- The remote controller uses two 1,5V dry-cell alkaline batteries (AAA type) (Fig.27).
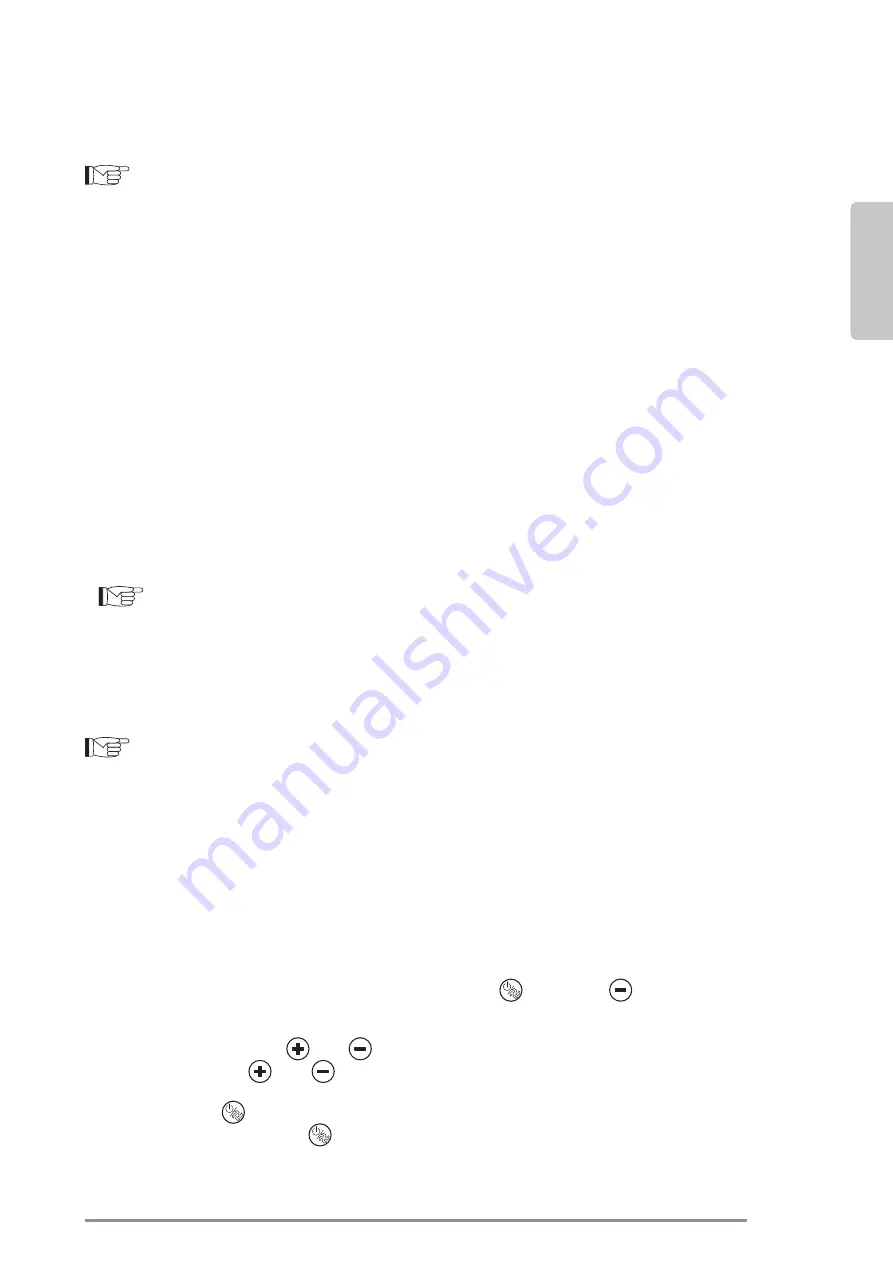
3.4 - BOARD CONFIGURATION
Work as follows:
a
. Connect power supply, then ensure that the latter is set to any mode except for stand-by.
b.
On the control panel, simultaneously press the key
“
”
(T2) and
“
”
(T1) for at least 5 seconds,
until an acoustic signal is emitted.
c.
The display shows the reference to the parameter
d.
Scroll using the key
“
”
or
“
”
(T1) until you select the desired parameter
e.
Press the key
“
”
or
“
”
(T1) to scroll the list of parameters: CF -> bU -> Ad -> Fa -> Po -> co ->
CF -> …
f.
Press key
“
”
(T2) to access the value
g.
Release and press key
“
”
(T2) for more than 3 seconds to change the value (Display blinking)
Summary of Contents for B0872
Page 2: ......
Page 7: ......
Page 9: ...3 3 3a 3 3a 3b 4 4 3 5 6 6 5 y x 6 3a 3 3b 3a 3b...
Page 10: ...180 7 7a 7b 7b 7b 7 8...
Page 166: ...EL 2 3 13 TIMER 18 3 13 a timer 18 3 13 b timer 18 3 14 18 3 15 LED 19 3 16 20 4 20 5 21...
Page 167: ...KIT B0872 EL 3 0 0 1 0 2 0 2 a...
Page 168: ...EL 4 0 3 1 OLIMPIA SPLENDID 2 3 4 5 6...
Page 169: ...KIT B0872 EL 5 7 8 9 OLIMPIA SPLENDID 10 11 12 13 A 14 15 16 17 18 19...
Page 179: ...KIT B0872 EL 15 3 8 3 2 LED LED LED LED T2 B2 10 11 B6 3 8 a T2 A4 B6 6 3 8 b T2 A3 B6 5...
Page 185: ...KIT B0872 EL 21 5 60 2 3 silent 220 V...
Page 186: ...EL 22 FI E2 E3 E4 E5 stand by 5 T2 T3...
Page 187: ......
Page 188: ...263995A...


