


GB
F
D
6
I
1
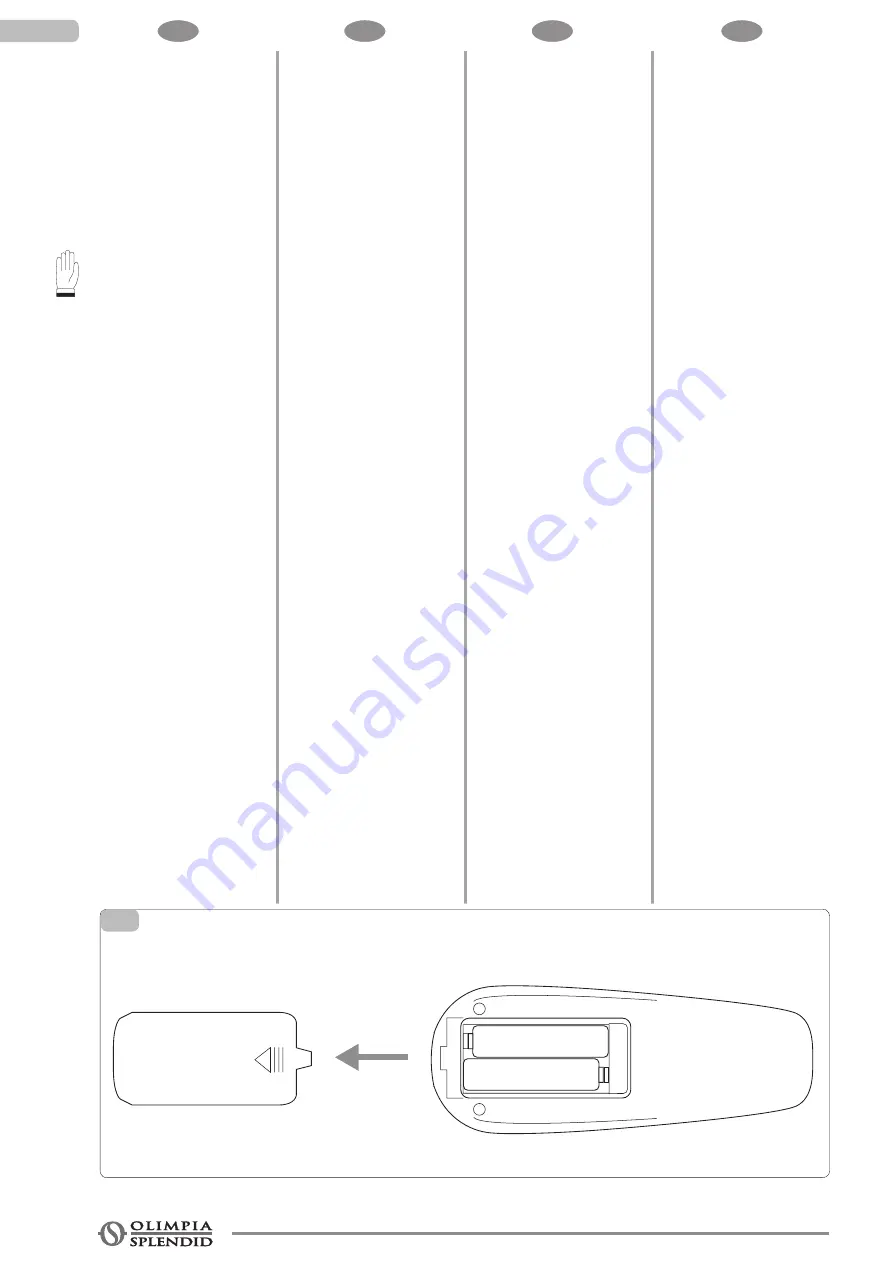
INSERIMENTO/RIMOZIONE
DELLE BATTERIE
Per il telecomando devono essere
esclusivamente usate 2 batterie a
secco LR03 AAA da 1,5 V che,
una volta scariche, devono essere
eliminate solamente tramite gli
appositi punti di raccolta predisposti
dalle Autorità Locali per i rifiuti di
questo tipo.
ATTENZIONE:
E n t r a m b e l e b a t t e r i e
devono essere sostituite
contemporaneamente.
Per inserire le batterie occorre
aprire l’apposito sportellino a
scatto che si trova nella parte
posteriore del telecomando.
Le batterie devono essere inserite
rispettando scrupolosamente i
segni di polarità indicati sul fondo
del vano.
Richiudere il portellino a scatto
una volta inserite le batterie.
ACCENSIONE/
SPEGNIMENTO
DELL’APPARECCHIO
L’apparecchio può essere acceso o
spento premendo B1 sul telecomando.
Quando l’apparecchio è spento tutti i
timer vengono resettati.
INSERTING/REMOVING BAT-
TERIES
Only use two dry LR03 AAA 1.5
V batteries to power the remote
control.
Always dispose of discharged
batteries using the collection points
set up for this type of waste product
by your Local Authority.
WARNING:
Always change both batteries at
the same time.
To insert the batteries, open the
flap on the back of the remote
control.
Strictly adhere to the polarity
signs on the bottom of the battery
housing.
Re-close the flap once the
batteries have been inserted.
SWITCHING THE APPLIANCE
ON/OFF
The appliance can be switched ON
or OFF for by pressing B1 on the
remote control . When the appliance
is OFF all the working timers are
‘reset’.
INTRODUCTION/ENLEVE-
MENT DES BATTERIE
N’utiliser, pour la télécommande,
que 2 piles sèches LR03 AAA de
1,5 V qui, une fois déchargées, ne
doivent être éliminées qu’aux points
de collecte prévus pour ce genre de
déchets par les Autorités Locales.
ATTENTION :
Remplacer les deux piles en
même temps.
Pour l’introduction des piles,
ouvrir le compartiment à déclic
situé au dos de la télécommande.
Introduire les piles en respectant
scrupuleusement les polarités
indiquées sur le fond du
logement.
Refermer le compartiment à
déclic après l’introduction des
piles.
ALLUMAGE/EXTINCTION DE
L’APPAREIL
L’appareil peut être allumé ou éteint en
appuyant sur B1 sur la télécommande.
Quand l’appareil est éteint, tous les
temporisateurs sont remis à zéro.
EINSETZEN/ENTFERNEN
DER BATTERIEN
Für die Fernbedienung dürfen
ausschließlich 2 Trockenbatterien
LR03 AAA mit 1,5 V verwendet
werden, die nach ihrer Entleerung
nur über eine von den örtlichen
B e h ö r d e n e i n g e r i c h t e t e
Sammelstelle für diese Art von
Abfällen entsorgt werden müssen.
WICHTIGER HINWEIS:
B e i d e B a t t e r i e n m ü s s e n
gleichzeitig ausgetauscht
werden.
Zum Einsetzen der Batterien die
Klappe auf der Rückseite der
Fernbedienung öffnen.
Die Batterien müssen so
eingesetzt werden, dass
die am Boden der Öffnung
aufgezeichneten Polaritätshinweise
beachtet werden.
Die Klappe na
ch dem Einsetzen
der Batterien wieder schließen.
E I N S C H A L T E N /
A U S S C H A L T E N D E S
GERÄTES
Das Gerät kann feingeschaltet
oder ausgeschaltet werden, indem
B1 auf der Fernbedienung. Bein
ausgeschaltetem Gerät werden alle
Timer zurückgesetzt.
1.3
1.4
2
+
+
--
--


