background image

5

Parts Introduction                                                    

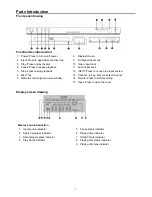
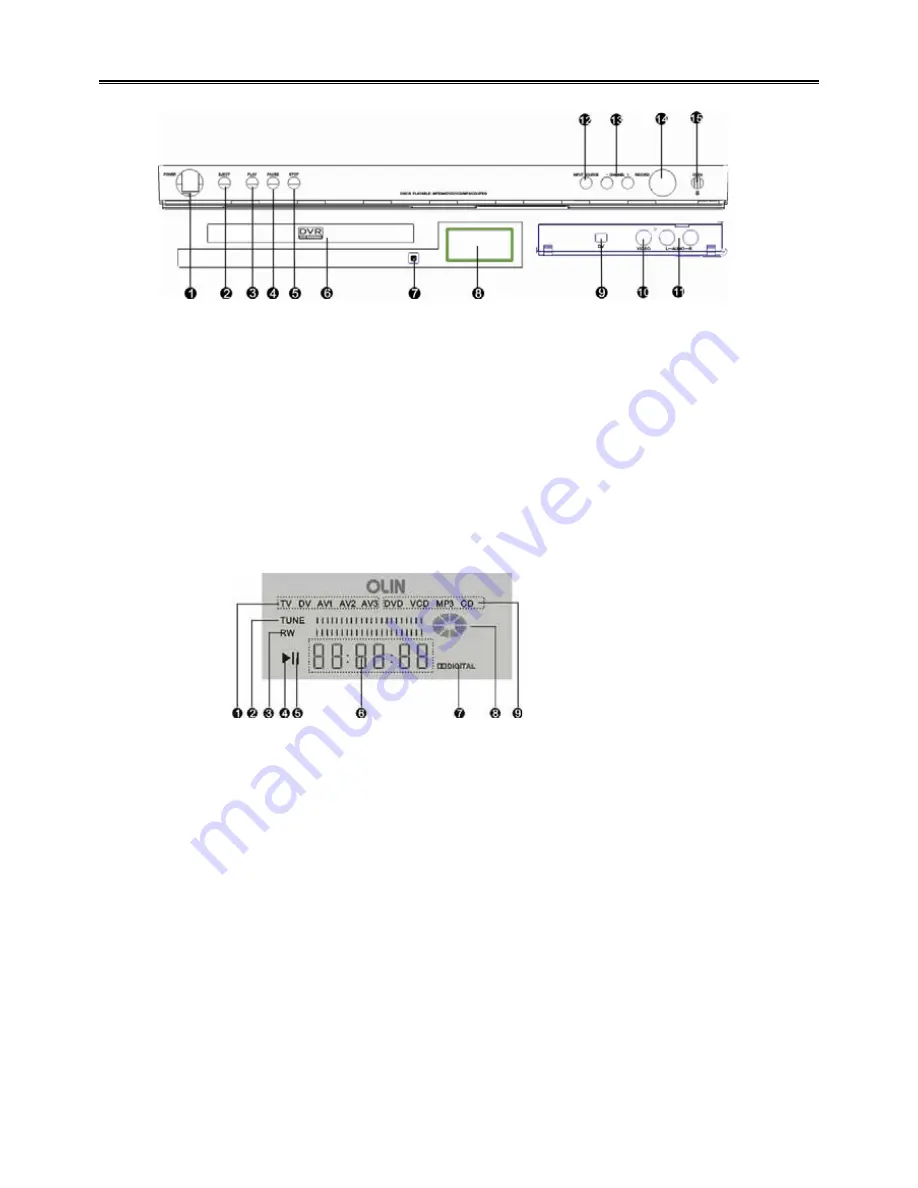
Front panel drawing 


Function Key introduction: 


Display screen drawing 


Display Logo introduction   


8   Display Screen. 

9   DV Signal Input Jack 

10  Video Input Jack 

11  Audio Input Jack 

12    INPUT: Press to choose the input source. 

13    Channel -/+ key: Press to select channel. 

14    Record: Press to start recording 

15    Open: Press to open the cover. 

1  Power: Press to turn on/off power. 

2  Eject: Press to open/close the disc tray. 

3  Play: Press to play the disc. 

4  Pause: Press to pause playback. 

5  Stop: Press to stop playback. 

6 Disc 

Tray 

7  Remote control signal receive window. 

1  Input source indicator 

2  Search progress indicator 

3  Recording progress indicator 

4  Play status indicator 

5  Pause status indicator 

6  Playing time indicator 

7  DOLBY mark indicator 

8  Playing disc status indicator 

9  Playing disc type indicator 


Summary of Contents for DVR-130

Page 1: ......

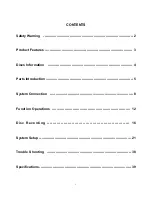
Page 2: ...CONTENTS Safety Warning 2 Product Features 3 Discs Information 4 Parts Introduction 5 System Connection 8 Function Operations 12 Disc Recording 16 System Setup 21 Trouble Shooting 38 Specifications 3...

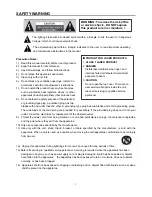
Page 3: ...lete outlet 9 Protect the power cord from being walked on or pinched particularly at plugs convenience receptacles and the point where they exit from the apparatus 10 Only use accessories specified by...

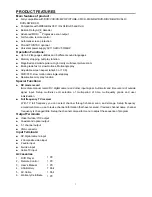
Page 4: ...on Special Functions DV mode record Immediate manual record DV digital camera and other input signal Automatic and time record of outside signal input Setup multi disc edit selection of multi period o...

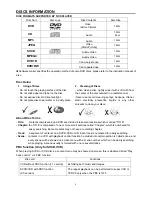
Page 5: ...ction be divided into certain portion is called scene and every scene will be showed on screen menu with a scene number which can be easily searching while playing A scene usually is formed with one o...

Page 6: ...ecording 15 Open Press to open the cover 1 Power Press to turn on off power 2 Eject Press to open close the disc tray 3 Play Press to play the disc 4 Pause Press to pause playback 5 Stop Press to stop...

Page 7: ...e TV Signal Output Jack 3 YUV Output Jacks 4 S video Output Jack 5 Coaxial Digital Output Jack 6 S video Input Jack 7 Optical Digital Output Jack 8 VGA Output Jack 9 Power Cord 10 Power Switch 11 5 1C...

Page 8: ...skip to the previous chapter 29 NEXT Press to skip to the next chapter 30 REPEAT Press to repeat a chapter track title or all content 31 A B Press to mark a segment to repeat between A and B 32 ZOOM W...

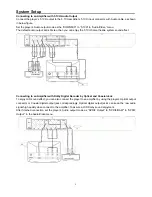
Page 9: ...d TV set the TV TYPE to 16 9 in system setup menu when wide screen TV connected when connected to normal TV set the player s TV TYPE to 4 3 PS or 4 3 LB S Video Connection Setting Connect the S Video...

Page 10: ...re system sound effect Connecting to an Amplifier with Dolby Digital Decoder by Optical and Coaxial Jack To enjoy HiFi sound effect you can also connect the player to an amplifier by using the player...

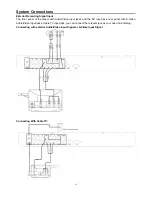
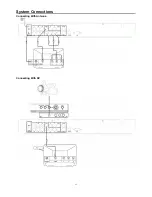
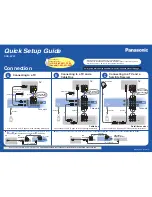
Page 11: ...er with Audio Video input jacks and the DV input jack rear panel with S Video Audio Video input jacks Cable TV input jack you can connect the relevant jack as your need of recording Connecting with ex...

Page 12: ...11 System Connections Connecting With Antenna Connecting With DV...

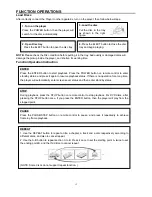
Page 13: ...p playback For DVD discs after pressing the STOP button once if you press the ENTER button then the player will play from the stopped point PAUSE Press the PAUSE STEP button on remote control to pause...

Page 14: ...and MP3 discs DISC INFORMATION DISPLAY Press the DISPLAY button on remote control to display the relevant disc information PROGRAM PLAYBACK Use the PROGRAM button to activate program playback of DVD a...

Page 15: ...the AUDIO button on remote control to select a different audio language Note This function is only available for discs that have several audio bit streams SUBTITLE The DVD player can support up to 32...

Page 16: ...or MP3 songs can be stored in a disc in this format The player will play all tracks for CD discs continuously in default status You can press the and PREV NEXT SKIP buttons or number buttons to selec...

Page 17: ...rt it the player get into start screen mode press the EJECT key on the remote control to open the tray load the recordable DVD R RW disc and close the tray 3 Select exterior input signal Press the INP...

Page 18: ...tus press RECORD button to enter manual record mode directly at this time you can use the SETUP MENU to change the settings Press PAUSE button to enter pause record status press STOP button to stop re...

Page 19: ...back again Select Playing recorded DVD R or DVD RW discs use the Select selection to select multi title to edit them at the same time Rename Playing recorded DVD R or DVD RW discs select the title whi...

Page 20: ...ed content can t append new content if the recorded content haven t operate the Finalize then it can append new content but other common DVD can t play the recorded content Protect Playing recorded DV...

Page 21: ...t In disc operation menu move the cursor to Adapt Press ENTER button to do the operation of adapt for the DVD RW disc which is not recorded by this recorder Note Some special DVD RW disc may can t be...

Page 22: ...gher level menu press SETUP button to exit Recording quality setup Select Recording quality setup selection the menu display as below press ENTER or direction button to enter Note we suggest setting t...

Page 23: ...rding selection setup menu as below Press ENTER button to enter setup menu If you select off selection then the recording content have no chapter mark the other selections is the interval time for cha...

Page 24: ...o option the setup menu show as below Speaker setting The setup menu of speak show as below Setting Overwrite to be ON when the content of the disc is full it will overwrite the disc automatically Set...

Page 25: ...24 System Setup...

Page 26: ...then you can choose the LT RT mode to output 2CH audio to amplifier for processing on background Front speaker LRG SML LRG means complete frequency audio speaker SML means middle frequency speaker Ce...

Page 27: ...low Post DRC Setting SPDIF RAW The non decoded discs digital signal output SPDIF PCM Decoded discs PCM digital signal output Dynamic compress output can lower volumes processing sound effect under the...

Page 28: ...ss Contrast Hue Saturation as you wish TV Display Setting Scan Mode Setting You can setup the TV Display output as PS LB Wide 16 9 Note The TV Display also relate with the disc recording mode and TV s...

Page 29: ...sword is 810500 Select ON the password work if you select OFF then the password doesn t work you can change the parental lock control level with out enter the password Use or direction button to selec...

Page 30: ...the first row Enter new password again in the third row Select OK option press ENTER to enter Select Cancel option press ENTER to return Select the level option which you want to setup Press ENTER and...

Page 31: ...playing a disc you open the tray or enter stand by mode the player will remember the position next time when it read this disc again it will start from the last memory position if set Last Memory to...

Page 32: ...upport of the discs Different language can be selected such as English French Spanish Chinese Japanese Korean Russian Thai and others The default language is English Use or direction button to select...

Page 33: ...e discs Different language can be selected such as English French Spanish Chinese Japanese Korean Russian Thai and others The default language is English This function requires the support of the disc...

Page 34: ...Clock Setting Press ENTER button to enter the menu as below Time System Setting Press or direction button to select Press or direction button to change the value Press ENTER button to ensure and then...

Page 35: ...d to manual operation Use or direction button to select Enter or cancel Select Enter to set default Select Cancel to Exit After setting User Default the player will recover the default values enter th...

Page 36: ...e channel it will skip the channel and enter the next channel automatically Use or direction button to select the TV program press ENTER button to ensure Select or option use ENTER button to set the o...

Page 37: ...ter Automatic Search menu The player scan all the channels store the channels with signal and order them The number in the first row shows the rate of scan progress the number in the second row show t...

Page 38: ...ction key to select Use or NUMBER keys to setup Press ENTER key to save the setting and exit If the searched broadcasting station have no sound please adjust the Secam L Secam BG Secam DKor PAL I PAL...

Page 39: ...If TV is turned on and is in correct video mode If system connection is correct Poor AV performance If disc is dirty warped or damaged Cannot continue to play and play a section repeatedly If it is in...

Page 40: ...Component Video Progressive Y 1 0V P P Pb Pr 0 7V P P Load 75 Power AC110 240V 50 60Hz Power Consumption 25W Weight About 3kg Manufactured under license from Dolby Laboratories Dolby and the double D...

Page 41: ......
Reviews: