SYSTEM SETUP
20
RETURN
Previous
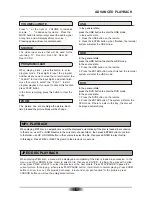
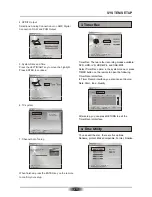
Analog Connection or no AMP
RAW
SPDIF Output
Initial Setup
Next
Select digital audio configuration
ENTER
Digital Conneotion
PCM Ouput
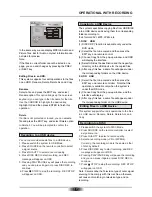
5. System Date and Time
Press the LEFT/RIGHT key to move the highlight.
Press ENTER to continue.
RETURN
Previous
Date
Initial Setup
Next
Please input date
ENTER
YY
MM
DD
2008
06
23
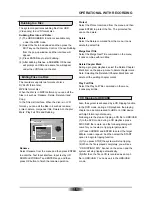
7. Channel Auto Tuning
When finished, press the ENTER key on the remote
to confirm your setup.
RETURN
Cancel
Auto Tuning
Please wait.....
11%
Channel Frequency 248.25MHz
Found Channels 9
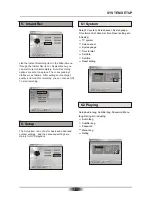
3. Timer Rec
Timer Rec: There are four recording modes available:
DVD, HDD-+VR, HDD-MP4, and USB-MP4.
Select Timer Rec option in the system menu or press
TIMER button on the remote to open the following
Timer Record interface.
In Timer Record interface, you also can set Source,
Date, Start, End , Quality
After setup, you can press RETURN to exit the
Timer Record interface.
RETURN
ENTER
Select
Exit
I n p u t r e c o r d i n g s c h e d u l e d
Timer Record
CLEAR
Delete
States
Source
Date
End
Start
Quality
1. Empty
TV1
06/26
04:11
05:30
HQ
2. Empty
3. Empty
4. Empty
5. Empty
Target
DVD
4. Disc Utility
ENTER
select
Disc Utility
Select one of the buttons
RETURN
exit
Rename
Protect
MakeCompatible
Format
Finalize
Disc name:
Protect:No
Finalize:Yes
You can edit the disc, there are five options.
Rename, protect, MakeCompatible, Format, Finalize.
SYSTEM MENU
RETURN
ENTER
Select
Exit
Select one of the buttons
Wizard
Insant Rec
Timer Rec
Intial Setup
Disc Utility
Setup
4. SPDIF Output
Selections: Analog Connection or no AMP, Digital
Connection, RAW and PCM Output.
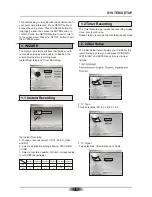
6. TV system
RETURN
ENTER
Select
Exit
Select one of the buttons
PAL
TV system
G O !
B G
TV system: PAL
Audio Format: BG
Summary of Contents for DVR-250
Page 1: ......
Page 5: ...03...
Page 6: ...04 The pickup may be condensed with water under the following situation...

