solemate
™
11
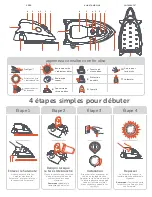
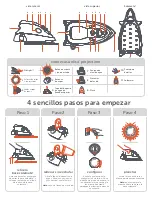
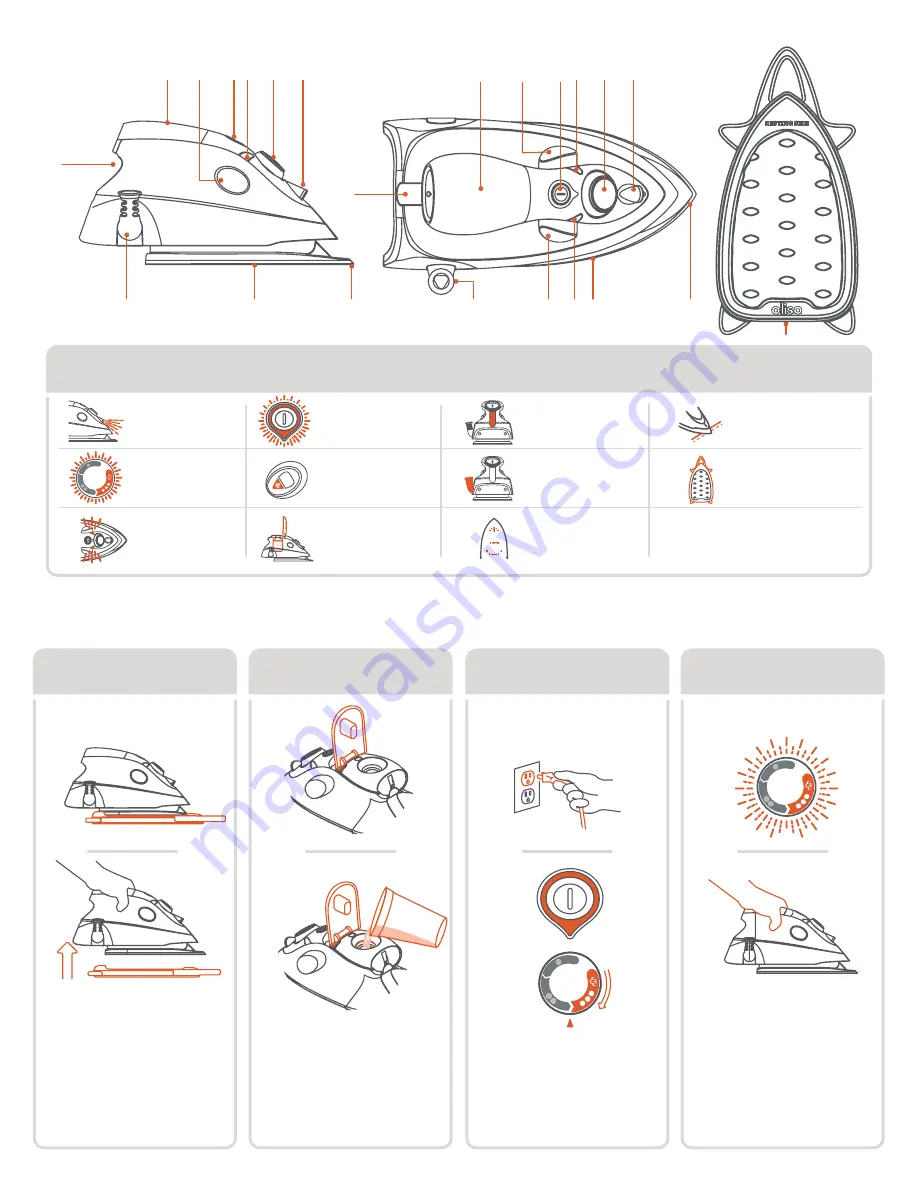
Steam buttons
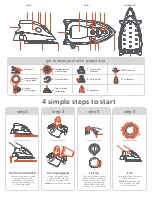
get to know your oliso
®
project iron
®
side
top
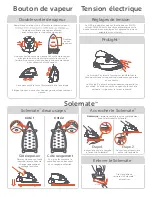
solemate
™
5
4
Top fill water
tank cover
Fabric selector
+ status light
2
6
Soleplate
9
Cord guard
8
3
7
10
Standby button
+ status light
Steam
status lights
ProLight™
1
Water level
window
Detailer tip
6
7
7
3
5
2
4
1
6
3
5
2
4
1
9
11
10
8
9
3
5
10
8
4 simple steps to start
step 3
Plug in and select fabric
setting. Press standby
button; light will go from
red to green and the
white status light will
pulse as iron is heating.
step 2
fill unplugged
Open the water tank
cover and
fi
ll with tap
water to the max level.
Note:
fi
ll cup not included.
step 4
iron
It's ready when the white
light stays on.
Note:
always rest the
iron on either its heel
or its solemate™.
set up
step 1
remove solemate
™
Before plugging in make
sure to remove the
solemate™, and place
iron on the resting side
of the solemate™.
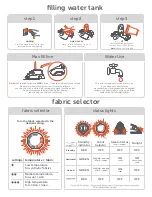
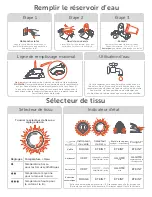
Max
Fill
Max
Fill


