d-Color MF4003/MF3303
F DISASSEMBLY/REASSEMBLY > 4.
d-Color MF4003/MF3303
F-47
[1]
[4]
[2]
[3]
[5]
[6]
[2]
6.
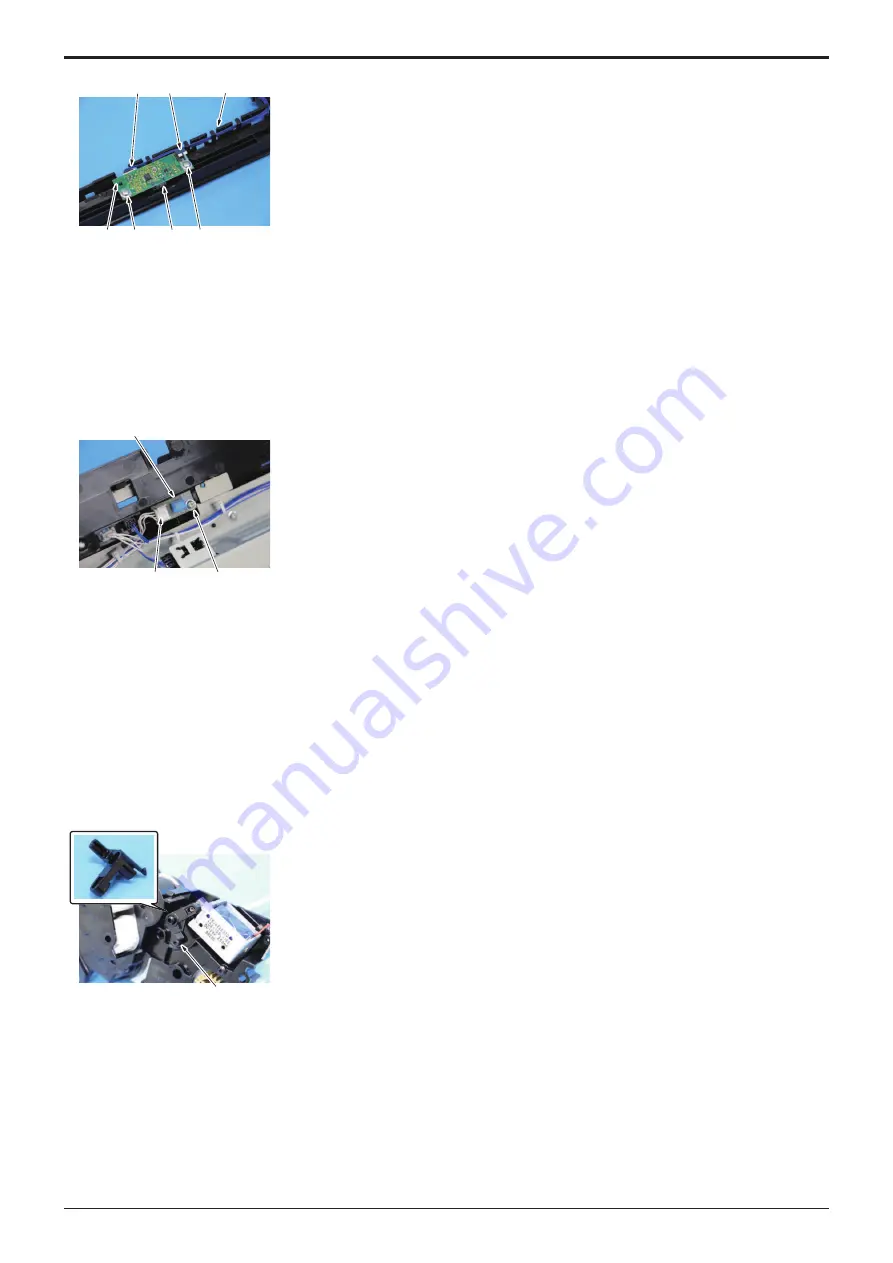
Remove the harness from the harness guide [1].
7.
Remove the two screws [2], and remove the earth plate [3].
8.
Disconnect the connector [4], and remove the IDC sensor [5].
NOTE
▪ Be careful not to break the sensor head [6] of the IDC sensor.
9.
To reinstall, reverse the order of removal.
4.7.2 Temperature/humidity sensor (TEM/HUMS1)
1.
Remove the rear cover.
2.
Open the right door.
3.
Remove the IDC sensor assy.
4.
Remove the paper feed unit.
[1]
[2]
[3]
5.
Remove the screw [1].
6.
Disconnect the connector [2], and remove the temperature/humidity sensor [3].
7.
To reinstall, reverse the order of removal.
4.7.3 Exit path switch solenoid (SD1)
1.
Remove the fusing unit.
E.3.1.12 Replacing the fusing unit
2.
Remove the toner filter assy.
E.3.1.8 Replacing the toner filter
3.
Remove the rear cover.
4.
Remove the left cover.
5.
Remove the PWB box.
6.
Remove the fusing drive unit.
[1]
7.
Remove the Lever [1].
Y119930-3
Service Manual
Summary of Contents for d-Color MF 4003
Page 1: ...Multifunction Digital Copier d Color MF4003 MF3303 Service Manual Version 2 0 Code Y119930 3 ...
Page 48: ...This page is intentionally left blank ...
Page 54: ...This page is intentionally left blank ...
Page 70: ...This page is intentionally left blank ...
Page 76: ...This page is intentionally left blank ...
Page 98: ...This page is intentionally left blank ...
Page 216: ...This page is intentionally left blank ...
Page 354: ...This page is intentionally left blank ...
Page 388: ...This page is intentionally left blank ...
Page 398: ...This page is intentionally left blank ...
Page 570: ...This page is intentionally left blank ...
Page 572: ...This page is intentionally left blank ...
Page 574: ...This page is intentionally left blank ...


