d-Color MF752/652
17-21
17
-
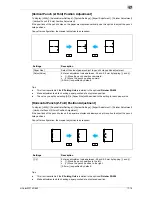
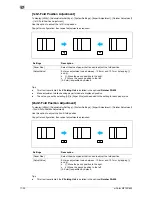
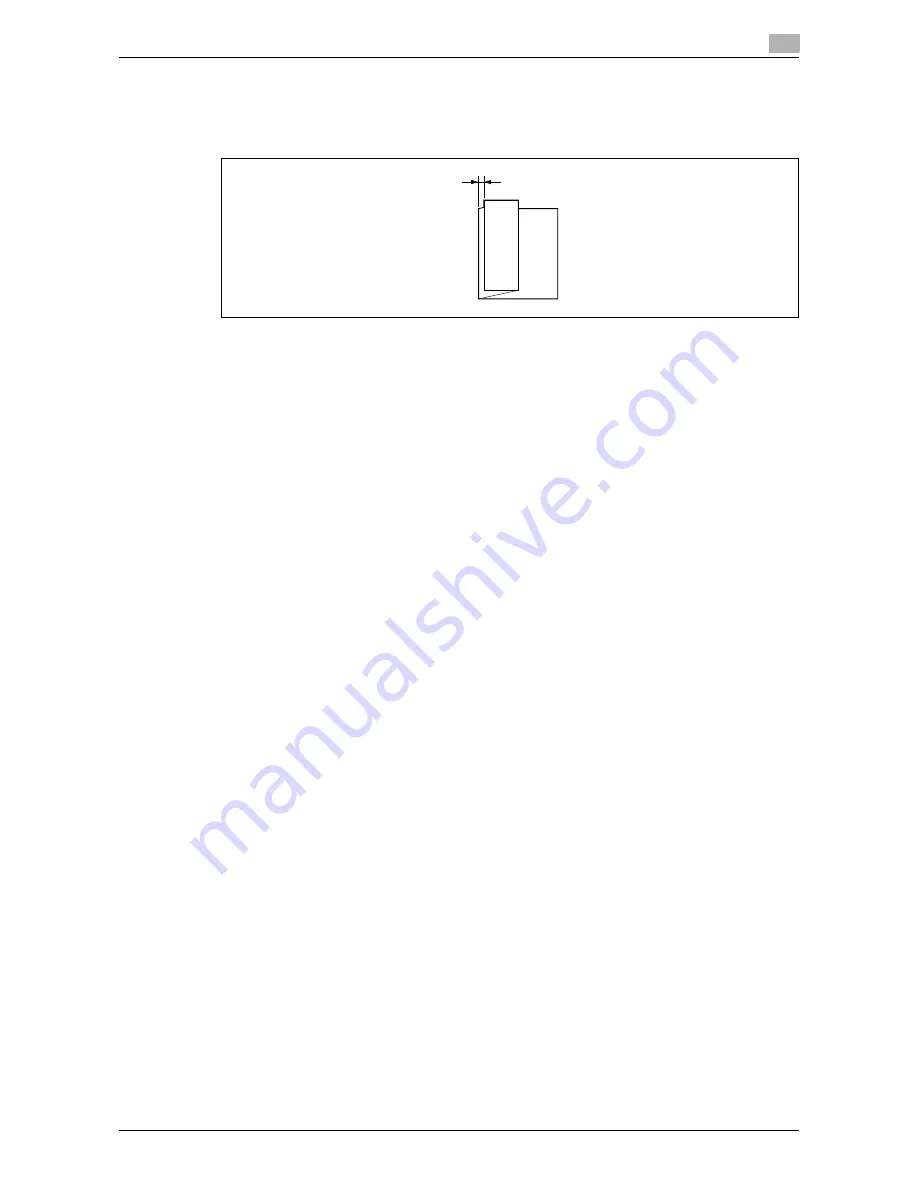
Make adjustment while checking paper folded at a displaced position.
-
The value you set by selecting [All] in [Paper Size] will be added to the setting for each paper size.
-
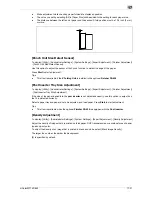
The distance between the left end of paper and the second Z-fold position must be 1/16 inch (2 mm)
or more.
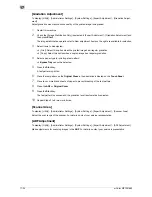
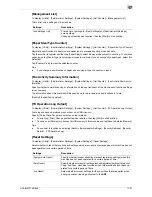
[Punch Unit Size Detect Sensor]
To display: [Utility] - [Administrator Settings] - [System Settings] - [Expert Adjustment] - [Finisher Adjustment]
- [Punch Unit Size Detect Sensor]
Use this option to adjust the sensor of the Punch function to detect the edge of the paper.
Press
Start
to start adjustment.
Tips
-
This item is available if the
Z Folding Unit
is installed in the optional
Finisher FS-535
.
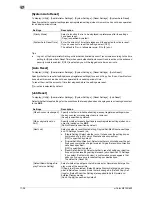
[Post Inserter Tray Size Adjustment]
To display: [Utility] - [Administrator Settings] - [System Settings] - [Expert Adjustment] - [Finisher Adjustment]
- [Post Inserter Tray Size Adjustment]
If the size of the paper loaded into the
post inserter
is not detected correctly, use this option to adjust it so
that it is detected correctly.
Select a paper tray and paper size to be adjusted, and load paper. Press
Start
to start adjustment.
Tips
-
This item is available when the optional
Finisher FS-535
is equipped with the
Post Inserter
.
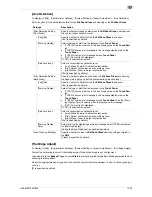
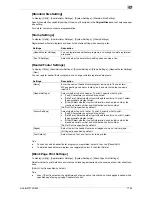
[Density Adjustment]
To display: [Utility] - [Administrator Settings] - [System Settings] - [Expert Adjustment] - [Density Adjustment]
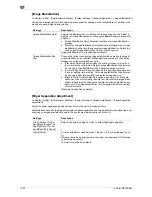
Adjust the density of images that are printed on thick paper, OHP transparencies, or envelops for each paper
type and print color.
To adjust the density of an image that is printed in black and white, select [Black Image Density].
The larger the number, the darker the background.
[0] is specified by default.
Summary of Contents for d-COLOR MF652
Page 10: ...Contents 8 d Color MF752 652...
Page 11: ...1 Copy Operations...
Page 12: ......
Page 28: ...Recalling a program for copying 1 1 18 d Color MF752 652 1 4...
Page 29: ...2 Recalling frequently used functions with simple action...
Page 30: ......
Page 33: ...3 Specifying the Color and Image Quality for Copying...
Page 34: ......
Page 38: ...3 3 6 d Color MF752 652...
Page 39: ...4 Saving the Number of Print Sheets...
Page 40: ......
Page 46: ...4 4 8 d Color MF752 652...
Page 47: ...5 Specifying the Size or Type of the Paper to Be Copied...
Page 48: ......
Page 50: ...5 5 4 d Color MF752 652...
Page 51: ...6 Binding Copied Paper...
Page 52: ......
Page 57: ...7 Specifying the Original Size and Scan Method...
Page 58: ......
Page 65: ...d Color MF752 652 7 9 7 9 Specify finish settings as required then tap Start Copying begins...
Page 66: ...7 7 10 d Color MF752 652...
Page 67: ...8 Copying Various Types of Originals...
Page 68: ......
Page 74: ...8 8 8 d Color MF752 652...
Page 75: ...9 Adjusting the Layout for Copying...
Page 76: ......
Page 79: ...10 Inserting a Cover Sheet or Blank Sheet into Copied Documents...
Page 80: ......
Page 84: ...10 10 6 d Color MF752 652...
Page 85: ...11 Adding Text or an Image to the Original...
Page 86: ......
Page 90: ...11 11 6 d Color MF752 652...
Page 91: ...12 Erasing an Unnecessary Portion for Copying...
Page 92: ......
Page 94: ...12 12 4 d Color MF752 652...
Page 95: ...13 Deterring Unauthorized Copying...
Page 96: ......
Page 99: ...14 Saving Original Images to a User Box...
Page 100: ......
Page 103: ...15 Description of Setup Buttons...
Page 104: ......
Page 158: ...15 15 56 d Color MF752 652...
Page 159: ...16 Description of Setup Buttons User Settings...
Page 160: ......
Page 174: ...16 16 16 d Color MF752 652...
Page 175: ...17 Description of Setup Buttons Administrator Settings...
Page 176: ......
Page 245: ...18 Index...
Page 246: ......
Page 248: ...18 4 d Color MF752 652 Index by item 18 18 1 Z Z folded original 7 5 Zoom 9 3...
Page 252: ...18 8 d Color MF752 652 Index by button 18 18 2...

