E-9
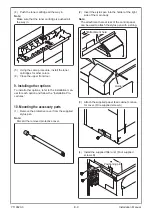
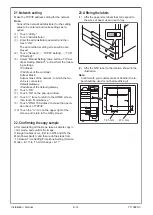
(4) Push the toner cartridge all the way in.
Note:
Make sure that the toner cartridge is pushed all
the way in.
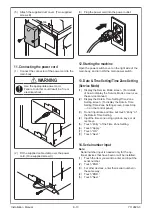
(5) Using the same procedure, install the toner
cartridges for other colors.
(6) Close the upper front door.
9. Installing other options
To install other options, refer to the installation man-
ual for each option and follow the “Installation Pro-
cedures.”
10. Mounting the accessory parts
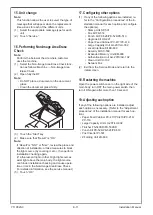
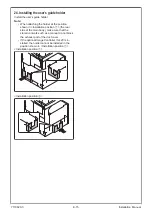
(1) Remove the protective cover from the supplied
stylus pen.
Note:
Discard the removed protective cover.
(2) Insert the stylus pen into the holder at the right
side of the main body.
Note:
The attachment hole at rear of the control panel
can be used to attach the stylus pen with a string.
Attachment hole
Holder
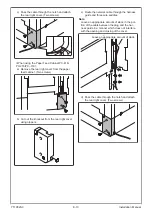
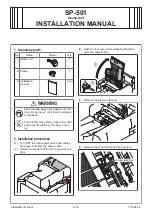
(3) Attach the supplied paper feed cabinet connec-
tor cover. (One supplied screw A)
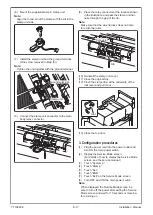
(4) Install the supplied filter unit. (Four supplied
screws D)
Positioning pin
Y119820-3
Installation Manual


