Printer Settings
ADVANCED OPERATION GUIDE
2-15
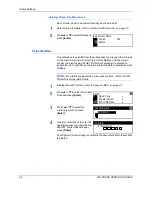
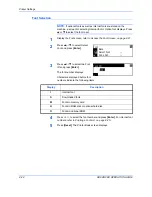
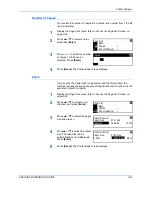
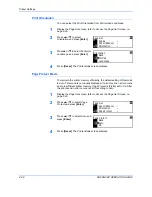
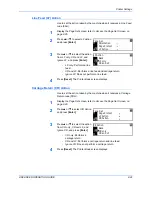
IP Address Setting
Use the following procedure to register an
IP Address
to the machine.
Check with your network administrator before performing this procedure.
If you use the following procedure to register the
IP Address
manually,
ensure
DHCP
is
Off
and
TCP/IP
is
On
.
NOTE:
Any changes made to network settings become valid after you
power the machine off and on again.
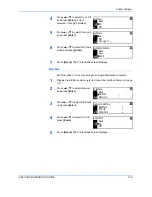
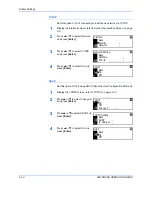
1
Display the
TCP/IP
screen, refer to
TCP/IP, on page 2-14.
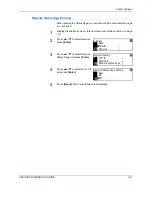
2
Press
S
or
T
to select
Change #
and press
[Enter]
.
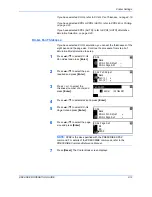
3
Press
S
or
T
to select
IP
Address
and press
[Enter]
.
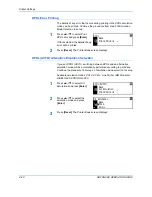
4
Press
S
or
T
to select
IP
Address
and press
[Enter]
.
5
Use the keypad to enter the
address. Enter the first segment
of the
IP Address
in the
highlighted area and press
[#]
.
6
Enter the next segment and press
[#]
.
Enter the remaining segments
using the same procedure.
Press
[Enter]
when the entire address has been entered.
On
Off
TCP/IP
Change #
Back
DHCP
TCP/IP Setting
IP Address
Back
DHCP
TCP/IP Setting
IP Address
IP Address
0
0
.
.
0
0 .
IP Address
10
0
.
.
0
0
.
Summary of Contents for d-copia 200MF
Page 1: ...ADVANCED INFORMATION...
Page 4: ...ii ADVANCED OPERATION GUIDE...
Page 8: ...vi ADVANCED OPERATION GUIDE...
Page 116: ...System Settings 3 34 ADVANCED OPERATION GUIDE...
Page 132: ...Job Accounting 4 16 ADVANCED OPERATION GUIDE...
Page 152: ...Appendix Appendix 20 ADVANCED OPERATION GUIDE...
Page 158: ...6 ADVANCED OPERATION GUIDE...
Page 159: ...MEMO...
Page 160: ...507150T ENG...


