8-54
Default Setting (System Menu)
2
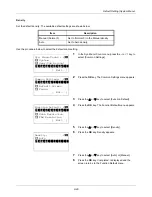
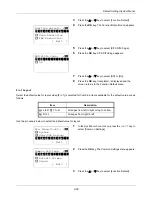
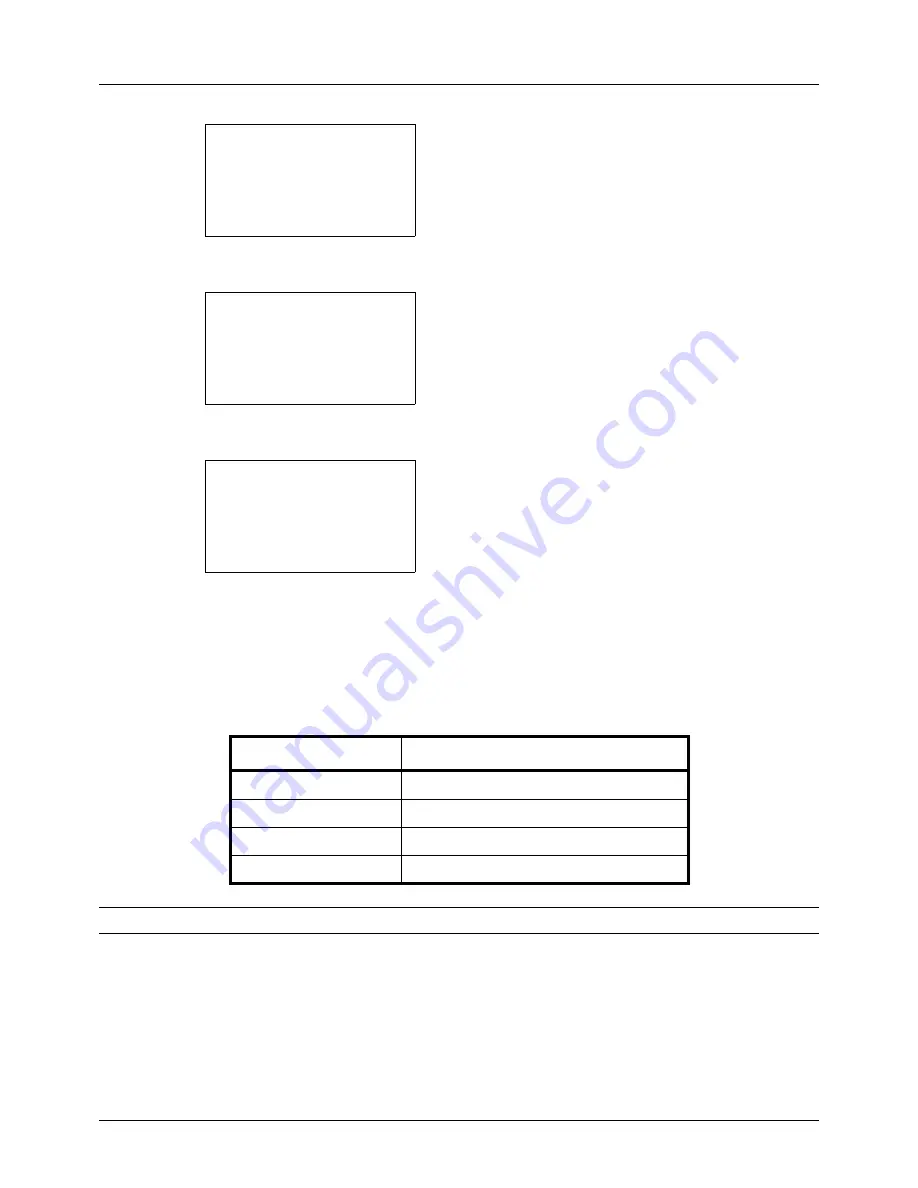
Press the
OK
key. The Common Settings menu appears.
3
Press the
U
or
V
key to select [Function Default].
4
Press the
OK
key. The Function Default menu appears.
5
Press the
U
or
V
key to select [Continuous Scan].
6
Press the
OK
key. Continuous Scan appears.
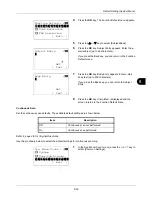
7
Press the
U
or
V
key to select [Off] or [On].
8
Press the
OK
key.
Completed.
is displayed and the
screen returns to the Function Default menu.
File Format
Select the default file type to send the scanned originals. The available default settings are shown below.
NOTE:
Refer to
page 5-9
for file formats.
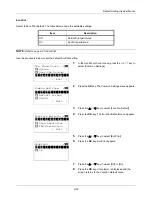
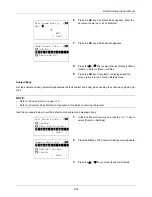
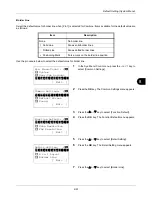
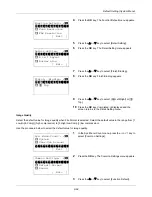
Use the procedure below to select the default file format.
Common Settings:
a
b
*********************
2
Default Screen
3
Sound
[ Exit
]
1
Language
Function Default:
a
b
*********************
2
Scan Resolution
3
FAX Resolution
[ Exit
]
1
Color Selection
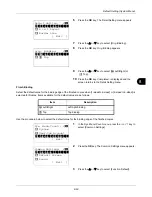
Continuous Scan:
a
b
*********************
2
On
1
*Off
File Format
Description
Send files in PDF format.
TIFF
Send files in TIFF format.
XPS
Send files in XPS format.
JPEG
Send files in JPEG format.
Summary of Contents for d-COPIA3003MF
Page 21: ...xviii...
Page 119: ...3 30 Basic Operation...
Page 137: ...4 18 Copying Functions...
Page 161: ...5 24 Sending Functions...
Page 173: ...6 12 Document Box...
Page 343: ...8 150 Default Setting System Menu...
Page 405: ...11 38 Management...
Page 431: ...Appendix 26...
Page 437: ...Index 6 Index Index...
Page 439: ......
Page 440: ...First edition 2011 12 2MHLVEN000...


