8
8-113
Default Setting (System Menu)
Adding a Destination on One-touch Key
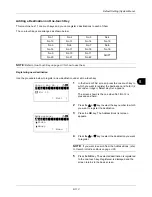
This machine has 11 one-touch keys and you can register 2 destinations to each of them.
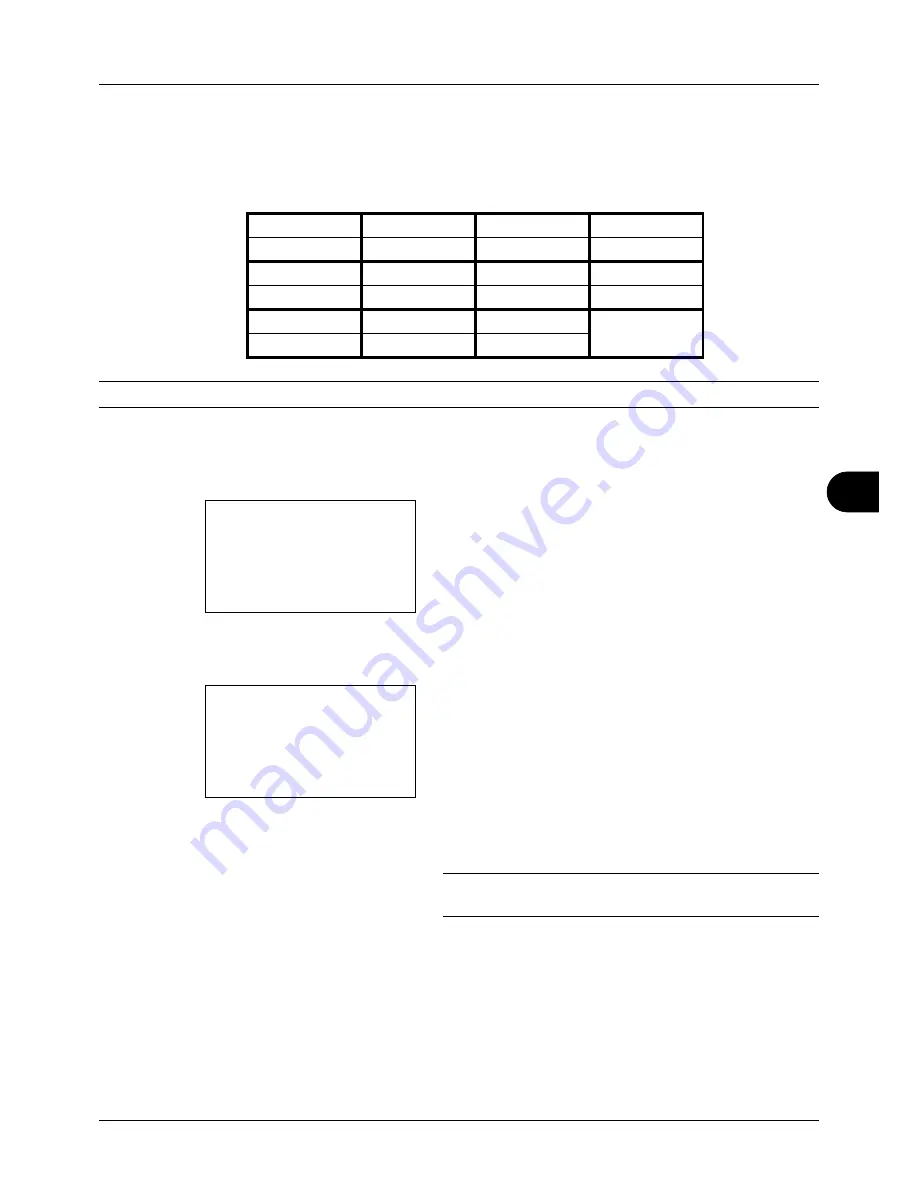
The one-touch keys are arranged as shown below:
NOTE:
Refer to
One-Touch Key on page 3-3
for how to use them.
Registering new destination
Use the procedure below to register a new destination under a One-touch key.
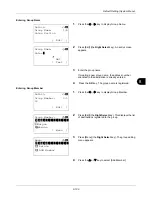
1
In the Send or FAX screen, press the one-touch key to
which you want to register the destination and hold it (2
seconds or longer). Select Key Set. appears.
The screen shown is the one when No.1/No.12 is
pressed and held.
2
Press the
U
or
V
key to select the key number to which
you want to register the destination.
3
Press the
OK
key. The Address Book list screen
appears.
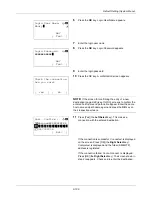
4
Press the
U
or
V
key to select the destination you want
to register.
NOTE:
If you want to search from the Address Book, refer
to
Search in Address Book on page 3-26
.
5
Press the
OK
key. The selected destination is registered
to the one-touch key.
Registered.
is displayed and the
screen returns to the basic screen.
No.1
No.2
No.3
No.4
No.12
No.13
No.14
No.15
No.5
No6
No.7
No.8
No.16
No.17
No.18
No.19
No.9
No.10
No.11
SHIFT
No.20
No.21
No.22
Select Key No.:
a
b
*********************
2
No. 12
[ Exit
]
1
No. 1
Addressbook:
a
b
*********************
l
Fiala
l
Maury
[ Menu
]
k
Design
Summary of Contents for d-COPIA3003MF
Page 21: ...xviii...
Page 119: ...3 30 Basic Operation...
Page 137: ...4 18 Copying Functions...
Page 161: ...5 24 Sending Functions...
Page 173: ...6 12 Document Box...
Page 343: ...8 150 Default Setting System Menu...
Page 405: ...11 38 Management...
Page 431: ...Appendix 26...
Page 437: ...Index 6 Index Index...
Page 439: ......
Page 440: ...First edition 2011 12 2MHLVEN000...


