3K5
1-3-29
U411
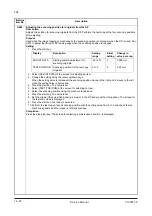
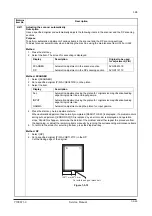
Adjusting the scanner automatically
Description
Uses a specified original and automatically adjusts the following items in the scanner and the DP scanning
sections.
Purpose
To perform automatic adjustment of various items in the scanner and the DP scanning sections.
To adjust scanner automatically when initializing the machine using the maintenance item U020 or U022.
Method
1. Press the start key.
2. Select the item. The screen for executing is displayed.
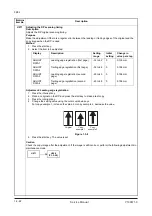
Method: SCANNER
1. Select [SCANNER].
2. Set a specified original (P/N:
AVGR05131K
) on the platen.
3. Select the item.
4. Press the start key. Auto adjustment starts.
When automatic adjustment has normally completed, [RESULT OK 00] is displayed. If a problem occurs
during auto adjustment, [ERROR XX] (XX is replaced by an error code) is displayed and operation
stops. Should this happen, determine the details of the problem and either repeat the procedure from
the beginning, or adjust the remaining items manually by running the corresponding maintenance items.
5. To return to the screen for selecting an item, press the stop/clear key.
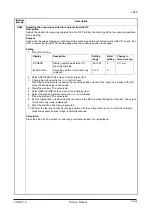
Method: DP
1. Select [DP].
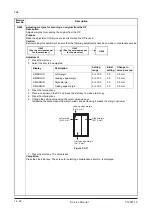
2. Set a specified original (P/N:
AVGR11211F
) in the DP.
Cut the trailing edge of the original.
Figure 1-3-12
Maintenance
item No.
Description
Display
Description
Original to be used
for adjustment (P/N)
SCANNER Automatic adjustment in the scanner section
AVGR05131K
DP Automatic adjustment in the DP scanning section
AVGR11211F
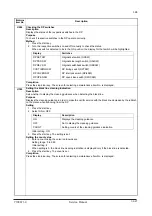
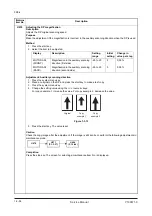
Display
Description
ALL
Automatic adjustment using the platen for: original size magnification/leading
edge timing/center line and input gamma
INPUT
Automatic adjustment using the platen for: original size magnification/leading
edge timing/center line
GAMMA
Automatic adjustment using the platen for: input gamma
128 1 mm
+
-
+
-
60 1 mm
Cut with the edge of black belt.
Y108671-9 Service Manual
Summary of Contents for DP-670
Page 1: ...DP 670 DP 670 B Option Copier SERVICE MANUAL Code Y108671 9 ...
Page 4: ...This page is intentionally left blank ...
Page 10: ...This page is intentionally left blank ...
Page 16: ...3K5 1 1 4 This page is intentionally left blank Service Manual Y108671 9 ...
Page 20: ...3K5 1 2 4 This page is intentionally left blank Service Manual Y108671 9 ...
Page 68: ...3K5 1 3 48 This page is intentionally left blank Service Manual Y108671 9 ...
Page 86: ...3K5 1 6 4 This page is intentionally left blank Service Manual Y108671 9 ...
Page 90: ...3K5 2 1 4 This page is intentionally left blank Service Manual Y108671 9 ...
Page 103: ...UPDATINGSTATUS DATE UPDATEDPAGES PAGES CODE 06 2010 1ST EDITION 103 Y108671 9 ...


