3K5-2
1-3-25
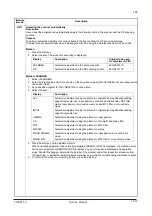
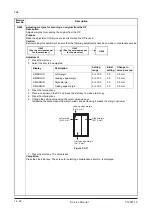
U074
Adjusting the DP input light luminosity
Description
Sets the luminosity correction for scanning originals from the DP.
Purpose
Used if the exposure amount differs significantly between when scanning an original on the platen and when
scanning an original from the DP.
Setting
1. Press the start key.
2. Select the item to be set.
3. Change the setting using the cursor up/down keys.
Increasing the setting makes the luminosity higher, and decreasing it makes the luminosity lower.
4. Press the start key. The value is set.
Supplement
While this maintenance item is being executed, copying from an original is available in the interrupt copying
mode.
Completion
Press the stop/clear key. The screen for selecting a maintenance item No. is displayed.
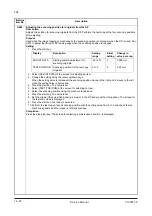
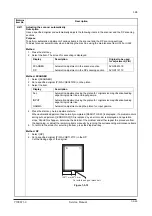
U087
Setting DP reading position modification operation
Description
The presence or absence of dust is determined by comparing the scan data of the original trailing edge and
that taken after the original is conveyed past the DP original scanning position. If dust is identified, the DP
original scanning position is adjusted for the following originals.
Purpose
When using DP, to solve the problem when black lines occurs due to the dust with respect to original reading
position.
Method
1. Press the start key.
2. Select the item.
Setting: Standard data when dust is detected
1. Change the value using the cursor up/down keys.
2. Press the start key. The value is set.
Setting: Initialization of original reading position
1. Select [CLEAR].
2. Press the start key. The setting is cleared.
Completion
Press the stop/clear key. The screen for selecting a maintenance item No. is displayed.
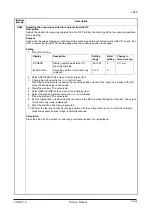
Maintenance
item No.
Description
Description
Setting range
Initial setting
DP input light luminosity
-12 to 12
0
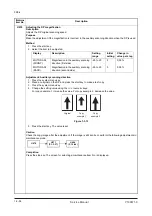
Display
Description
Setting
range
Initial set-
ting
CCD
Setting of standard data when dust is detected.
10 to 95
35
BLACK LINE
Initialization of original reading position.
-
-
Y108671-9 Service Manual
Summary of Contents for DP-670
Page 1: ...DP 670 DP 670 B Option Copier SERVICE MANUAL Code Y108671 9 ...
Page 4: ...This page is intentionally left blank ...
Page 10: ...This page is intentionally left blank ...
Page 16: ...3K5 1 1 4 This page is intentionally left blank Service Manual Y108671 9 ...
Page 20: ...3K5 1 2 4 This page is intentionally left blank Service Manual Y108671 9 ...
Page 68: ...3K5 1 3 48 This page is intentionally left blank Service Manual Y108671 9 ...
Page 86: ...3K5 1 6 4 This page is intentionally left blank Service Manual Y108671 9 ...
Page 90: ...3K5 2 1 4 This page is intentionally left blank Service Manual Y108671 9 ...
Page 103: ...UPDATINGSTATUS DATE UPDATEDPAGES PAGES CODE 06 2010 1ST EDITION 103 Y108671 9 ...


