12
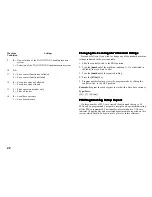
5. Insert the edge of the paper into the paper slot as shown in the
figure.
6. Set the control switch to R1 or R2, press the [Feed] key and
manually feed the paper into the slot until the paper catches and
advances approximately six to ten inches above the print
mechanism.
NOTE: If the paper does not feed properly, check the alignment of the
paper in the slot and/or for the straight edge on the end of the
paper roll.
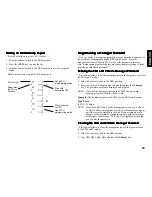
7. Replace journal winder with wheel to right of compartment. If you
are loading a journal record, slide edge of tape through slots on
journal winder spindle (depress the [Feed] key to advance
additional tape, if necessary). Manually roll winder toward back of
register to take up slack in tape.
Loading P
Loading P
Loading P
Loading P
Loading Pa
a
a
a
aper
per
per
per
per
Proceed as follows to load the cash register with paper.
1. Make sure the cash register is plugged into a grounded power
outlet.
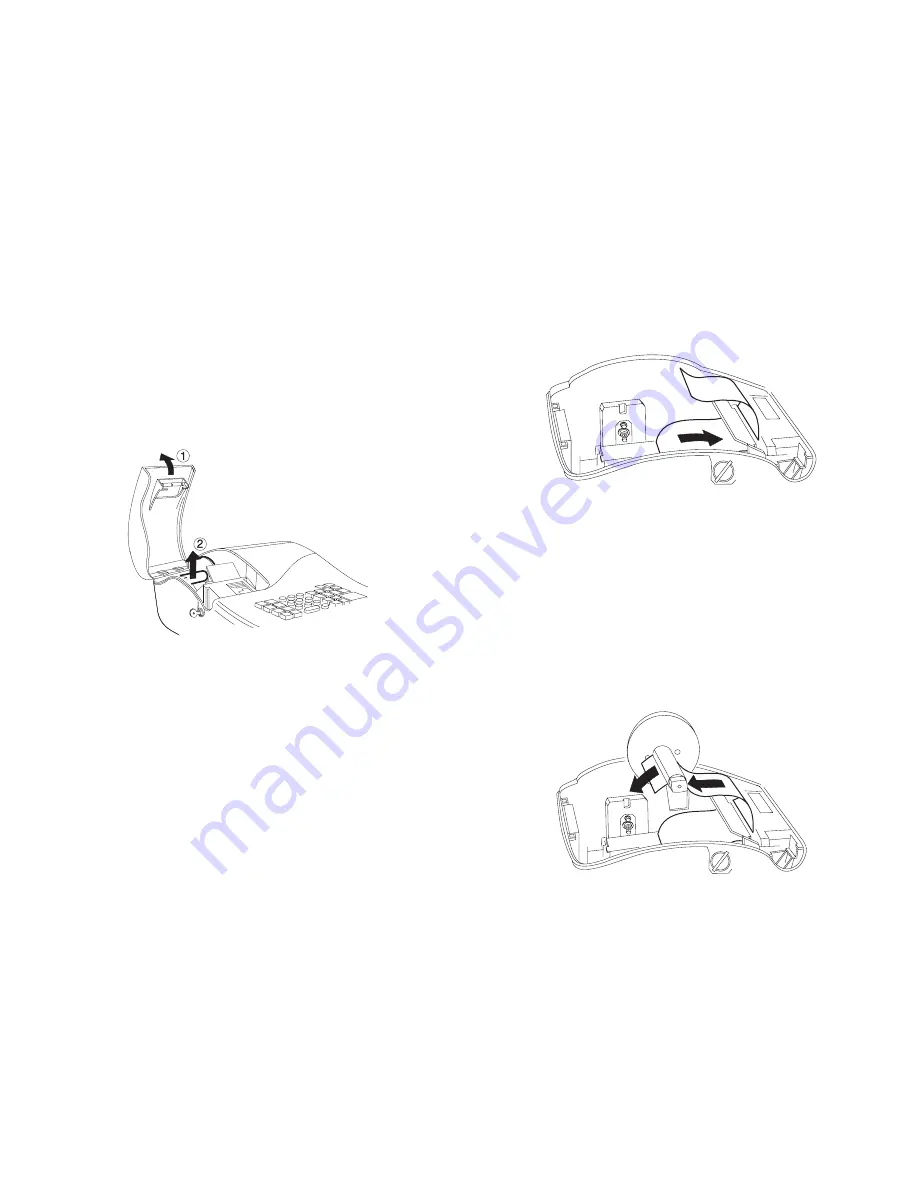
2. Unlock, open and remove the printer compartment cover, then
remove the plastic journal winder spindle.
3. With a pair of scissors, cut the end of the paper tape to create a
straight, even edge so that the paper can be properly fed through the
print mechanism.
4. Set the paper roll in the bottom of the printer compartment so that
the paper feeds out from the bottom of the roll.


