ENGLIS
H
11
3.
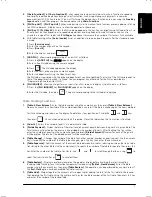
Select
System Initialization
by pressing
to position on
System Initialization
, then press
.
4.
The first field
Language
is highlighted. Check if the language indicated is the language you require for the cash
register. If it is, proceed to the next step, otherwise change the language by pressing
until the language you
want is displayed, then press
.
5.
Press
to position on the next field,
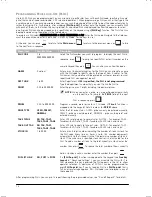
PLU/EJ/TABLE
. Here you can set the maximum number of PLUs that can
be stored on the cash register , the maximum number of tables that can be tracked simultaneously and the type of
memory to use for storing Electronic Journal data, either the internal memory of the cash register or a removable
Storage Device (SD). If you are using an SD card, the number of lines that can be stored depends on its capacity. For
example, a 1GB card provides storage for 40 million transaction lines. Choose one of these combinations:
•
1500 PLU numbers & max 12000 lines stored internal memory, no table tracking.
•
2000 PLU numbers & max 11000 lines stored internal memory, no table tracking.
•
3000 PLU numbers & storage on memory card only, no table tracking.
•
500 PLU numbers & max. 12000 lines stored internal memory, max. 50 tables can be tracked.
•
1500 PLU numbers & max. 9000 lines stored internal memory, max. 70 tables can be tracked.
•
3000 PLU numbers, storage on SD only, max. 100 tables can be tracked.
Press
until the combination you want is displayed, then press
.
If you choose to store the journal on the SD card, you must configure also the EJ System option
(see “Electronic Journal”).
6.
Press
to position on the prompt:
Are you sure?
Press until
YES
is displayed, then press
.
The cash register is reset with the values you have programmed.
S
ETTING THE
D
ATE
F
ORMAT
1.
Press
to activate the menu system.
2.
Select
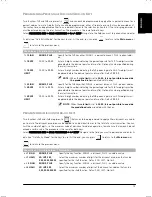
Programming Mode -> Configuration Setup -> Initial Setup -> Date FORMAT
.
3.
Press
until the date format you require is displayed.
4.
Press .
S
ETTING THE
D
ATE
1.
Press
to activate the menu system.
2.
Select
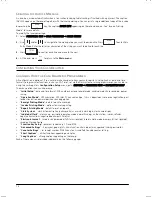
Programming Mode -> Configuration Setup -> Initial Setup -> Date setup
.
3.
Type the current date in the format you have selected.
4.
Press .
NOTE:
The date format can be changed at any time. Refer to the section "Setting the Date Format".
ENGLIS
H
Summary of Contents for ECR 8200 S
Page 1: ...Cash Register ECR 8200 S USER S GUIDE ENGLISH...
Page 73: ......
Page 76: ...Code 576301...


