12
or
•
N
to cancel deletion.
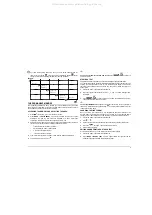
CLEARING THE ENTIRE MEMORY
You can remove the entire contents of the memory in a single operation.
1.
Access the memory. The display shows the memory status.
2.
Press
MODE
+ CLEAR MEMORY
. The display shows the message
DELETE
TEXTS: Y or N
3.
Press:
•
Y
to confirm deletion. All the texts are deleted and the display shows the new
memory status (the numbers of the areas cleared are replaced with a dash)
or
•
N
to cancel deletion.
LANGUAGE OF MESSAGES
The language in which the messages are displayed can be altered.
1.
Press
+ L.
The display will show the first language available. Pressing
+ L
again, will cause the next language availabe to be displayed. And so
on, in rotation, until the first one is displayed again. The last language displayed will
be that used to display the messages and will remain valid until a new selection is
made.
THE DAISY WHEEL
The daisy wheel is the element used for printing the text. Each daisy wheel is
characterized by a print pitch (number of characters per inch: 10, 12 or 15), the font
style (Pica, Elite, Courier, etc.) and the country keyboard code (three digits). In this way,
you can change the appearance of characters before or while typing the text. For
information about the daisy wheels available, contact your dealer.
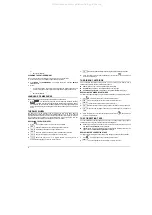
REPLACING THE DAISY WHEEL
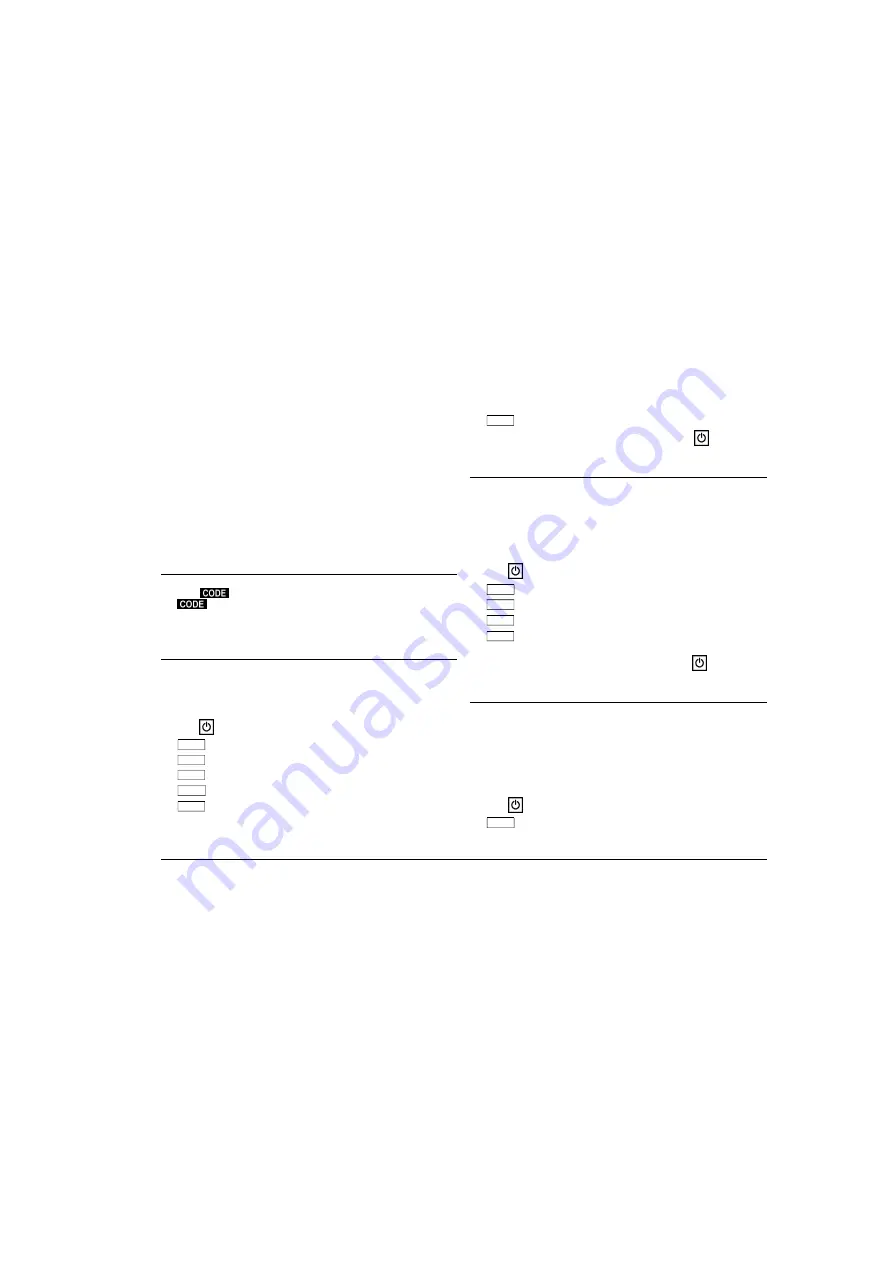
1.
Press
. The printer unit moves to the centre of the platen.
2.
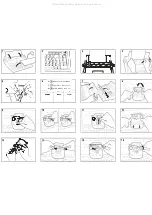
FIG. 7
Open the transparent cover and then the printer unit cover.
3.
FIG. 8
Lift the ribbon cartridge at the front and remove it.
4.
FIG. 9
Lower the print head. The daisy wheel is automatically released.
5.
FIG. 10 Take out the daisy wheel and place the new one inside.
6.
FIG. 11
Return the print head to its original position. The daisy wheel is
automatically engaged and set in the correct position.
7.
FIG. 12
Reinsert the ribbon cartridge in its housing and press until it clicks into place.
8.
Close the printer unit cover and the transparent cover. Press
. The printer unit
moves to the left margin.
THE RIBBON CARTRIDGE
You can replace the ribbon cartridge when it runs out or when you want to use a
different type of ribbon. There are three types of ribbon:
I
Fabric
(green wheel) - used with
Cover up
correcting tape.
I
Polyethylene
(red wheel) - used with
Cover up
correcting tape.
I
Correctable polyethylene
(yellow wheel) - used with
Lift off
correcting tape.
REPLACING THE RIBBON CARTRIDGE
To replace the ribbon cartridge, keep the machine switched on and proceed as follows:
1.
Press
. The printer unit moves to the centre of the platen.
2.
FIG. 7
Open the transparent cover and then the printer unit cover.
3.
FIG. 8
Lift the ribbon cartridge at the front and remove it.
4.
FIG. 13
Before inserting the new cartridge, tighten the ribbon by turning the wheel.
5.
FIG. 12
Insert the new cartridge in its housing and press slightly until it clicks into
place.
6.
Close the printer unit cover and the transparent cover. Press
. The printer unit
moves to the left margin.
THE CORRECTING TAPE
You can replace the correcting tape when it runs out or to adapt it to the type of ribbon
cartridge you are using. There are two types of correcting tape:
I
Cover up
(red reel), which erases incorrect characters by covering them up: used
with
Fabric
or
Polyethylene
ribbon cartridges.
I
Lift off
(yellow reel), which erases incorrect characters by removing them from the
paper: used with
Correctable polyethylene
cartridges.
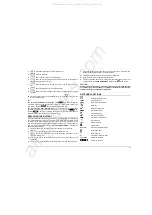
REPLACING THE CORRECTING TAPE
To replace the correcting tape, keep the machine switched on and proceed as follows:
1.
Press
. The printer unit moves to the centre of the platen.
2.
FIG. 7
Open the transparent cover and then the printer unit cover.
All manuals and user guides at all-guides.com


