

38
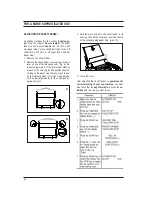
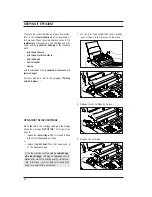
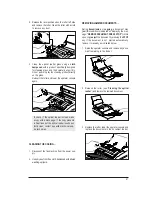
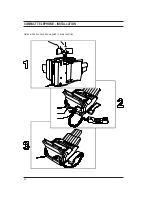
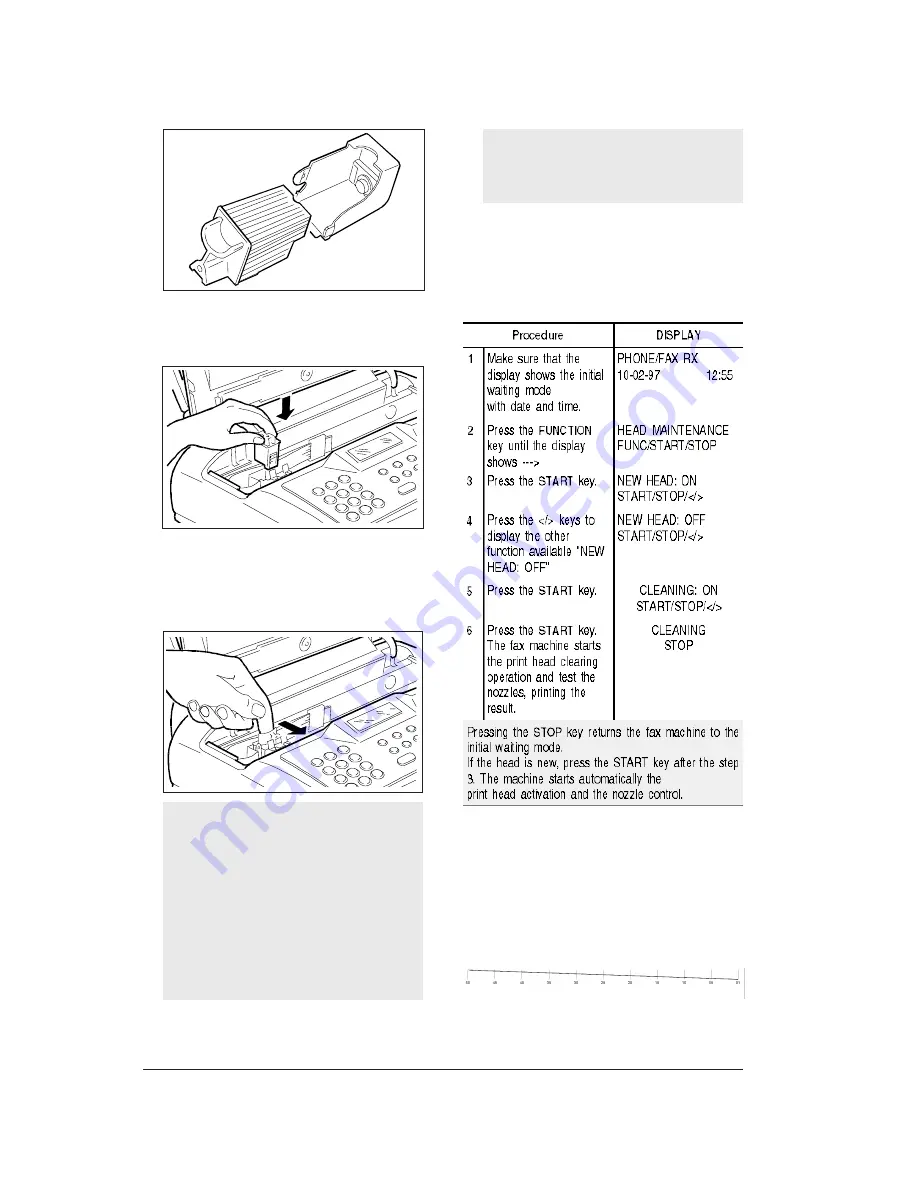
4. Insert the print head in its compartment with the
electric contacts towards the front of the machine.
5. Push the print head in the direction indicated by
the arrow until it clicks into place to indicate that it
is correctly inserted. Close the print head com-
partment cover.
If the replaced print head is of the disposable
type, and you have replaced it because the
ink ran out, your machine recognizes automati-
cally the replacement and the following mes-
sage appears on the display: “NEW PRINT
HEAD? 1=YES, 0=NO”.
If the replaced print head is of the disposable
type, and you have replaced it because the
print quality deteriorates, follow the clearing
procedure below to allow your machine to
recognize the new print head.
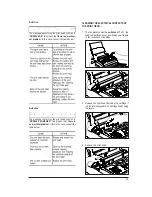
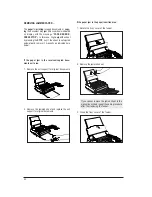
When the cover is closed the fax machine per-
forms automatically the nozzles checking and
the print test (already described in “Inserting a
print head”, chapter “How to install”).
PRINT HEAD CLEARING PROCEDURE AND
MANUAL NOZZLE TESTING ...
If the print quality deteriorates you can quickly clear
the print head and test the nozzles with a print out show-
ing their condition.
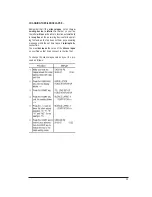
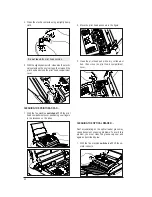
Diagnostic result interpretation
The print test carried out by the fax machine con-
tains a numbered scale and a message concern-
ing the operating status of the nozzles, the result may
be:
Correct
continuous line
The message concerning the print head nozzles is:
"NOZZLES OK" this means that the print head is
correctly inserted and all electrical contacts are
working.
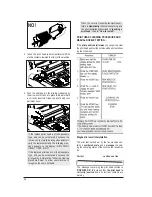
NO!


