41
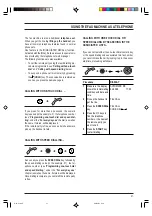
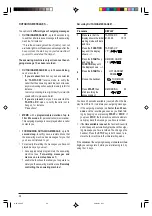
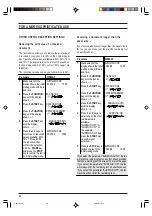
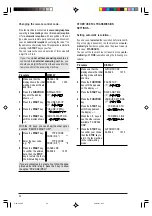
Deleting the message or memo currently playing
back...
Procedure
DISPLAY
1
Make sure that the
display shows the initial
waiting mode with date
and time.
TAD/FAX RX 00
04-03-99 10:55
2
Start playing back the
messages or memos
by pressing the > / ||
key.
PLAY MSG 01 03
04-03-99 10:55
3
Delete the message
your are playing back
by pressing the
CANCEL key.
PLAY MSG 02 02
04-03-99 10:55
If you do not wish to delete, press STOP.
The answering machine moves to the next message. If
you want to delete it, press the CANCEL key again. Pro-
ceed in the same way for all messages you want to de-
lete.
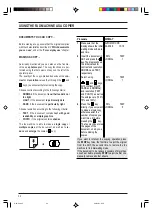
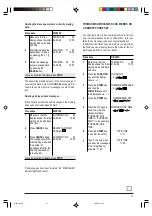
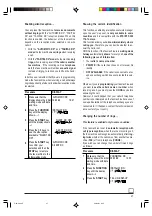
Deleting all played back messages ...
If the answering machine has 6 messages in the memory
and you have already played 3 back:
Procedure
DISPLAY
1
Make sure that the
display shows the initial
waiting mode with date
and time.
AUTOMATIC RX 06
04-03-99 10:55
2
Press CANCEL key.
DELETE OLD MSG?
CANCEL/
3
Press CANCEL again.
The display shows the
initial waiting mode and
the number of
messages left after the
deleting operation (in
this case, 03).
AUTOMATIC RX 03
04-03-99 10:55
If you do not wish to delete, press STOP.
If all messages have been deleted, the “MESSAGES”
indicator light switches off.
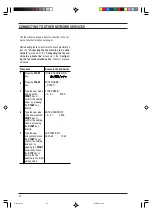
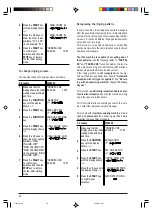
FORWARDING MESSAGES AND MEMOS ON
A REMOTE PHONE SET ...
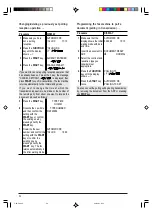
You can programme the answering machine to call you
on a remote telephone and at a certain time, to let you
listen to any message you have not yet played back.
In addition to the time and number where you want to be
reached, you can also programme the mode for the for-
warding operation (once only or daily).
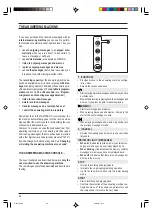
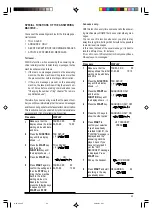
Procedure
DISPLAY
1
Make sure that the
display shows the initial
waiting mode with date
and time.
TAD/FAX RX 00
01-03-99 15:15
2
Press the FUNCTION
key until the display
shows --->.
TAD SET-UP
3
Press the START key
and then the
FUNCTION key until
the display shows --->.
FORWARD MESSAGES
4
Press the START key.
FORWARDING OFF
5
Press the </> keys to
show the other two
options available:
"FORWARD. ONE
TIME" or "FORWARD.
DAILY". In the example:
"FORWARD. ONE
TIME".
FORWARD. ONE TIME
6
Press the START key
to confirm the option.
TYPE TIME
11:11
7
Type in the time when
you want the messages
to be forwarded, for
example “11:45”.
TYPE TIME
11:45
☞
-6-36-45.p65
02/04/01, 9.21
41


