S
ETTING UP THE FAX MACHINE FOR THE TELEPHONE LINE
13
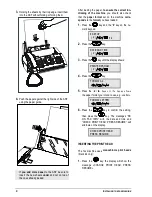
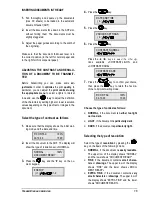
4.
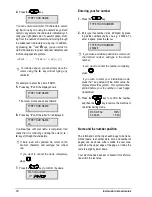
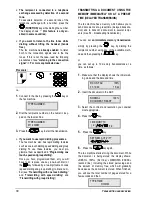
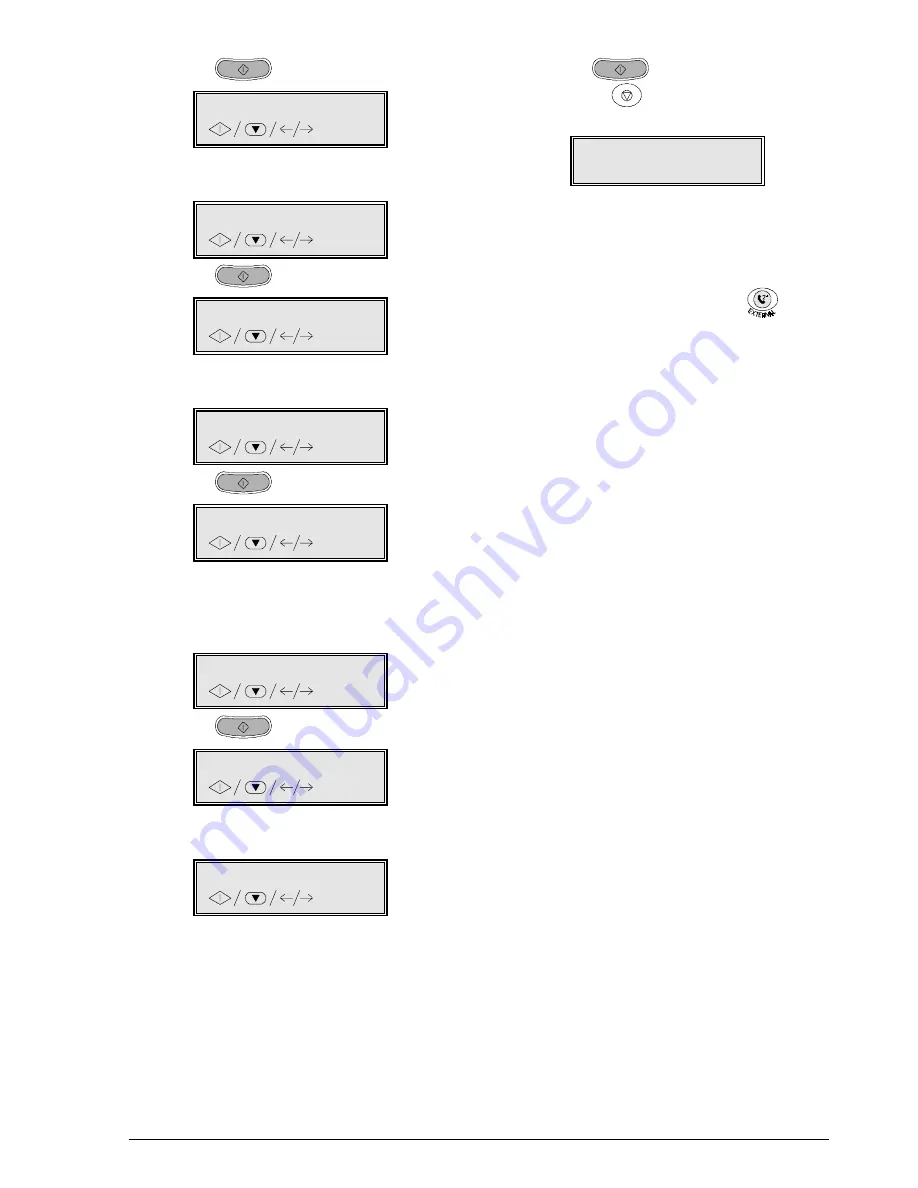
Press the
key.
PSTN
5.
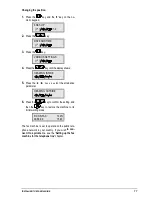
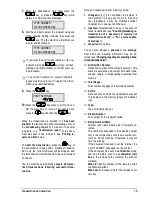
Press the
{ y NH\V WR VKRZ WKH RWKHU RSWLRQ
available: «PRIV. LINE (PBX)».
PRIV. LINE (PBX)
6.
Press the
key.
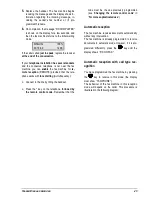
PBX DIAL: TONE
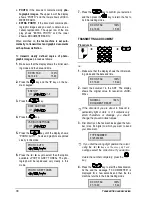
7.
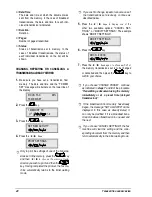
Press the
{ y NH\V WR GLVSOD\ WKH RWKHU R
p-
tion: «PBX DIAL: PULSE».
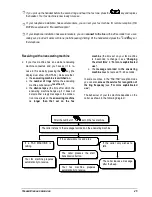
PBX DIAL: PULSE
8.
Press the
key to confirm your selection.
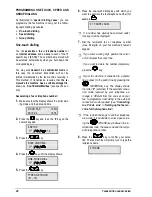
EXT.LINE:PREFIX.
9.
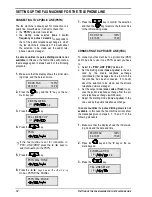
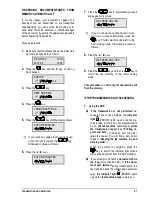
Press the
{ y NH\V WR VKRZ WKH RW
her option:
«EXT.LINE: FLASH» or go directly to step 10 if
you want to confirm the «EXT.LINE: PREFIX.»
outgoing mode.
EXT.LINE: FLASH
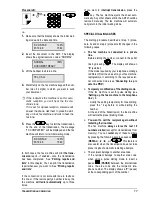
10.
Press the
key.
PSTN.DIAL: TONE
11.
Press the
{ y NH\V WR VHOHFW WKH RWKHU GLDOOLQJ
mode: «PSTN SEL. DIAL PULSE».
PSTN.DIAL: PULSE
12.
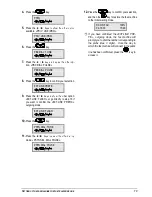
Press the
key to confirm your selection,
and then the
key to restore the fax machine
to the initial waiting mode.
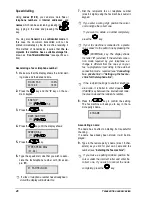
RX ON FAX 100%
02-10-00 15:29
,
If you have confirmed the «EXT.LINE: PRE-
FIX», outgoing mode, the fax machine will
prompt you to dial the number corresponding to
the prefix (max. 3 digits). Once the way in
which the fax machine will connect to the public
line has been confirmed, press the
key to
access it.


