K
EEPING THE FAX MACHINE IN GOOD WORKING ORDER
69
4.
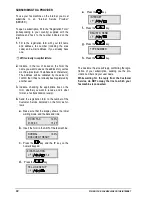
Remove the print head from its compartment.
5.
Remove the new print head from its package
and, holding it by the grip, peel off the protective
film.
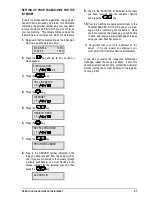
Avoid touching both the nozzles and the elec-
trical contacts.
6.
Insert the new print head in its compartment
with the electrical contacts facing towards the
back of the machine.
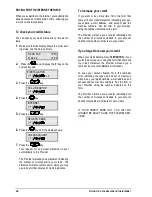
7.
Push the print head in the direction indicated by
the arrow until you hear a click, confirming that it
has been correctly inserted.
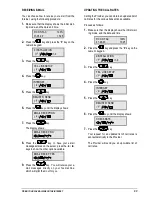
8.
Close the print head compartment cover, and
press the
key again.
The machine will automatically check the print
head and the display will show: “INIT. PRINT
HEAD. PLEASE WAIT” for a few seconds.
When you have replaced the print head be-
cause it was out of ink, the machine will recog-
nise that it has been replaced and the display will
show: "NEW HEAD? 1 = YES, 0 =NO". Press
the 1 key on the numeric keypad. The machine
will prompt you to align the print head.


