K
EEPING THE FAX MACHINE IN GOOD WORKING ORDER
71
5.
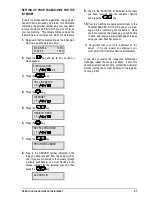
Press the
key. The fax machine will
automatically begin cleaning the print head and
cleaning and checking the nozzles. It will print
the result of this check (PRINT TEST) on a sheet
inserted automatically from the ASF. The follow-
ing messages will alternate on the display will al-
ternate the following messages:
CLEANING PRINT HEAD
PLEASE WAIT
PRINT TEST
PLEASE WAIT
On completing the print test, the machine re-
turns to the initial waiting mode.
6.
Check the print test for gaps in the lines between
one nozzle and another. A broken line indicates
that the corresponding nozzles are blocked.
If this is the case, try re-cleaning the nozzles
again. If the new print test also proves unsatis-
factory, repeat the entire procedure again.
If, after repeating the print head cleaning proce-
dure three times, the print quality is still not up to
standard, continue as follows to obtain a satis-
factory print sample:
−
Use the machine to make a copy of a docu-
ment that contains the type of graphic or text
required and evaluate the quality.
−
Change the type of paper and repeat the
print test again.
−
Remove and reinsert the print head.
−
Remove the print head and check that there
are no dust particles on the print nozzles. If
there are, remove them carefully. Taking
care not to touch the clean nozzles, clean the
print head pads (see “Cleaning the print
head pad”) and re-insert the print head.
−
Remove the print head and clean the electri-
cal contacts on the print head and on the
print head carriage (see “Cleaning the print
head electrical contacts”), then re-insert the
print head.
−
Ask for technical assistance.
CLEANING THE PRINT HEAD’S ELECTRICAL
CONTACTS
1.
Press the
key. The display shows:
“CHANGE HEAD: PRESS RESUME”.
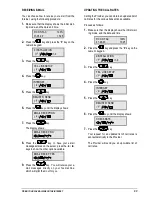
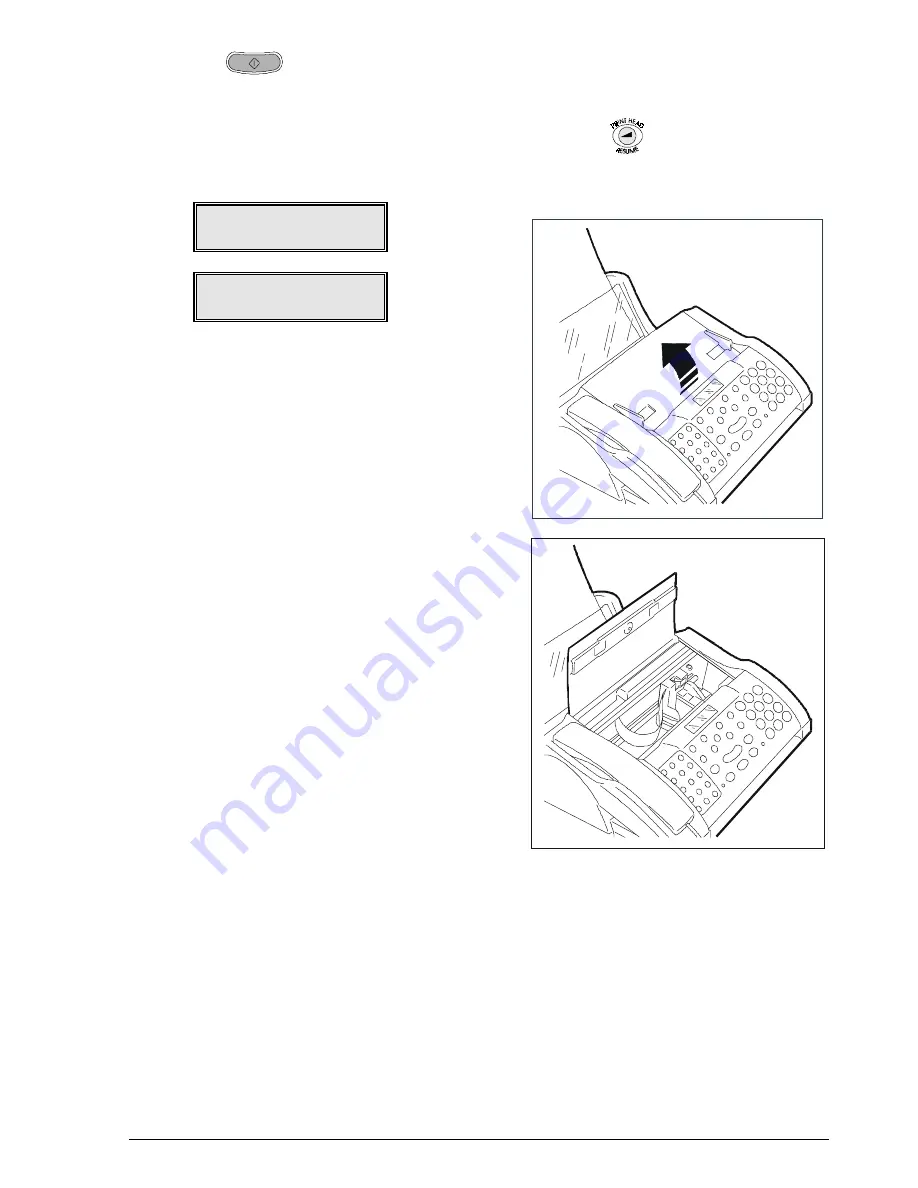
2.
Lift the print head compartment cover.

