Date
22/4/2021
Document number
921100400_09_005
Page
22 of 71
22 / 71
3.2
Delays Menu
Via
“
DELAYS
”
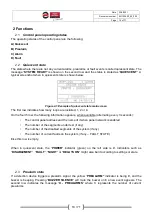
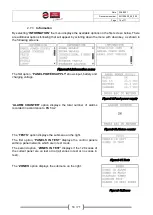
option the user can activate or deactivate time delays
in general.
If a delay has been applied to at least one segment of the control
panel, then
DELAYS ON
indicator will light yellow. By activating the
delays, this setting will be applied permanently.
IMPORTANT!
By deactivating the delays via this option, the
deactivation will take place only for the next alarm event. Resetting
the control panel will set the delays as activated again.
Figure3-8.Delays
3.3
Set Date / Time
Via
“
DATE / TIME
”
option the user can do the following settings:
•
DAY OF WEEK SETTING
: set the weekday
•
DATE SETTING
: set the date
•
TIME SETTING
: set time
•
WORKING DAYS
: set the DAY mode days (select day with up/down keys and enable/disable with
right key, then enter to save setting)
–
Monday to Friday by default
•
WORKING HOURS
: set the working hours (from
–
to)
–
06:00 to 16:00 by default
The settings above are crucial and need to be set precisely during installation. Automated processes
and event logging rely on time and date to function properly.
By selecting
“
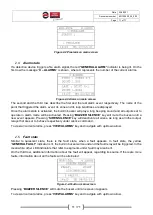
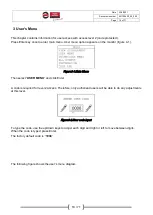
DAY OF WEEK SETTING
”
the screen on the right is
shown. Use up/down keys to select the weekday and press Enter to
save.
Figure3-9.Change day of week
By selecting
“
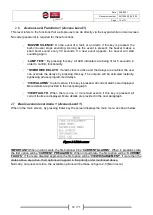
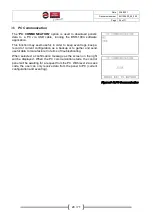
DATE SETTING
” the
screen on the right is shown. Use
up/down keys to change digit number and left/right keys to switch
between the digits, then press Enter to save.
Figure3-10.Change date
By selecting
“
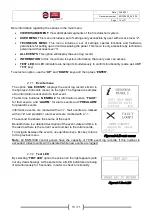
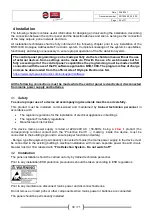
TIME SETTING
” the
screen on the right is shown. Use
up/down keys to change digit number and left/right keys to switch
between the digits, then press Enter to save.


