Date
27/06/2019
Document number
921100400_09_002
Page
60 of 67
60 / 67
6 Initial installation procedure
The initial installation of the BSR-100X Analogue Addressable Fire Alarm systems comes with an
advanced “tool” that automatically sets the address of each point in a loop, to save time and make
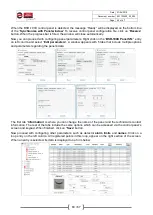
installation easier. This “tool” is a procedure called “
Autoaddressing
” and is accessible via technician
menu (chap.5.2.3). During this procedure, the control panel starts assigning addresses from 1, across
the loop, starting from the first point connected closer to
–L/+L terminal output of a loop. Then, address
number 2 is given to the second in-line point, and goes on until the end of the loop.
There are some perquisites for this procedure in order to run flawlessly, in terms of loop design and
wiring (chap.4.7).
First, the most significant rule is that the points of a loop are connected in line, strictly in a loop, without
any star connections (points in parallel) or open circuit. All points should be connected with correct
polarity and all detectors should be placed on their detachable base.
The cable passing across the loop must be in accordance with the initial installation plan; otherwise it will
be difficult to identify the address of each point in the loop.
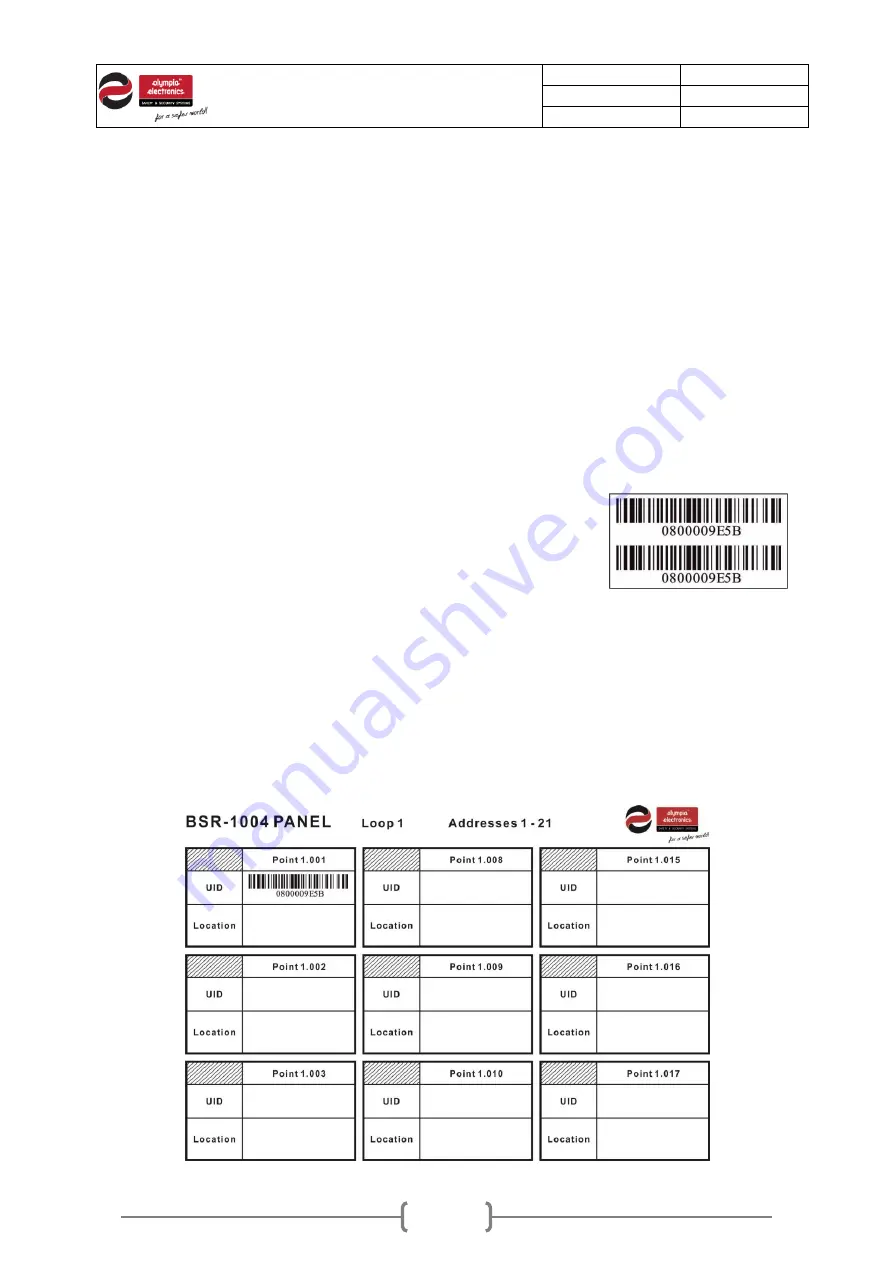
All addressable devices for the BSR-100X system include a
double sticker with a 10 digit (hexadecimal) code and a barcode
that represents this number. This sticker on the BSR-6155, BSR-
6157 and BSR-6160 detectors is placed on the back surface,
facing its base. On the rest of the devices this sticker is on a
visible area. The first 2 digits of this code refer to the device type
and the rest 8 digits refer to the
UID
of the device (Unique
identification code).
In the package an accompanying leaflet named
“BSR-100X Loop Codes” is present which contains a list
of 150 addresses of each loop.
During installation of points (addressable devices) one sticker with the unique code and barcode of each
device, must be removed and then placed on the “BSR-100X Loop Codes” leaflet, in the corresponding
address and loop, where each point is placed. The “Location” area is to write down the point’s location
(equal to point’s name). On the following figure an example can be seen of a device placed on address 1
to loop 1.
ROOM 214

