Page
4 from
5
Status of LEDs
LEDs
Description of indication
CHARGE : Battery charging, : battery charged, : disconnected or unfunctional battery
LAMP FAULT : Operation check, : lamp fault, : normal operation
BATT. FAULT : Autonomy test, : battery fault, : normal operation
Note : Blinking, : constantly on, : off
Important notice for the installed luminaires in one area !!!
The installer must connect the battery’s connector first and then should power the luminaire.
The time between batteries connection must be, at least 1.5 minute.
With this variation, it is ensured that the non synchronized Automatic Autonomous Test for two or more
luminaires installed in one area, is not conducted in the same day.
Battery replacement
.
It can be done only by a competent person and after the mains interruption.
1. Remove the luminaire from the suspended ceiling (figure 3).
2.
Follow the step
1
of the installation
instructions
.
3
. Disconnect the connector and remove the old battery.
4
. Connect the new battery with the same type (step
2
of the installation
instructions
) and place it in
the position of the old one.
5. Replace the removed parts (step 1 and 4) and power the device.
125
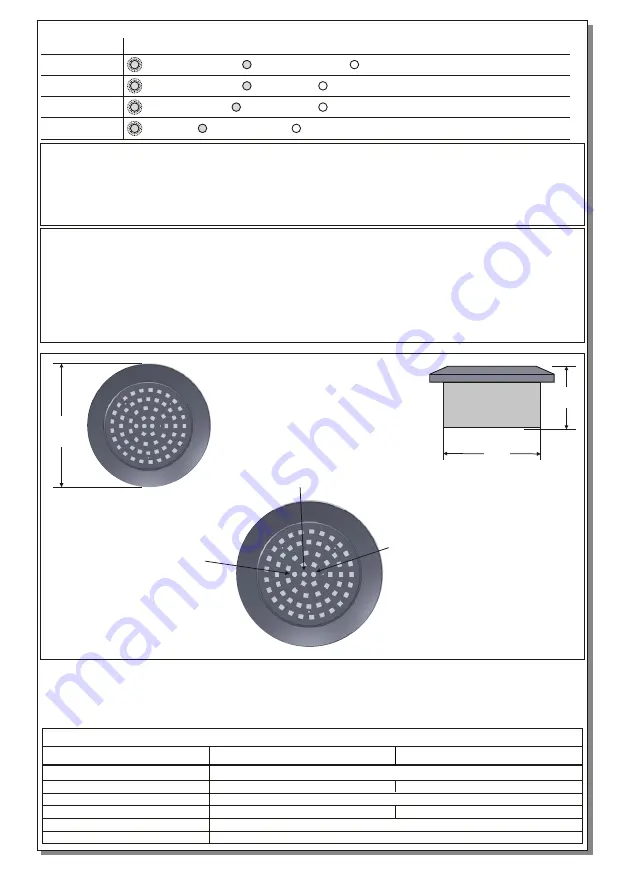
Figure 4
Battery
fault
indication
LED
Lamp fault
indication
LED
Battery charge
indication LED
LED MODULE CHARACTERISTICS
Manufacturer
Model Number
Voltage Range
Connections
Nominal Power
Temperature (tc)
Olympia Electronics S.A
45 °C max. across the board
Non reversible connection between main pcb and led module
14.1-17.5VDC
4W
2W
0402159/60
L
0402159/
3
0
L
GR-298/60L/90/WP
GR-298/30L/180/WP
98
6
5
923298002_09_003


