Page
3 from
5
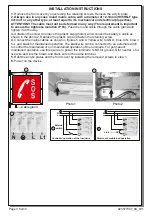
Cable gland
Photo 1
Photo 2
1
5
6
N
L
External
switch
Controlled operation of the luminaire
INSTALLATION INSTRUCTIONS
Link
Permanent maintained operation
L1
L
N
N
L
L1
L
N
L1
L
N
1.
Remove the front cover by unscrewing the retaining screws
.
Remove the acrylic plate.
2.
Always use in any case round mains cable
,
with a diameter
of 12
-
14mm (H05RN-F type
4x1mm²
or
any
other type
,
at least
equal
to it’s mechanical and electrical properties).
ATTENTION!! The cable must not be deformed in any way (This requirement is important
to ensure the tightness isolation IP 6
6
).
Pass the round cable through
the cable gland and
tighten it all the way.
3.
Unfasten the screw to remove the plastic cap (photo1) and connect the battery
’
s cable as
shown in the photo 2. Replace the plastic cap and fasten the retaining screw.
4.
Connect the mains cables as shown in figures 5 and 6. Yellow wire to GND
,
blue to N
,
brown
to L and black for maintained operation
.
The black wire can be connected to an external switch
to control the maintained or non maintained operation of the luminaire
.
For permanent
maintained operation use three wires to power the luminaire, G
Ν
D for ground N
for neutral, L for
live wire and link the brown and black wire to the same terminal.
5.
Refit the acrylic plates and the front cover by installing the removed screws in step 1.
6.
Power on the device
.
4
3
923
577
00
7
_09_0
01


