3
Press
ENTER
to save the setting. The
LCD
shows the current reduction margin:
4
Use the numeric keypad to enter the reduction margin you want. If
necessary, press
or
to move the cursor. In this example, we’ve chosen
38mm.
5
Press
ENTER
to save the setting. The
LCD
shows the current setting for
half-page reception:
6
Press
or
until the setting you want appears. In this example, we’ve cho-
sen On.
7
Press
ENTER
to save the setting.
Setting the number of rings
Default setting: 2 time.
You can set how many times your fax machine will ring before answering a call.
Choose from 1 to 9 rings.
1
Press Program key,
B
, 2, 0, 3,
ENTER
. The
LCD
shows:
2
Use the numeric keypad to enter the number of rings you want, from 1 to 9.
Here, we’ve chosen 4 rings.
Note: If you enter the number except 1-9, the machine will beep briefly to
warn you that it can’t accept that setting.
3
Press
ENTER
to save the setting.
Image Rotation
Default setting: OFF.
Note: This feature is available only for the OM 9816 model.
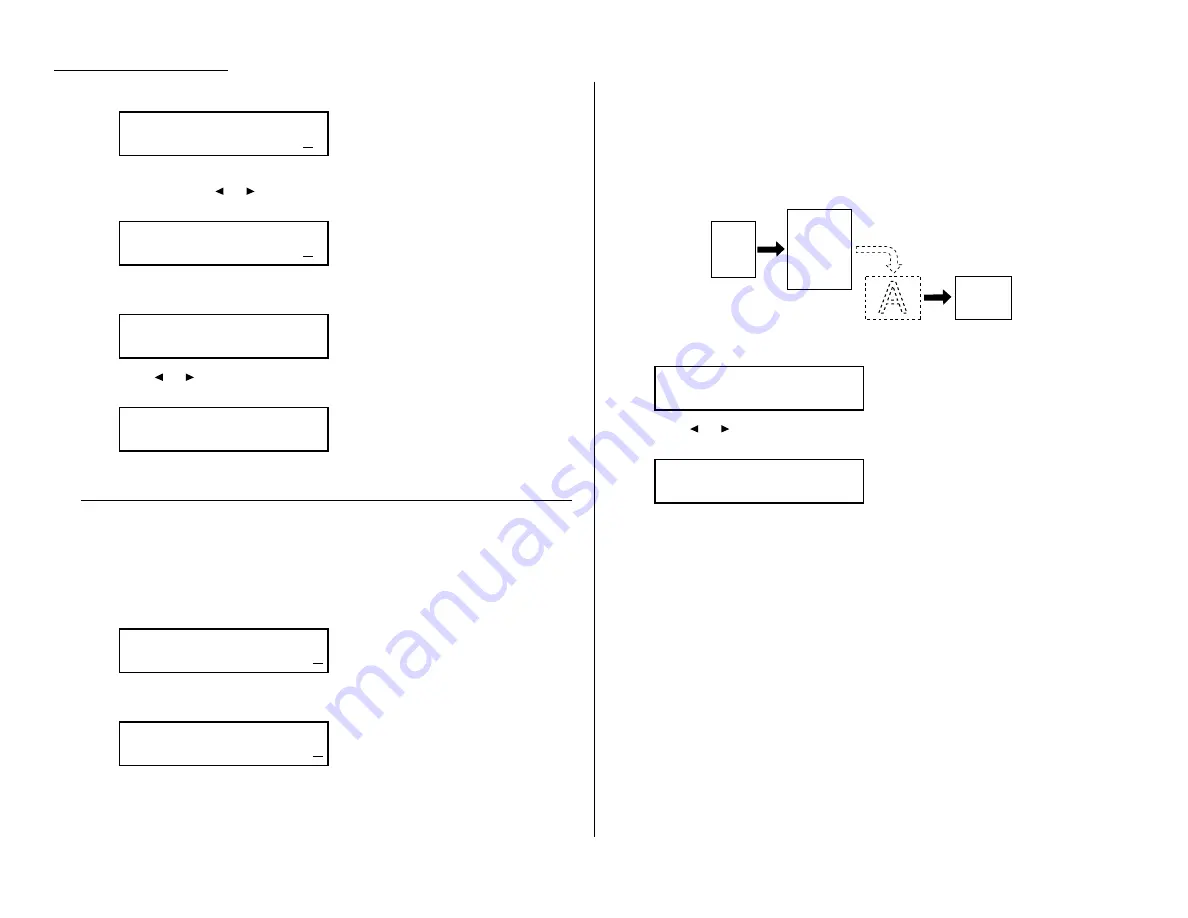
When this feature is activated, incoming fax messages will be rotated automatically
to fit on the paper.
1
Press Program key,
B
, 2, 1, 4,
ENTER
. The
LCD
shows:
2
Press
or
until the setting you want appears. In this example, we’ve cho-
sen On.
3
Press
ENTER
to save the setting.
Rotate Rx :On
/
/Enter
Rotate Rx :Off
/
/Enter
Your
Fax
Machine
A
297 mm
210 mm
A
297 mm
210 mm
# Of Rings
# (1-9):4
# Of Rings
# (1-9):2
Half Page Recpt.:On
/
/Enter
Half Page Recpt.:Off
/
/Enter
Margin
(00-85mm):38
Margin
(00-85mm):24
Changing the default settings
4.4
Summary of Contents for OM 9812
Page 1: ...OM 9812 OM 9816 Operating Instructions Plain paper digital Copier Fax Printer Scanner...
Page 7: ...This page intentionally blank...
Page 52: ...2 21 Basic operation This page intentionally blank...
Page 124: ...Changing the default settings This page intentionally blank 4 13...
Page 146: ...Just in case This page intentionally blank 5 21...
Page 147: ...Appendix and index...
Page 154: ...D88 90290 60...


