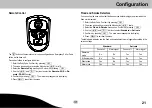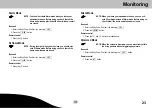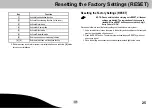
Configuration
G
16
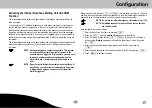
Setting the Date/Time
1. Enter the Entry Code. Confirm it by pressing
.
2. The menu is opened by pressing the Menu button
briefly.
3. Select the
Date/Time
menu option. Confirm it by pressing
.
4. Display:
01-01-2010
5. Use the keypad on the base unit to enter the day, month and year. Confirm it by
pressing
.
6. Display:
00:00
7. Enter the time as hour and minute.
8. Confirm it by pressing
. The main menu reappears in the display.
9. Press
to exit from the menu.
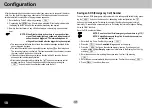
Individual Outgoing Messages
NOTE: You can record an individual message of up to max. 10
seconds for each sensor (door/window contact, smoke
detector). The standard message is replaced by your
individual voice message and played when the telephone
dialling unit is activated!
Proceed as follows to record an individual messages for each respective sensor:
1. Enter the Entry Code. Confirm it by pressing
.
2. The menu is opened by pressing the Menu button
briefly.
3. Select the
Review
menu option. Confirm it by pressing
.
4. Select the respective sensor required by pressing the
and
but
tons. Confirm it by pressing
.
5. The first letter of the sensor selected flashes. You can rename the sensor (e.g.
BalconyDoor, KitchenWindow, etc.). Confirm it by pressing
.
6. Text or numbers which have been entered can be deleted by pressing the
button.
7.
Voice Record
appears in the display. Confirm it by pressing
.
8. Speak your individual voice message for the selected sensor into the unit
(e.g. BalconyDoor).
9. Press the
button to confirm the message and end recording.
NOTE: If you do not confirm by pressing the
button,
recording is automatically ended after 10 seconds.
10. Your individual message is played back. The main menu reappears in the display.
11. Press
to exit from the menu.


