Page 3-9
OLYMPIC AUTO-LENGTH
™
Service
7. Install the pulley/weight on shaft of the new motor/bracket
assembly (catalog no. 400710-K01) and tighten the set screw.
8. Place the thrust bushing and spacers between the motor
assembly and chassis, then install the new motor assembly.
9. Install the lock nuts and washers. Tighten the lock nuts until the
washers just touch the chassis bushings.
10. Tighten the belt per the instructions in
Replacing the Belt
on
page 3-3. If this causes the right-side washers to be clear of
the bushings, tighten the lock nuts until they just touch.
11. Install the Optical Sensor and Encoder Wheel (see page 3-6).
12. Test for proper operation per the instructions in
Replacing the
Belt
on page 3-3.
13. Replace the chassis assembly into housing per the instruc-
tions in
Replacing the Belt
on page 3-3.
Replacing the Motor Pulley
To replace the motor pulley:
1. Remove the belt (see
Replacing the Belt
on page 3-3).
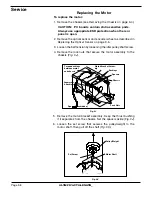
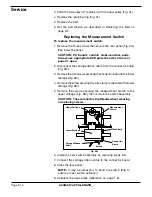
2. Loosen the set screw that secures the pulley/weight to the
motor shaft (
Fig. 3K
).
3. Replace with the new pulley/weight assembly.
4. Replace the belt.
5. Set the belt tension as described in
Replacing the Belt
on
page 3-3.
Replacing the Idler Pulley
To replace the idler pulley:
1. Remove the belt (see
Replacing the Belt
on page 3-3).
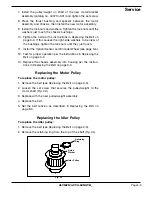
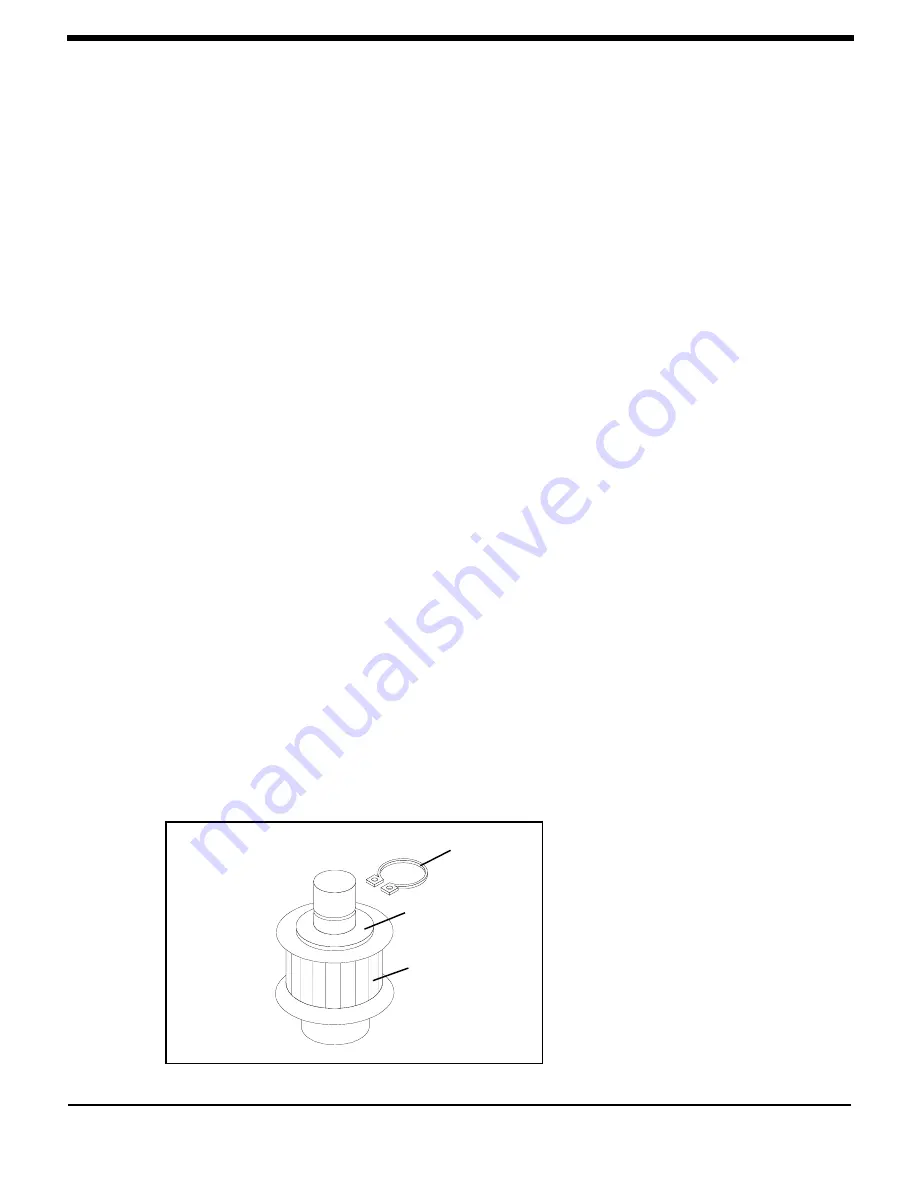
2. Remove the retaining ring from the top of the shaft (
Fig. 3L
).
Retaining
Ring
Nylon
Washer
Idler Pulley
Fig. 3L

