Page 1-2
OLYMPIC AUTO-LENGTH
™
Installation
Assembly of Auto-Length (Without Scale)
To assemble the Auto-Length:
1. Unpack the Auto-Length from the shipping crate.
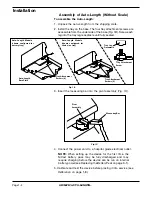
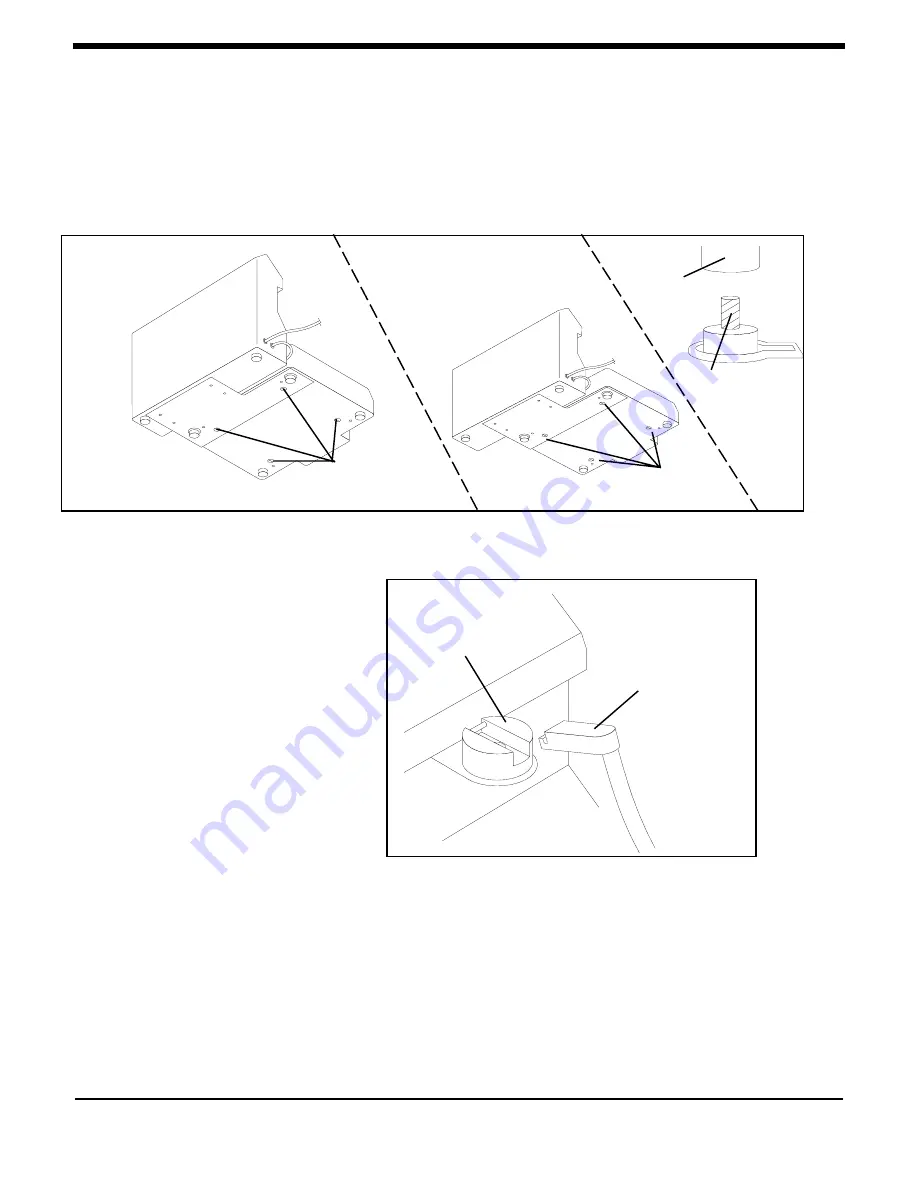
2. Install the tray on the base. The four tray attachment screws are
accessible from the underside of the base (
Fig. 1B
). Screw each
leg into the tray leg receptacle until fully seated.
Fig. 1C
Measuring Bar
Pivot
Assembly
Fig. 1B
Tray Leg
Receptacle
Tray Attachment
Screws (4)
Tray Attachment
Screw
Auto-Length Module
(shown configured for
clinic-size tray)
Auto-Length
Base Plate
Auto-Length Module
(shown configured for
nursery tray)
Tray Attachment
Screws (4)
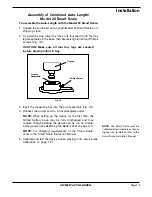
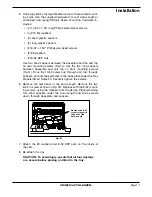
3. Insert the measuring bar into the pivot assembly (
Fig. 1C
).
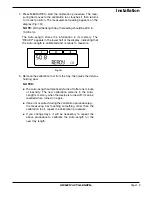
4. Connect the power cord to a hospital-grade electrical outlet.
NOTE:
When setting up the device for the first time, the
NiCad battery pack may be fully discharged and may
require charging before the device can be run on internal
battery power (see
Replacing the Battery Pack
on page 3-1).
5. Calibrate and test the device before placing it into service (see
Calibration
on page 1-8).


