Teardown, Cleaning, and Reassembly of the Miscellaneous Parts of the Olympus BH-2 Microscope Frames
Revision 1
Page 13 of 45
Reassemble the Locking Thumbscrew (BHS/BHT)
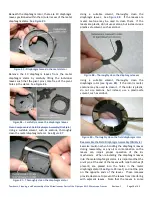
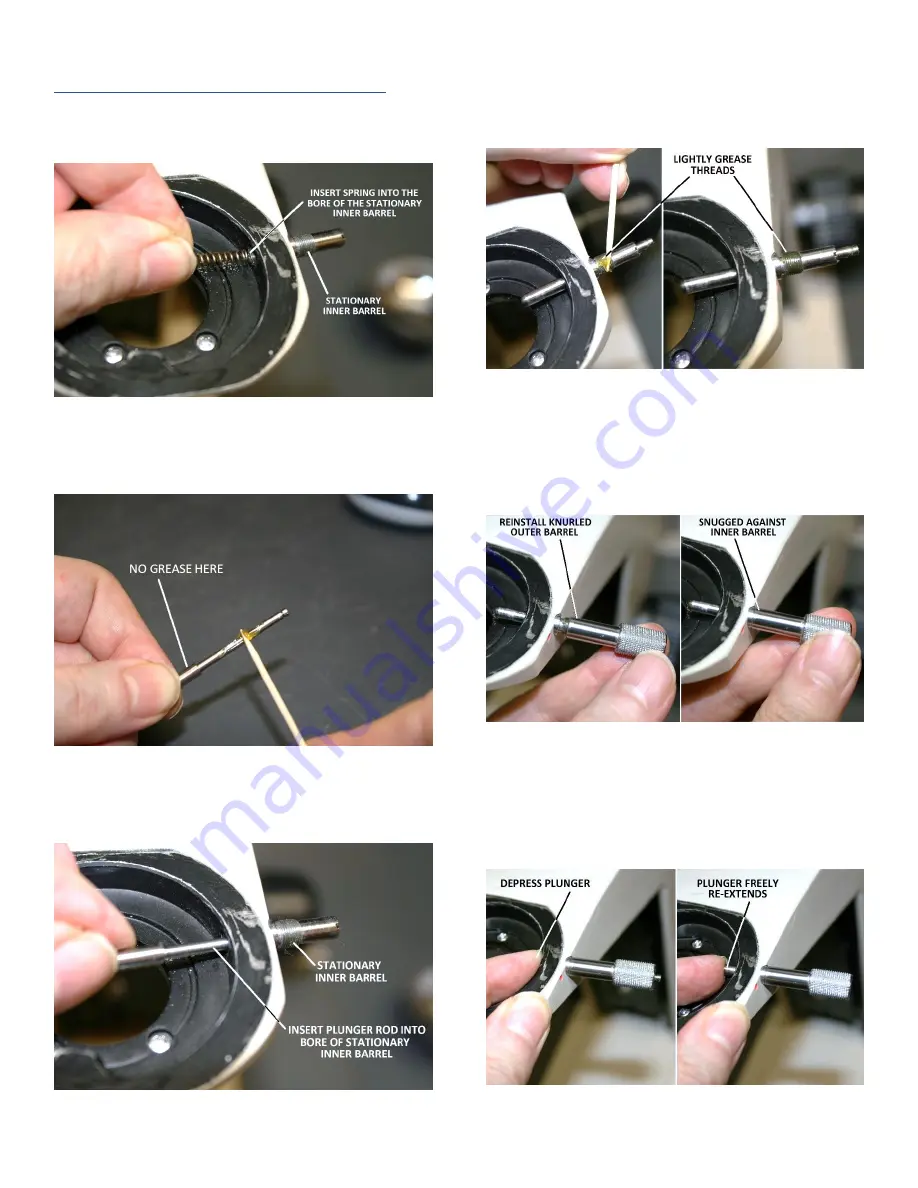
Insert the extension spring into the bore of the
stationary inner barrel of the locking thumbscrew (see
Figure 22
–
Insert spring into the bore of the inner barrel
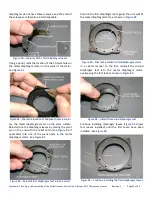
Apply a light coating of a suitable grease (item 1 of
) to the shaft of the plunger rod (see
). Do not grease the larger-diameter plunger end.
Figure 23
–
Lightly grease the shaft of the plunger rod
Insert the freshly greased plunger rod into the bore of
the stationary inner barrel of the locking thumbscrew
(see
Figure 24
–
Insert plunger into bore of the inner barrel
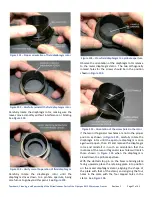
Apply a light coating of a suitable grease (item 1 of
) to the exposed threads of the stationary
inner barrel of the locking thumbscrew (see
Figure 25
–
Apply grease to threads of the inner barrel
Reinstall the knurled outer barrel onto the freshly
greased stationary inner barrel of the locking
thumbscrew and snug it down until the smooth end of
the knurled outer barrel contacts the stationary inner
barrel (see
Figure 26
–
Reinstall the knurled outer barrel
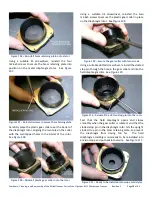
Test the freedom of motion of the plunger by
depressing the plunger with your finger, then releasing
it and allowing it to return to the fully extended position
(see
). The plunger should move without any
signs of binding, excess friction, or sluggishness.
Figure 27
–
Test the motion of the spring-loaded plunger


