Teardown, Cleaning, and Reassembly of the Miscellaneous Parts of the Olympus BH-2 Microscope Frames
Revision 1
Page 25 of 45
diaphragms do not have these recesses, and the ends of
these leaves are therefore interchangeable.
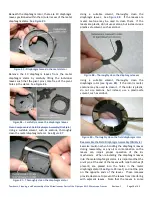
Figure 90
–
Features of the field diaphragm leaves
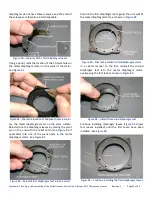
Using a pencil, mark the location of the 10 pivot holes in
the metal diaphragm stator on the walls of the stator.
See
Figure 91
–
Mark the location of the pivot holes in stator
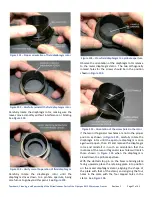
Lay the metal diaphragm stator on the work surface.
Reinstall one the diaphragm leaves by placing the pivot
pin on the end with the relief notch (see
applicable) into one of the pivot holes in the metal
diaphragm stator. See
Figure 92
–
Reinstall first diaphragm leaf into the stator
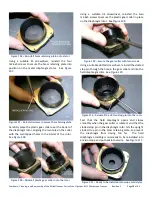
Position the first diaphragm leaf against the side wall of
the metal diaphragm stator, as shown in
Figure 93
–
First leaf installed in field diaphragm stator
In a similar manner to the first, reinstall the second
diaphragm leaf into the metal diaphragm stator,
overlapping the first leaf, as shown in
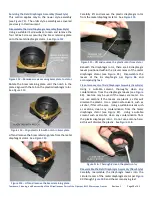
Figure 94
–
Install the second diaphragm leaf
Continue installing diaphragm leaves (
four leaves installed) until the first seven have been
installed. See
Figure 95
–
Continue installing the field diaphragm leaves


